
A flat snow blower tire can stop you in your tracks, especially mid-storm. When the rubber bead pulls away from the rim, pumping air does nothing because the seal is gone. This happens often after months in storage when air pressure slowly drops and the tire loses its grip on the wheel. The good news is you can fix it yourself in minutes with a basic ratchet strap. This guide walks you through the entire snow blower flat tire repair, from reseating the bead to safe inflation and long-term prevention.
Why Snow Blower Tires Lose Their Seal
Tires on snow blowers sit unused for long stretches. Over time, air pressure drops gradually, and without enough internal force, the tire bead slowly pulls away from the metal rim. This is especially common in tubeless tires, which depend entirely on a tight seal between the rubber edge and the wheel.
Cold weather makes things worse. Rubber stiffens in freezing temperatures, so the tire cannot flex back into place on its own. That is why using an air compressor alone almost never works in winter. You need even, inward pressure to push the bead back into position before adding air.
Tools Needed for Snow Blower Flat Tire Repair

You likely already have everything required in your garage. No specialty equipment needed.
Basic Repair Kit
- Ratchet tie-down strap (1-inch wide, 10 to 15 feet long)
- Air compressor or hand pump with a pressure gauge
- Tire pressure gauge (digital or dial for accuracy)
- Soapy water spray bottle (optional, for leak detection)
Pro tip: No ratchet strap? A strong nylon rope and a sturdy screwdriver or wooden dowel can work as a makeshift tourniquet. Wrap the rope around the tire, insert the lever, and twist to apply even pressure.
Avoid using sharp tools near the tire sidewall. A slip can puncture the rubber and turn a simple reseat into a full replacement job.
Step-by-Step: Reseat the Tire Bead
This method works when the tire is undamaged but has lost contact with the rim. No patching required, just mechanical pressure to restore the seal.
Position the Ratchet Strap
Loop the ratchet strap around the outer tread of the flat tire. Make sure it runs straight across the center of the tire face with no twists. The goal is even compression from all sides, so position the ratchet mechanism on top for easy access.
Pull the strap snug by hand first to remove slack. It should hug the tire but not yet be under high tension.
Tighten Gradually to Seat the Bead
Slowly crank the ratchet handle. With each click, the strap pulls the tire inward toward the center. Watch the gap between the tire bead and the rim. As pressure builds, you will see the rubber edge rise and snap against the metal.
Stop tightening once both sides of the bead are fully seated. Over-tightening can damage the tire or dent the rim. If the bead does not seat evenly, loosen the strap slightly and reposition it for better alignment.
Visual cue: When properly seated, the small gap along the rim edge disappears. You may even hear a faint pop as the seal forms.
Reinflate the Tire Safely
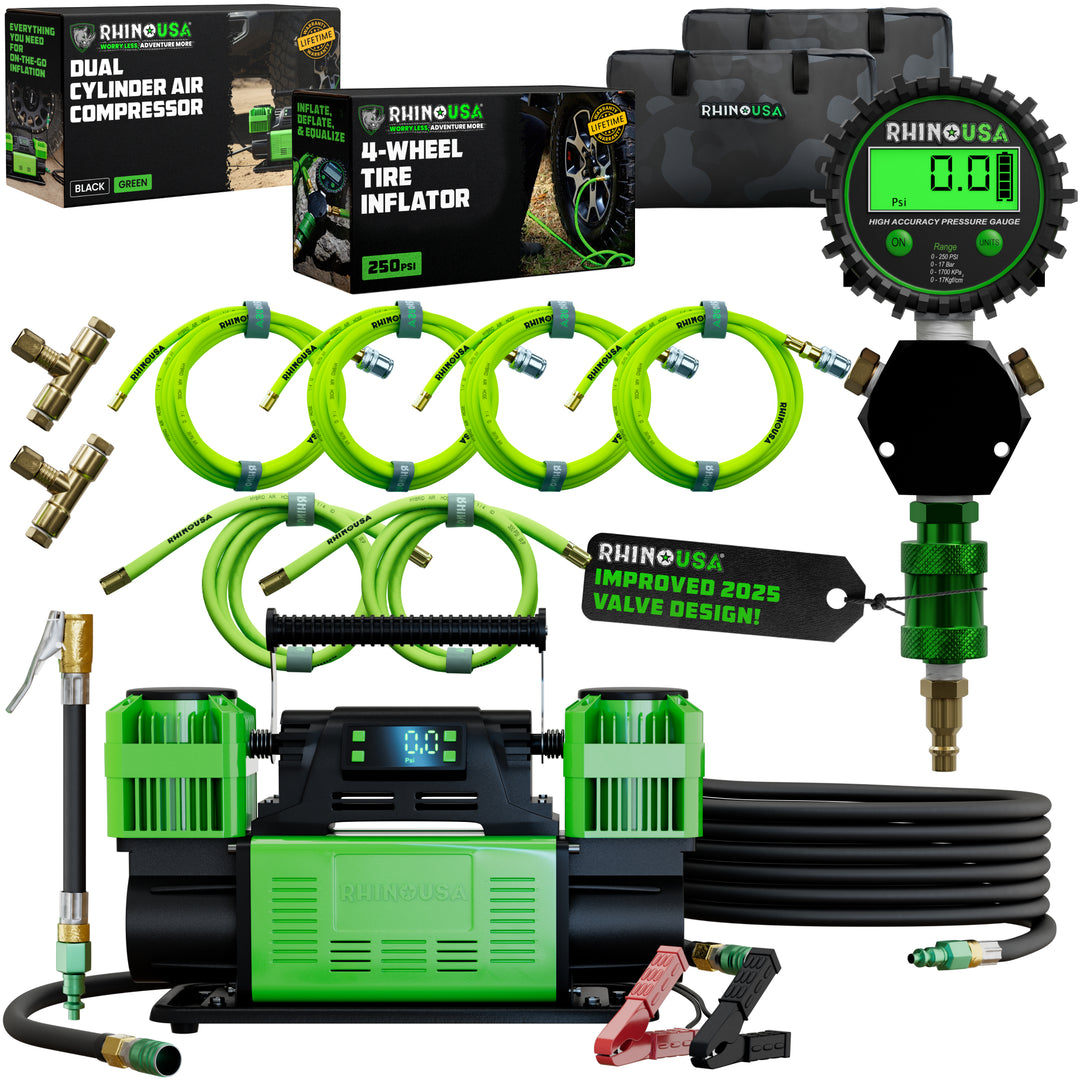
Once the bead is flush with the rim, it is time to add air.
Remove the Strap and Attach the Pump
Take off the ratchet strap completely. Any remaining tension will interfere with proper inflation. Wipe dirt from the valve stem and connect your air compressor or hand pump.
Begin inflating slowly. A brief hiss at first is normal as the seal settles. Within seconds, the sound should stop as the bead locks under internal pressure.
Inflate to the Recommended PSI
Check your snow blower manual or the tire sidewall for the correct pressure. Most models require 10 to 15 PSI. Use a digital or dial gauge to verify accuracy, since many built-in pump gauges are unreliable.
Never exceed the maximum pressure listed. Overinflation can cause blowouts or uneven tread wear, especially in cold conditions.
Pro tip: Spray soapy water around the bead and valve after inflation. Bubbles indicate air leaks. If you spot one, deflate, reposition the tire, and repeat the reseating process.
Common Mistakes to Avoid
Even simple repairs can fail when done incorrectly. Watch out for these frequent errors.
Using Air Alone Without Reseating
Trying to inflate a detached tire with just a compressor rarely works. Without initial mechanical pressure, the bead cannot seal. You will waste time and risk overworking your compressor.
Skipping the Pressure Check
Underinflated tires reduce traction and strain the machine. Overinflated ones lose grip on icy surfaces. Always verify pressure with a reliable gauge after inflation.
Forcing the Bead with Heat or Brute Force
Some guides suggest using a heat gun to soften the rubber. This can degrade the tire material or ignite nearby flammable parts. Hammering or prying can dent rims or cut rubber. Stick to controlled, even pressure for safe, lasting results.
When to Replace Instead of Repair
Not every flat can be fixed at home. Know when a new tire is the smarter choice.
Signs of Irreparable Damage
- Sidewall cracks or bulges: Dry rot from age or UV exposure weakens the structure beyond repair.
- Large punctures or gashes: Small tread holes can be patched, but sidewall tears cannot.
- Bent or corroded rim: Warped or heavily rusted metal will not hold a seal no matter how often you reseat.
If the tire repeatedly loses air after reseating, or the rubber feels brittle and stiff, replacement is safer and more cost-effective than repeated fixes.
Pro tip: Buy OEM or compatible all-terrain tires for better grip and longer life. Cheap knockoffs tend to crack prematurely under cold stress.
Prevent Future Flats and Bead Separation
A little seasonal maintenance prevents most winter breakdowns.
Store Tires Properly
Before putting your snow blower away for the off-season:
– Inflate tires to full recommended pressure
– Lift the machine off the ground with blocks or a stand
– Store in a cool, dry place away from direct sunlight
This prevents flat spots and reduces stress on the bead seal.
Check Before Each Storm
Spend five minutes inspecting your equipment before the first snowfall:
– Verify tire pressure with a gauge
– Look for cracks, bulges, or loose beads
– Spin each wheel to check for smooth rotation
Catching small issues early means fewer surprises when the storm hits hard.
Alternative Methods Without a Ratchet Strap
No strap on hand? You can still complete a snow blower flat tire repair with common tools.
Rope-and-Lever Tourniquet Method
Wrap a strong nylon rope tightly around the tire tread. Tie a knot to hold one end, then insert a screwdriver or wooden dowel into the loop. Twist the lever to tighten the rope evenly, just like a tourniquet.
Once tight, the inward pressure should push the bead against the rim. Remove the rope and inflate immediately.
Warning: Never leave the rope on while inflating. It can snap under pressure and cause injury.
This approach takes more effort but works well in emergencies when a ratchet strap is unavailable.
Frequently Asked Questions About Snow Blower Flat Tire Repair
Can a snow blower tire go flat from sitting too long?
Yes. Over time, air seeps out slowly. Once pressure drops too low, the tire bead can pull away from the rim, causing a complete loss of seal. This is why stored snow blowers often have flat tires at the start of winter.
What PSI should my snow blower tires be?
Most models run between 10 and 15 PSI. Always check your owner manual or the sidewall of the tire for the exact specification. Running too high or too low affects traction and machine performance.
Will soapy water really find a leak?
Yes. Soapy water bubbles at any spot where air escapes. It is one of the easiest and most reliable ways to confirm a proper seal after reseating a tubeless tire.
Is it safe to use a heat gun on a snow blower tire?
No. Heat can damage the rubber compound, weaken the structure, or ignite nearby fuel or oil. Controlled mechanical pressure is the safer and more effective method.
How long does a ratchet strap tire repair take?
Most repairs take 10 to 15 minutes from start to finish, including inflation and pressure checks. It is one of the fastest fixes for a separated tire bead.
Can I ride on the road with a reseated snow blower tire?
Snow blowers are not designed for road speeds. Always operate at low speeds and avoid highways. A properly reseated tire holds air well at low operating speeds typical of residential snow clearing.
Key Takeaways for Snow Blower Flat Tire Repair
A snow blower flat tire repair does not require a mechanic or a shop visit. Using a ratchet strap to reseat a detached tubeless tire is fast, safe, and effective when done correctly. Focus on even, gradual pressure to seat the bead, then inflate to the correct PSI and verify with soapy water. Avoid common mistakes like over-tightening, using heat, or skipping the pressure check. With proper storage and pre-season inspections, you can prevent most flats before they happen. Add a ratchet strap to your winter toolkit, and you will be ready to handle a separated bead anytime the storm rolls in.



