
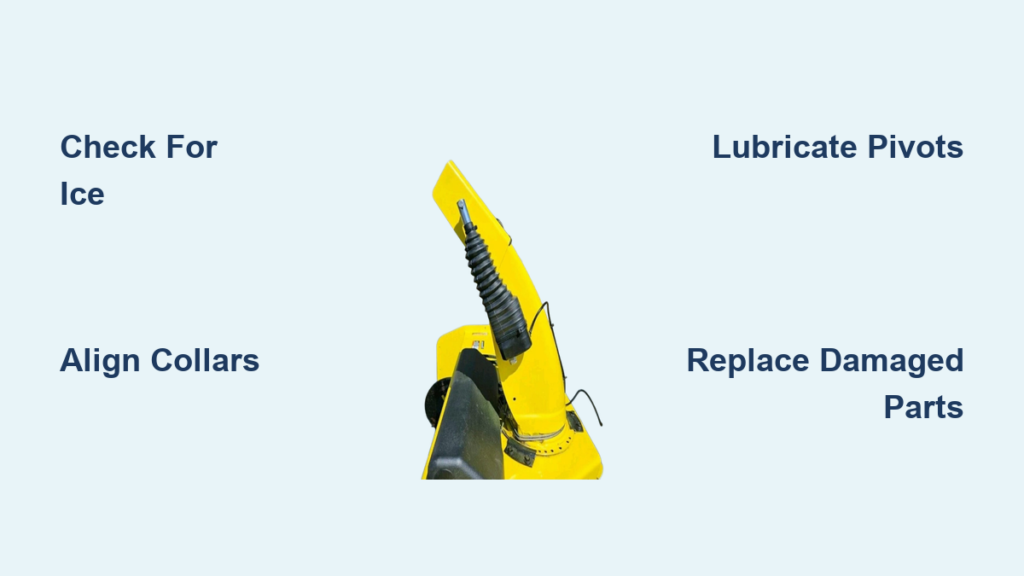
A frozen or stuck snow blower chute can turn a quick driveway cleanup into a frustrating ordeal. When the chute refuses to rotate, you end up walking extra passes across the same area, doubling your workload. The good news is that most chute problems are fixable in under 10 minutes using basic inspection and simple adjustments. Whether you own an MTD, Yard Machines, or Craftsman model with a plastic collar system, this guide walks you through every step.
You’ll learn how to diagnose the issue, remove the chute without special tools, fix common sticking points, and prevent future breakdowns throughout the winter season.
Diagnose Why Your Snow Blower Chute Won’t Turn

When the chute refuses to rotate, your first task is identifying the root cause. A stuck chute usually traces back to ice buildup, misaligned collars, or worn locking tabs. Ignoring the problem leads to inefficient clearing and added strain on your machine.
Check for Ice and Snow Buildup
Ice accumulation around the chute base is the number one cause of restricted movement. Melting snow refreezes overnight, locking the chute in place by morning.
Steps to inspect:
– Shut off the snow blower and wait for all moving parts to stop
– Look at the base where the chute meets the housing
– Search for packed snow or ice around the three plastic collars
– Use a plastic scraper or gloved hand to clear debris
– Never use metal tools that could crack the plastic
Pro tip: Bring the machine into a garage for 15 to 20 minutes to let ice thaw naturally before applying force.
Inspect Plastic Collar Alignment
The chute rotates on a three-point plastic collar system, with one collar on each side and one in the center. If any collar slips out of position, smooth rotation becomes impossible.
Signs of misalignment:
– One side of the chute sits higher than the other
– Visible gaps between the collar and housing lip
– The chute feels loose or wobbly when you wiggle it
How to fix it:
– Press down gently on the misaligned collar
– Confirm it sits fully under the housing lip
– Test rotation after realigning all three points
Remove the Chute for Deeper Access
For thorough inspection or maintenance, removing the chute gives you full access to belts, augers, and pivot points. On MTD, Yard Machines, and Craftsman models, this process requires no tools in most cases.
Locate the Base Collar Mechanism
The base collar connects the chute to the main housing and contains the primary locking tab. It serves as your starting point for removal.
How to find it:
– Stand behind the snow blower and look up at the discharge opening
– Identify the center plastic collar where the chute pivots
– Notice the small tab or clip that locks the assembly in place
This collar controls the swing-out action. Once released, the entire chute moves freely.
Pry and Pivot the Chute Out
No bolts or screws hold the chute in place. A plastic locking tab keeps it secure, and gentle force releases it.
Step-by-step process:
1. Insert a flathead screwdriver or plastic pry tool under the base collar
2. Twist gently to disengage the locking tab
3. Swing the chute outward like a door
4. Repeat the prying motion on side collars if full removal is needed
5. Slide the chute sideways to detach it completely
Warning: Plastic becomes brittle in cold weather. Use controlled pressure and never yank or hammer the components.
Reinstall the Chute Securely

A poorly reinstalled chute can come loose during operation, creating a real safety hazard. Proper seating ensures smooth rotation and secure locking every time.
Align and Click All Three Collars
Each collar must snap into place under the housing lip. Misalignment causes wobbling or failure to lock.
Reassembly steps:
1. Position the chute so all three collars line up with their slots
2. Press down firmly until each collar clicks into place
3. Swing the chute upward to its operating position
4. Verify all collars sit flush with the housing
Quick checklist:
– All three collars seated
– No gaps or tilting visible
– Chute rotates freely when unlocked
– Locking lever engages smoothly
Fix the Most Common Chute Problems
Even with proper installation, chutes can develop performance issues over time. These fixes address the complaints that show up most often across MTD-family snow blowers.
Chute Won’t Stay in Position
If the chute slips or rotates on its own, the locking mechanism isn’t holding properly.
Common causes and solutions:
– Worn locking tab: Inspect for cracks or rounding and replace if damaged
– Loose collar tension: Clean debris from the pivot area and apply a light silicone spray
– Improper reassembly: Confirm all three collars are fully engaged
– Broken component: Replace any cracked collar or housing clip
Quick test: Lock the chute at a 90-degree angle and tap the side. Any movement means the lock isn’t secure.
Chute Feels Loose or Wobbly
A shaky chute reduces throwing accuracy and stresses plastic parts with every use.
How to diagnose:
– Wiggle the chute side to side and top to bottom
– Watch for which collar moves excessively
– Look for visible cracks or warping in the plastic
How to fix it:
– Replace worn collars with OEM parts to restore a tight fit
– Apply threadlocker to any nearby metal fasteners if your model uses them
– Avoid over-tightening, since plastic can split under pressure
Improve Snow Throwing Performance
A functional chute should throw snow 20 to 40 feet, depending on conditions. Poor discharge usually points to blockages or incorrect angles.
Clear Chute Blockages
Snow buildup inside the chute restricts airflow and cuts throw distance significantly.
Clearing steps:
1. Turn off the engine and wait at least 30 seconds
2. Use a long stick or brush to push out packed snow
3. Never insert your hands while the engine is running
4. Remove the chute if the blockage is deep or frozen solid
Prevention tip: Run the auger for 10 seconds after clearing snow to blow out residual moisture.
Verify Chute Angle and Direction
Even a free-moving chute won’t perform well if it’s aimed incorrectly.
Best practices:
– Adjust the chute before starting each session
– Point slightly upward for longer throws
– Avoid directing snow into the wind or against walls
– Use the full 180-degree range for complete coverage
Maintain Your Chute for Long-Term Reliability

Plastic chutes last longer with seasonal care. Regular checks prevent sudden failures during heavy storms.
Inspect for Cracks and Wear
UV exposure and cold temperatures make plastic brittle over time.
Signs of aging:
– Hairline cracks near collar bases
– Discoloration such as yellowing or cloudiness
– Warped shape or uneven fit
– Difficulty locking into place
Action step: Replace cracked collars immediately. One broken point compromises the entire system.
Lubricate Pivot Points Seasonally
Dry pivots increase friction and wear on plastic surfaces.
Maintenance routine:
– Apply silicone-based lubricant to collar joints once per season
– Avoid oil-based lubricants, which degrade plastic
– Wipe off excess to prevent dirt buildup
Prevent Future Chute Issues
A little prevention goes a long way toward avoiding mid-storm breakdowns.
Clean After Every Use
Residual snow melts and refreezes, causing ice jams in the collar area.
Post-use routine:
– Run the auger empty for 10 to 15 seconds
– Wipe down the chute exterior
– Store the machine in a dry, covered area
– Remove standing water from the housing
Store Properly During the Off-Season
Heat, sun, and moisture degrade plastic over time, even when the machine isn’t in use.
Storage tips:
– Keep the snow blower in a garage or shed, never outdoors
– Cover it with a breathable tarp
– Remove the chute and store it indoors if space allows
– Label and keep spare collars handy for quick swaps
Consider Upgrading When Necessary
While plastic chutes are lightweight and corrosion-resistant, they wear faster than metal alternatives.
Metal Chute Options
Some aftermarket chutes offer steel or reinforced polymer construction for heavy users.
Benefits of upgrading:
– Greater durability in demanding conditions
– Less prone to cracking from impact or cold
– Better resistance to UV damage and temperature swings
Important caveat: Ensure compatibility with your model’s collar system. Not all upgrades fit tool-free designs.
Frequently Asked Questions About Snow Blower Chute Repair
Why won’t my snow blower chute turn?
Ice buildup around the base collars is the most common cause. Misaligned or damaged plastic collars also prevent rotation. Inspect the three collar points and clear any frozen debris before attempting to force movement.
Can I remove the chute without tools?
Yes, on MTD, Yard Machines, and Craftsman models with the plastic collar system, no tools are required. A flathead screwdriver or plastic pry tool helps release the locking tab, but the process is essentially tool-free.
How do I stop my chute from slipping out of position?
Check the locking tab for wear and confirm all three collars are fully engaged under the housing lip. Clean debris from the pivot area and apply a light silicone lubricant to restore proper tension.
How far should a snow blower chute throw snow?
A properly functioning chute should throw snow 20 to 40 feet, depending on snow type, engine RPM, and chute angle. Reduced distance usually signals blockages or incorrect aim.
Is it safe to force a stuck chute?
No, never force a stuck chute. Excessive force can crack the plastic collars or housing. Diagnose the cause first, allow ice to thaw naturally if needed, and apply gentle, controlled pressure.
When should I replace my snow blower chute?
Replace the chute when you see visible cracks, warping, or persistent locking problems. A loose or damaged chute reduces throwing accuracy and creates safety risks during operation.
Key Takeaways for Fixing Your Snow Blower Chute
Fixing a snow blower chute doesn’t require advanced mechanical skills. You just need a clear understanding of the plastic collar system and the most common failure points. Start by checking for ice, realign the three collars as needed, and confirm secure reinstallation before each use.
Regular inspection and seasonal maintenance prevent most issues before they start. Always diagnose first, act gently, and never force a stuck chute. With these habits, your MTD, Yard Machines, or Craftsman snow blower will stay ready for every storm all winter long.



