Is your Yard Machine snow blower refusing to start after months in storage? A gummed-up carburetor is the most likely culprit. Stale fuel breaks down and leaves behind sticky varnish that blocks the tiny passages responsible for mixing air and fuel correctly. This complete guide walks you through cleaning the carburetor on your Yard Machine snow blower using basic tools and proven techniques.
You will learn how to safely remove, disassemble, deep clean, and reinstall the carburetor. Most jobs take under an hour and cost less than a repair shop visit. Follow each step carefully to restore reliable starting and smooth performance before the next storm hits.
Essential Safety Steps Before Carburetor Work
Working on a fuel system requires preparation. Skipping safety basics can lead to fires, burns, or accidental engine starts.
Protect Yourself and the Work Area
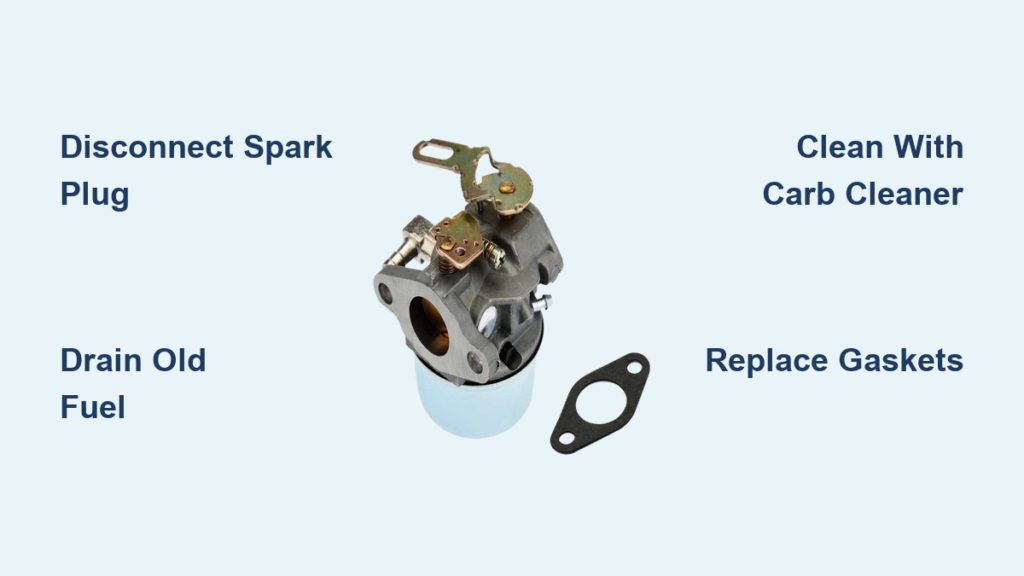
Always disconnect the spark plug wire before touching any engine part. Place the snow blower on a flat surface and let the engine cool completely. Wear safety glasses and chemical-resistant gloves when handling fuel and cleaning solvents.
Work outdoors or in a well-vented space. Carburetor cleaner fumes are highly flammable and harmful to breathe. Keep a fire extinguisher nearby just in case.
Drain Old Fuel Before Starting
Old gasoline is often the root cause of carburetor problems. Run the engine dry or drain the tank completely before beginning. If you cannot drain it, clamp the fuel line to stop flow during disassembly.
Dispose of old fuel properly at a certified collection site. Never pour it on the ground or down a drain.
Tools and Supplies You Will Need

Gathering everything in advance prevents interruptions mid-job. Most of these items are common in home workshops.
- Socket wrench set with 10mm and 13mm sockets
- Flathead and Phillips screwdrivers
- Carburetor cleaner spray with precision straw
- Compressed air canister
- Small parts tray or magnetic dish
- Carburetor rebuild kit with gaskets and needle valve
- New fuel line (if existing shows cracks)
- Shop rags and nitrile gloves
A rebuild kit costs under $15 and includes fresh gaskets, a float needle, and O-rings. Always replace these soft parts during a cleaning. Old gaskets shrink and leak even if they look fine.
Locate the Carburetor on Your Yard Machine

Finding the carburetor takes only a moment once you know where to look.
Identify Key Components
The carburetor mounts on the side of the engine, right behind the air filter housing. You will spot a small metal bowl at the bottom. That is the float bowl, which is the primary access point for cleaning.
Three connections attach to the carburetor: a fuel line from the tank, a throttle linkage rod, and often a choke cable. Take a photo with your phone before disconnecting anything. This reference will save headaches during reassembly.
Remove the Carburetor Safely
Patience during removal prevents damage to fragile linkages and gaskets.
Disconnect Linkages and Fuel Lines
Pinch the fuel line clamp and slide it away from the carburetor inlet. Gently twist and pull the line off. Have a rag ready to catch residual fuel.
Disconnect the throttle and choke rods. These are usually held by small plastic clips or bent metal tabs. Needle-nose pliers make this easier. Avoid forcing anything, as bent linkages cause poor engine response later.
Unbolt and Lift Out
Remove the two mounting bolts securing the carburetor to the intake manifold. Lift the unit straight off and place it on a clean work surface. Do not tilt it sharply, or fuel will spill out of the bowl.
Disassemble the Carburetor for Deep Cleaning
Now you can access the internal parts that actually control fuel delivery.
Remove the Float Bowl
Turn the carburetor upside down. Unscrew the single bolt or screws holding the float bowl in place. Lift the bowl off and set the hardware aside in your parts tray.
Inspect the bowl interior for brown sludge, white powder, or water droplets. These are signs of contaminated fuel. Clean the bowl with carburetor spray and a soft brush until the metal shines.
Extract the Jet and Needle Valve
With the bowl removed, locate the main jet. It is a small brass screw-in tube in the center of the carburetor body. Unscrew it carefully with a flathead screwdriver that fits snugly.
Pull out the needle valve and seat. These tiny parts regulate how much fuel enters the bowl. If they are worn or pitted, replace them using parts from your rebuild kit.
Clean Every Passage Thoroughly
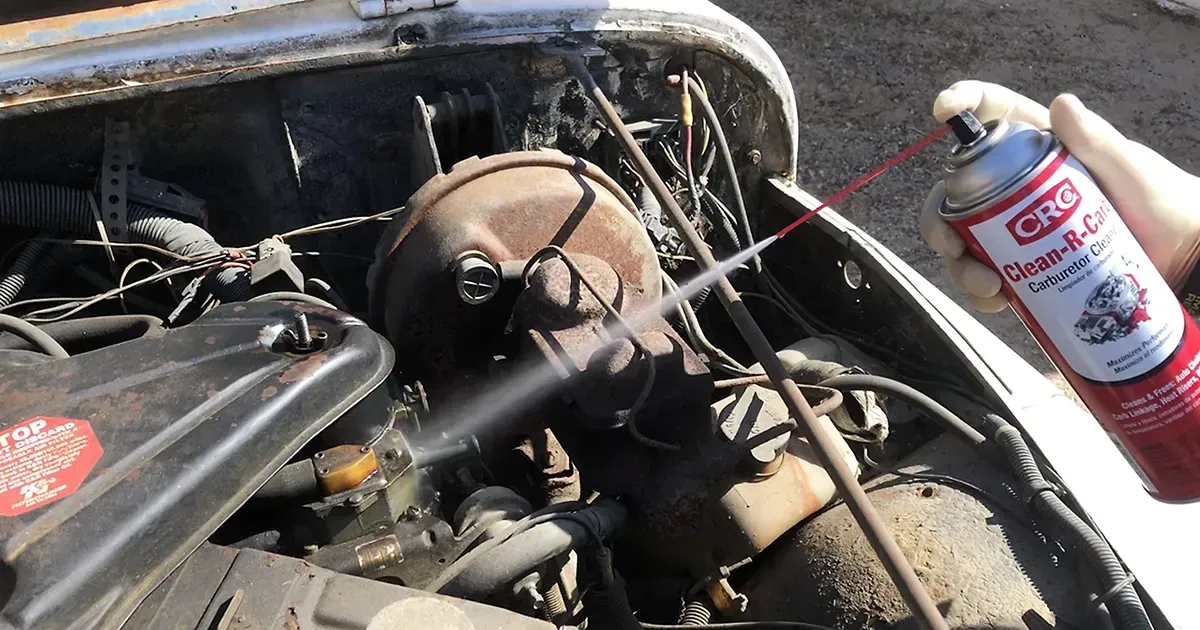
This is where most of the real work happens. A single clogged passage can prevent the engine from starting.
Spray All Passages with Carb Cleaner
Attach the precision straw to your cleaner can. Spray into every visible hole, including the main jet port, idle circuit, and fuel inlet. Let the chemical soak for 10 to 15 minutes to dissolve hardened varnish.
Never use wire or metal picks to clear jets. Brass is soft and scratches easily, which ruins fuel metering. Use compressed air or a strong blast from the cleaner can to push debris out instead.
Wipe all external surfaces with a lint-free rag. Pay special attention to the throttle bore and choke plate edges.
Replace Gaskets and Soft Parts
Even if your old gaskets appear intact, install the new ones from your rebuild kit. Fresh gaskets ensure a leak-free seal and proper fuel pressure.
Reassemble the float and needle valve. Make sure the float pivots freely without sticking. A sticky float causes flooding or fuel starvation.
Thread the main jet back in gently. Snug plus a quarter turn is enough. Overtightening cracks the brass and ruins the part.
Reinstall the Carburetor on the Engine
You are almost done. Reassembly is the reverse of removal, with a few key checks.
Mount and Reconnect Linkages
Align the carburetor with the intake manifold studs or bolts. Tighten the mounting bolts evenly to avoid warping the flange.
Reattach the throttle and choke rods. Move the throttle lever by hand and confirm the carburetor throttle plate opens and closes fully. Adjust the linkage if you notice binding or slack.
Push the fuel line fully onto the inlet nipple. Slide the clamp back into position to lock it.
Prime and Test the Engine
Reconnect the spark plug wire. Fill the tank with fresh gasoline. Avoid old fuel or high-ethanol blends, as they cause repeat clogs.
Press the primer bulb 3 to 5 times until you see fuel in the clear return line. Set the choke to the start position.
Pull the starter cord slowly until you feel compression. Then give one firm, fast pull. The engine should fire within a few attempts. If it smokes heavily, that is normal as old oil burns off.
Troubleshoot Problems After Cleaning
Sometimes the engine still misbehaves even after a thorough cleaning. Here is how to address common issues.
Engine Cranks But Will Not Start
Check that fuel is actually reaching the bowl. Loosen the bowl bolt slightly and watch for dripping fuel when you press the primer. No fuel means a clogged tank outlet or collapsed fuel line.
Inspect the main jet. A missing or partially blocked jet stops fuel from entering the engine. Remove and re-clean it if needed.
Rough Idle or Stalling
Dirty idle circuits are the usual cause. Spray carb cleaner into the idle port with the engine off. Then crank the engine briefly to blow residue out.
Adjust the idle speed screw if your model has one. Turn it clockwise to raise RPMs and counterclockwise to lower them. Target 1,500 to 1,800 RPM for a smooth idle.
A dirty air filter can also cause rough running. Clean or replace it before assuming the carburetor is still dirty.
Prevent Future Carburetor Clogs
A little seasonal care saves hours of cleaning later.
Add Fuel Stabilizer Every Fill
Pour the correct amount of stabilizer into every tank of gas. This is especially important for the last fill before storage. Run the engine for 5 minutes after adding it to circulate the treated fuel through the carburetor.
Drain Fuel or Run Dry Before Storage
For storage under three months, run the engine until it stalls from fuel starvation. This empties the carburetor bowl and prevents varnish buildup.
For longer storage, drain the tank completely and run the engine dry. Alternatively, top off the tank with treated fuel to limit air space and condensation.
Inspect Fuel Lines Annually
Cracked or brittle fuel lines shed rubber particles that clog the carburetor. Check them once a year and replace every 2 to 3 years as preventive maintenance. Use ethanol-resistant line for longer life.
Frequently Asked Questions About Yard Machine Snow Blower Carburetor Cleaning
How often should I clean the carburetor on my Yard Machine snow blower?
Clean the carburetor once per season if you use fuel stabilizer, or anytime the engine shows signs of clogging. Hard starting, stalling, or rough idle are all signs it needs attention.
Can I clean the carburetor without removing it from the engine?
Light cleaning is possible by spraying carb cleaner into the air intake with the engine running. However, a full clean requires removal to access the float bowl and main jet. Removal gives the best long-term results.
What is the difference between carburetor cleaner and starting fluid?
Carburetor cleaner is designed to dissolve varnish and gum in fuel systems. Starting fluid is highly flammable and only helps with cold starts. Use carb cleaner for cleaning parts, never starting fluid as a substitute.
Why does my snow blower run for a few seconds then stall?
This usually means the main jet is partially blocked or the float needle is not sealing. Remove the carburetor, clean the jet, and inspect the needle seat for debris or damage.
Is it worth rebuilding an old carburetor or should I just replace it?
If the carburetor body is cracked or heavily corroded, replacement is the better option. For most clogs and varnish issues, a thorough clean and rebuild kit restores full function at a fraction of the cost.
Key Takeaways for Yard Machine Snow Blower Carburetor Cleaning

A clean carburetor is the difference between a snow blower that starts on the first pull and one that leaves you stranded in the driveway. Disconnect the spark plug, drain old fuel, and work methodically through disassembly, cleaning, and reassembly. Replace gaskets and the needle valve every time for the best seal and longest service life.
Keep fresh fuel with stabilizer in the tank year-round. Drain or run dry before storage to stop varnish from forming in the first place. With these habits, you may never need to deep clean the carburetor again. Bookmark this guide and pull it out before each winter season for quick reference.