
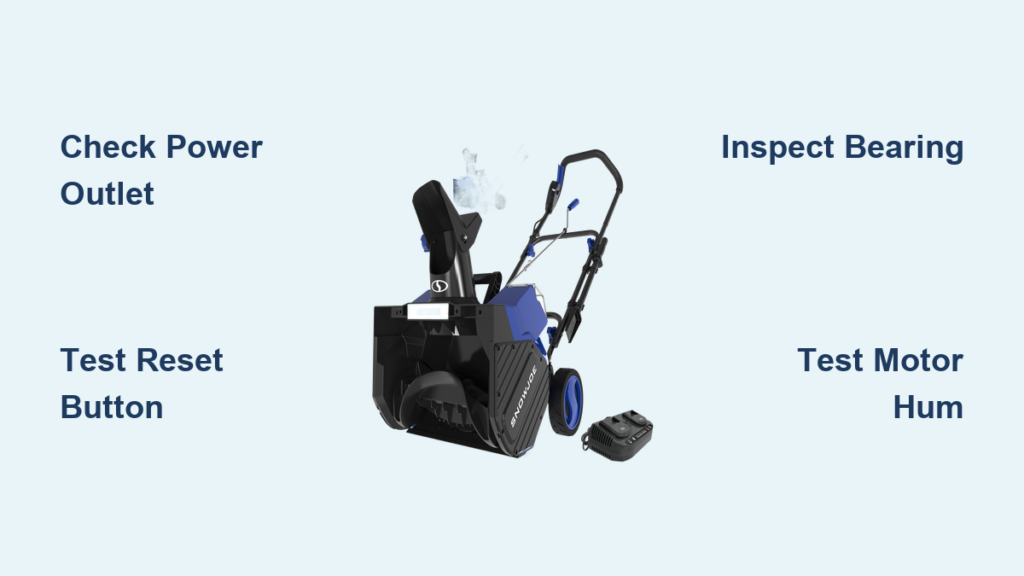
You’re ready to clear the driveway after a heavy snowfall, but your electric snow blower won’t start or worse, it hums with no movement. You’re not alone. Thousands of homeowners face this frustrating issue each winter. Whether your unit is corded or battery-powered, an electric snow blower not working can leave you stranded in a storm. The good news is that most problems have simple fixes.
This guide cuts through the confusion with a step-by-step diagnostic plan based on real-world repair data. You’ll learn how to pinpoint whether the issue is electrical, mechanical, or operational, and how to fix it fast. From checking power sources to replacing seized bearings, we cover every common failure point so you can get back to clearing snow in minutes, not days.
Check the Power Source First

Test the Outlet and Cord
Before tearing into your snow blower, confirm it’s getting power. Plug the unit into a different, known-working outlet, preferably one on a dedicated circuit. Use a voltage tester or plug in a lamp to verify the outlet is live. If the snow blower still doesn’t respond, inspect the power cord for cuts, kinks, or frayed wires. Even minor damage can interrupt current flow.
For battery models, ensure the battery is fully charged and properly seated. Try a spare battery if available. Cold temperatures reduce battery efficiency, so bring it indoors to warm up before retesting.
Inspect the Reset Button
Many electric snow blowers have a built-in circuit breaker or thermal reset button, usually located near the motor or power switch. If the motor overheated or drew too much current, this safety feature may have tripped. Press the reset button firmly. If it clicks and stays in, power should restore. If it pops out again immediately, there’s likely an internal short or mechanical bind. Do not bypass this safety feature. Investigate further before reuse.
Diagnose a Motor That Hums But Won’t Turn
Shaft Rotation Test
If your snow blower powers on and the motor hums but the auger doesn’t spin, the shaft is likely seized. Turn off and unplug the unit, then try rotating the auger by hand. If it won’t budge, the problem is mechanical, not electrical. A common cause is a failed ball bearing. Moisture, salt, and cold weather accelerate corrosion, causing the inner race to lock up. This forces the motor to stall under load, producing a loud hum with no movement.
Bearing Failure Signs
Remove the motor housing to inspect the bearing. Look for:
- Rust or pitting on the shaft
- Dry, cracked grease
- Grinding noise when attempting to turn
- Visible wobble or play in the bearing
If the bearing is seized, replacement is required. Running the motor in this state can burn out windings or damage brushes. Match the replacement to the original by checking stamped numbers on the old bearing for size and type.
Replace Seized Motor Bearings
Remove the Inner Race Safely
Use a bearing puller with shorter bolts to fit the tight space. Apply penetrating oil to the inner race and let it soak for 10 to 15 minutes. Position the puller arms under the inner race, not the retaining ring. Tighten the central screw gradually until the race releases. Avoid excessive force that could damage the aluminum housing.
Extract the Outer Race Using Original Balls
The outer race lacks a grip point, making removal tricky. To solve this:
- Retrieve the steel balls from the old bearing
- Apply solid grease to the outer race groove
- Place four balls evenly spaced in the groove
- Reinsert the inner race to lock the balls in place
- Use a socket and hammer to press the entire assembly out
This method creates temporary traction so the outer race moves with the inner one. Always protect the aluminum housing with proper support during this step.
Install the New Bearing Correctly
Clean the housing thoroughly. Place the old bearing on top of the new one like a drift. Tap gently and evenly around the outer edge with a hammer until fully seated. Never strike the inner race, as this damages precision tolerances. Once installed, spin the shaft by hand. It should rotate smoothly with no grinding or resistance.
Test Electrical Components Systematically

Check the Switch and Wiring
Use a multimeter to test continuity in the power switch and control circuit. Set to ohms and disconnect power. Flip the switch while probing the terminals. You should see near-zero resistance when on, infinite when off. Check all connectors for corrosion or looseness. Wiggling the cord near the base can reveal intermittent breaks. Repair or replace damaged wiring immediately.
Verify Brush and Commutator Condition
Open the motor housing and inspect the carbon brushes. If worn below half their original length, replace them. Ensure springs apply firm pressure to the commutator. Clean the commutator surface with electrical contact cleaner and a lint-free cloth. Burnt or pitted segments indicate motor overload. Replace if grooves are deep or uneven.
Fix Battery-Powered Models Fast
Diagnose No-Start on Cordless Units
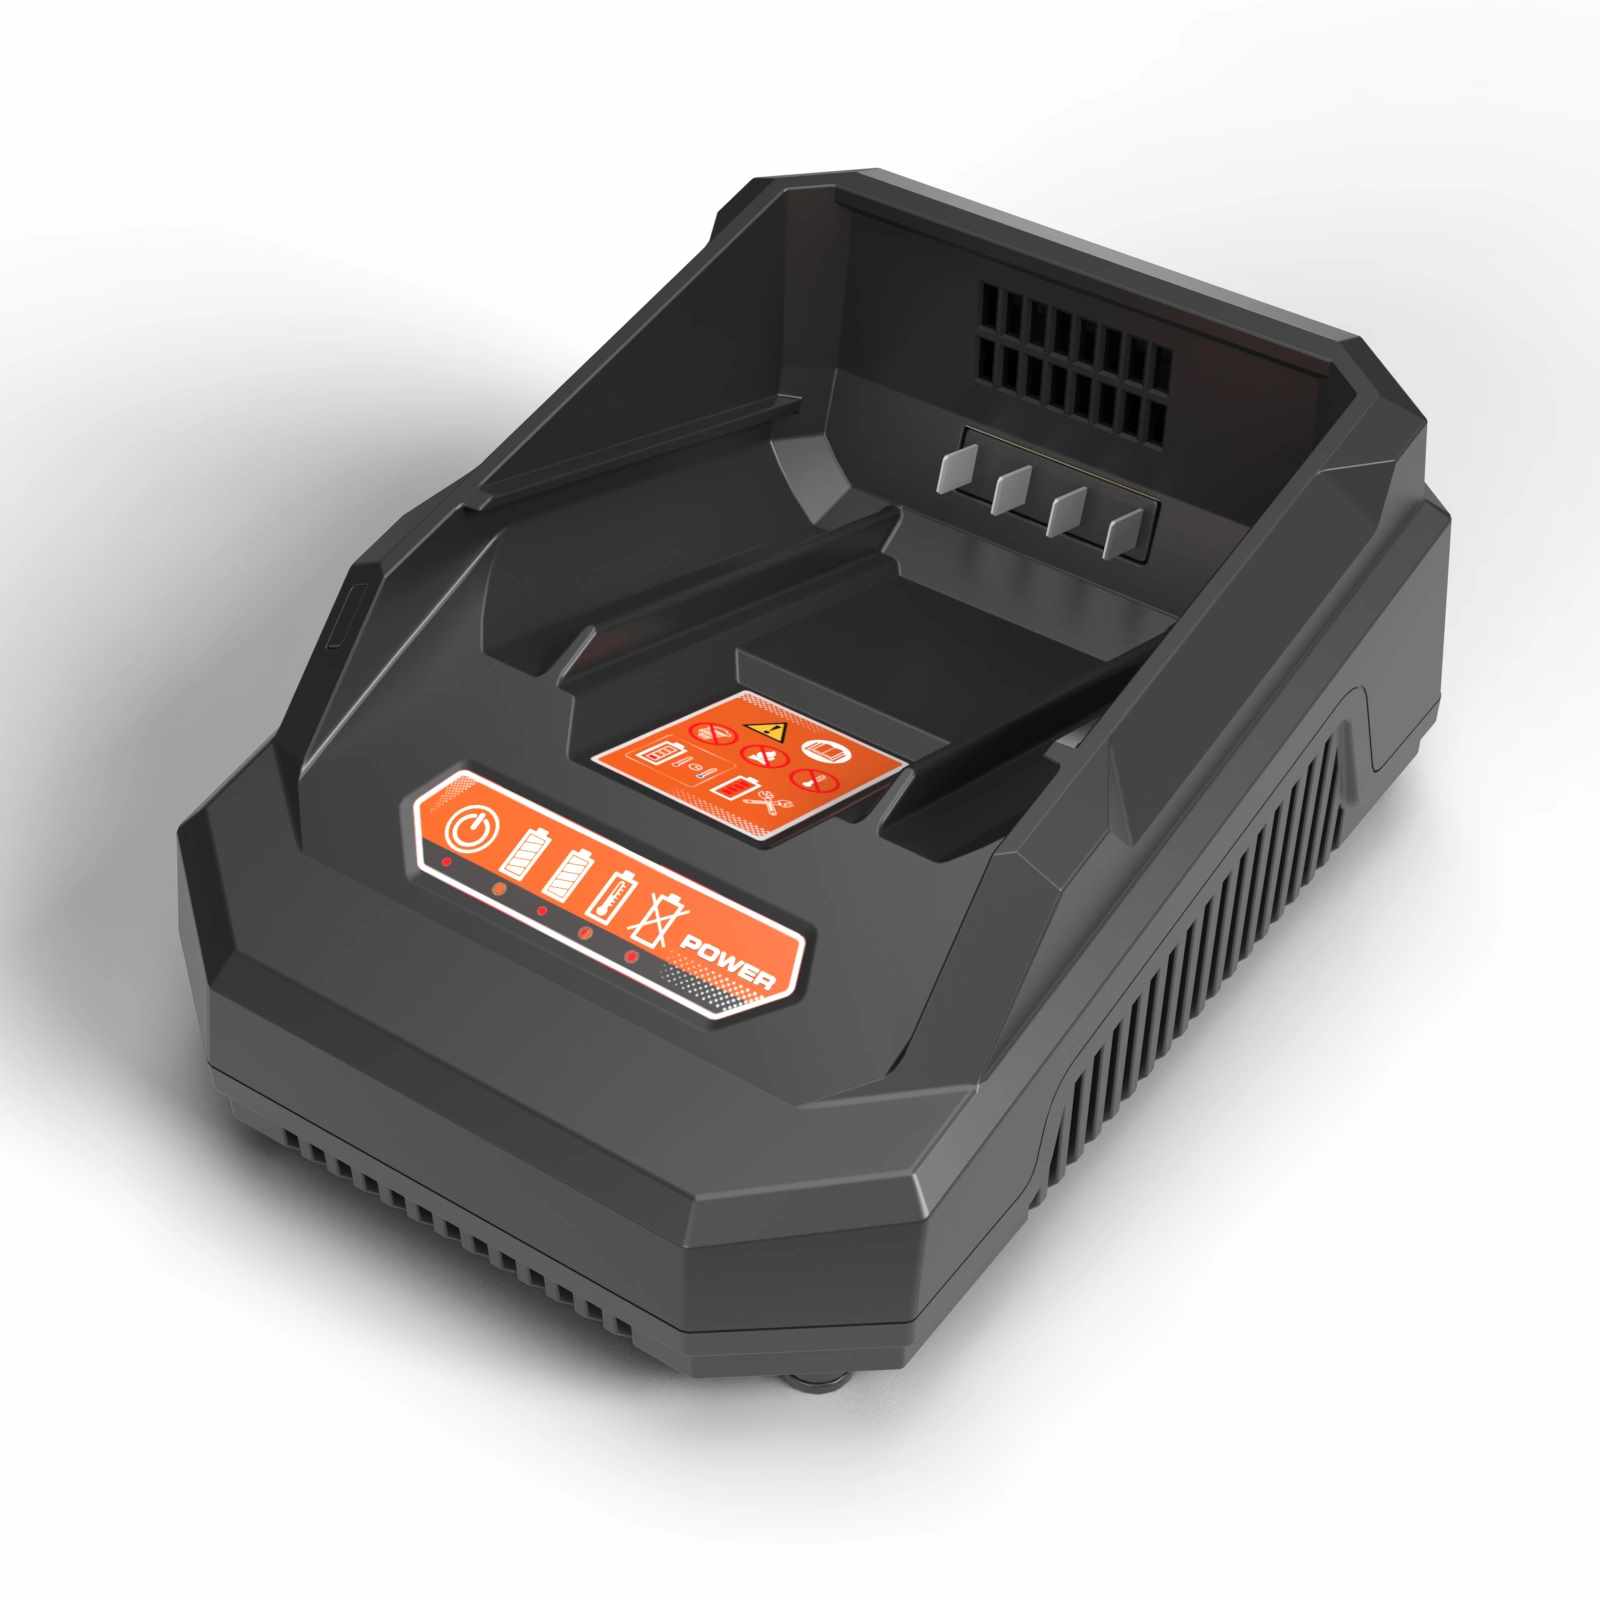
If your battery-powered snow blower won’t start:
- Confirm battery charge level with a voltmeter
- Clean battery contacts on both the unit and the pack
- Try a different battery
- Check for a blown internal fuse on supported models
Cold weather reduces lithium-ion performance. Warm the battery at room temperature for 30 minutes before use.
Reset the Battery Management System
Some batteries enter safe mode after deep discharge or overload. Remove the battery and hold the power button for 15 seconds to reset the system. Reinsert and try again. If still unresponsive, charge fully and avoid using on wet snow until restored.
Prevent Future Failures
Clean and Lubricate After Each Use
After clearing snow, wipe down the auger and chute. Remove ice buildup with a plastic scraper, never metal. Apply dielectric grease to electrical connectors to prevent moisture ingress. Lubricate the bearing annually with waterproof grease rated for low temperatures.
Store Properly Off-Season
Store the snow blower in a dry, temperature-stable location. For corded models, hang the cord loosely and never wrap tightly around the unit. Remove batteries and charge to 50% before storage. Cover the unit to prevent dust and pest intrusion.
Replace Worn Parts Early
Don’t wait for failure. Inspect brushes, belts, and bearings at the start of each season. Replace spark plugs annually on dual-power models, and check all fasteners for tightness. A few minutes of maintenance can prevent hours of downtime during a storm.
Frequently Asked Questions About Electric Snow Blower Problems
Why does my electric snow blower hum but not spin?
A humming motor with no rotation usually points to a seized ball bearing. Moisture and cold weather cause the inner race to lock up, stalling the motor. Try rotating the auger by hand with the unit unplugged. If it won’t move, bearing replacement is needed.
How do I reset my electric snow blower after it stops working?
Most units have a thermal reset button near the motor or power switch. Press it firmly. If it clicks and stays in, power should restore. If it pops out again, there’s an internal short or mechanical bind that needs further diagnosis.
What should I check first when my electric snow blower won’t start?
Start with the power source. Verify the outlet is live with a lamp or voltage tester. Inspect the cord for damage. For battery models, confirm the battery is charged and properly seated. Many no-start issues trace back to simple power delivery problems.
Can cold weather cause an electric snow blower to stop working?
Yes. Cold temperatures reduce battery efficiency and thicken lubricants, putting extra strain on the motor. Bearings are especially vulnerable in wet, freezing conditions. Warm batteries indoors before use and store the unit in a temperature-stable location.
How long do electric snow blower motors typically last?
With proper maintenance, electric motors can last many years. Key factors include regular bearing lubrication, brush replacement when worn, and keeping electrical connections clean and dry. Sealed bearings and protected wiring extend motor life significantly.
Is it worth repairing an electric snow blower or buying a new one?
Repair makes sense for single-component failures like bearings, brushes, or switches, especially if parts are locally available. Replace the unit if multiple components have failed, the motor has burnt windings, or repair costs approach replacement cost.
Key Takeaways for Fixing Your Electric Snow Blower
Most electric snow blower not working issues stem from simple causes: dead outlets, tripped resets, or seized bearings. By following this guide, you can diagnose and fix the problem in under an hour. Focus on power delivery first, then mechanical movement, then internal components.
With proper care, your electric snow blower can last for years without major repairs. Pro Tip: Source replacement parts locally when possible. A bearing purchased in town can save days of shipping time and get you back to clearing snow before the next storm hits.



