
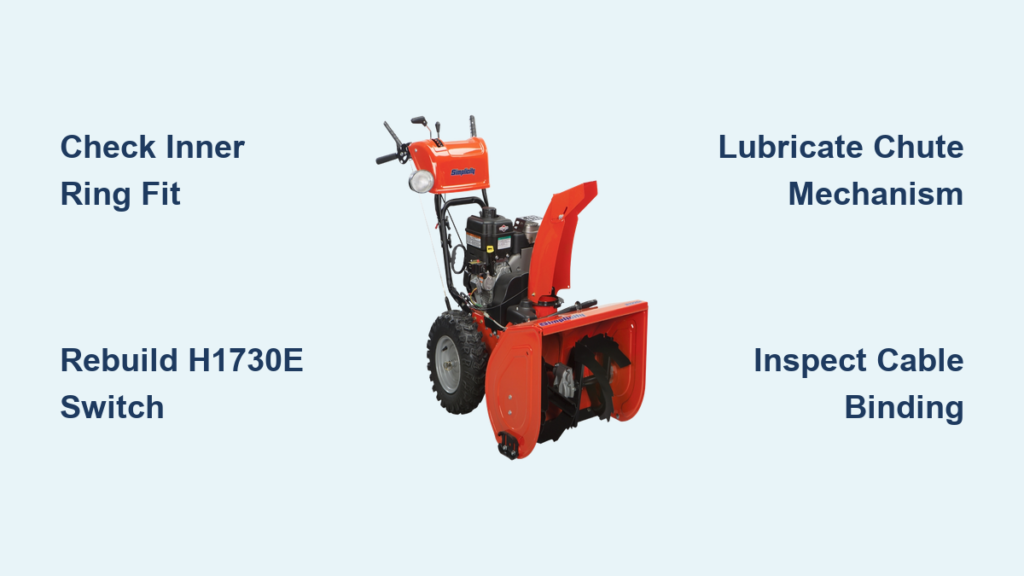
When your Simplicity snow blower chute stops turning in the middle of a storm, the problem can feel urgent. Most owners experience this issue at some point, especially after seasonal storage or heavy use. The good news is that the cause is usually a simple mechanical or electrical issue you can fix in under an hour.
This guide walks you through every common cause of a stuck chute on Simplicity snow blowers. You will learn how to diagnose the issue, adjust the inner ring, rebuild the H1730e control switch, and apply lubrication for long-term reliability.
Diagnose Chute Rotation Failure
Check Control Type First
Before touching any parts, identify which control system your Simplicity model uses:
- Manual rotation: Handle directly turns the chute via an inner ring
- Cable-operated: Pulling the handle moves a cable linked to the mechanism
- Electric (power chute): Uses a motor and the H1730e switch for remote control
This determines your troubleshooting path. On power models, electrical faults are common. On manual models, mechanical binding is almost always the culprit.
Rule Out Ice and Debris
Start with the simplest fix: clear all snow, ice, and debris from the chute housing. Use a plastic scraper or gloved hand to remove packed snow around the base. Ice buildup between the inner ring and housing can completely block rotation, even if the rest of the mechanism works perfectly. If the chute moves slightly but binds, this may be your only issue.
Test Handle Movement
Move the control handle left and right and note what you feel:
- If it feels loose or disconnected, the cable may be detached or broken
- If it is stiff or immovable, check for frozen pivots or a jammed gear
- If the handle moves but the chute does not, the inner ring is likely misaligned or binding
Listen for clicking or grinding sounds, which are signs of gear engagement problems.
Fix Inner Ring Binding Issues

Remove Top Cover to Access Mechanism
Locate the two mounting screws on the top cover, one on each side. Use a screwdriver to remove them, then carefully lift the cover off. This exposes the inner ring, gears, and cable connection points. Set screws aside in a safe place.
Inspect Inner Ring Fit
The central metal ring must slide smoothly into the chute housing. If it is too tight to install without force, the likely causes are:
- Slight bending or warping
- Too small a diameter (common with aftermarket parts)
- Crowning (a slight bulge at the outer edge)
Any of these conditions cause binding. A properly fitting ring should slide in with minimal resistance, with no hammering or prying needed.
Grind or File Ring for Proper Fit
If the ring binds, follow these steps:
- Identify the tightest contact point
- Use a file or angle grinder to lightly reduce the outer diameter at that spot
- Focus on the edge where it rubs against the housing
- Test fit frequently and remove only enough material to allow free movement
Warning: Over-grinding ruins the ring. Work slowly and test often.
Reinstall Ring Correctly
This is the most common mistake: installing the ring backwards.
The ring has three holes:
- One is for the trim ring
- Two are for alignment
- The center hole must face the rear of the machine
Also, position the handle in the center of its travel (chute pointing straight ahead) before reassembly. Align all holes correctly, then slide the ring in gently. No force should be required. Incorrect orientation prevents rotation even if the fit is perfect.
Add Washers to Reduce Friction
If the ring still binds after correct installation:
- Place 2 to 3 thin washers under each mounting screw
- This raises the ring slightly, reducing contact pressure with the housing
- Reassemble and test rotation
This simple fix resolves minor fit issues without permanent modification.
Repair Power Chute Electrical System
Test H1730e Control Switch
On electric chute models, the H1730e switch is a frequent failure point. If the motor does not engage when you toggle the switch, test it with these steps:
- Disconnect the spark plug wire for safety
- Remove the switch from its housing
- Use a multimeter to check continuity in both directions
- Inspect internal contacts for pitting, arcing, or corrosion
Often, one contact shows damage while the other has no contact at all, causing complete failure.
Rebuild the Switch
The H1730e is fully rebuildable and does not need replacement (which costs about $35).
Follow these steps:
- Gently pry open the housing by releasing the retaining tabs
- Expose the rocker mechanism and contacts
- Clean both contact surfaces with fine sandpaper or contact cleaner
- Slightly bend the moving contact arm to ensure centered, solid contact
- Reassemble and test
Pro Tip: Center alignment is critical. The cradle must engage both terminals evenly. A successful rebuild takes 10 to 20 minutes and costs nothing.
Verify Motor and Actuator
If the switch tests good but the chute still will not move:
- Listen for a humming sound when toggling the switch
- If you hear noise, the actuator may be frozen, so clear ice and debris
- If silent, check wiring connections and test motor operation
Replace the actuator only if the motor is dead and the switch is confirmed functional.
Address Cable System Problems

Inspect Cable for Binding
Even if the cable is not broken, it can cause problems:
- Be disconnected at either end
- Bind inside the housing due to corrosion
- Lose tension from stretching
Check both ends: one connects to the handle, the other to the chute mechanism. Ensure full range of motion.
Lubricate or Replace Cable
If the cable moves stiffly:
- Apply white lithium grease to the cable sheath
- Work the handle back and forth to distribute lubricant
- If still stiff, replace the cable (cost varies by model)
A smooth-operating cable ensures full control transfer to the chute.
Lubricate for Smooth Operation

Use White Lithium Grease
White lithium grease is the factory-recommended lubricant for cold-weather performance. It resists freezing and reduces friction between metal surfaces.
Apply to:
- Inner ring surface
- Housing contact points
- Pivot joints
- Cable linkages
- Gear teeth (lightly)
Avoid over-lubing, as excess grease attracts snow and debris.
Lubricate Annually or After Repair
Schedule lubrication:
- Once per season as part of pre-winter prep
- After any chute disassembly
- More often if used frequently in wet snow
Proper lubrication prevents most future binding issues.
Prevent Future Chute Problems
Perform Annual Maintenance
For machines over 5 years old, check these components:
- Drive belts for wear and tension
- Auger bearings for play or noise
- Impeller blades (replace if chipped or thin)
- All fasteners (tighten as needed)
- Chute control system (lubricate and test)
Catching small issues early prevents major failures.
Store Properly in Summer
Prevent corrosion and component degradation with these steps:
- Drain fuel or add stabilizer and run engine for 5 minutes
- Remove battery and store in a cool, dry place
- Disconnect spark plug wire
- Spray oil into the cylinder to prevent rust
- Cover machine and store in a dry garage
Proper storage prevents switch corrosion and cable seizing.
Upgrade Key Components
Consider these improvements:
- Use OEM parts instead of aftermarket rings for better fit
- Install a battery warmer for reliable electric start below 15°F
- Keep a rebuildable H1730e switch on hand
Small investments pay off in long-term reliability.
Verify Repair Success
Test Full Range of Motion
After reassembly:
- Turn the handle fully left and right
- Confirm the chute rotates smoothly without resistance
- Check that the latch holds position securely
- Ensure the chute returns to center when released
Any binding means you should recheck ring fit and alignment.
Check Electrical Response (Power Models)
Cycle the switch and confirm:
- Chute responds immediately
- No hesitation or intermittent operation
- Full travel in both directions
If sluggish, recheck switch contacts or lubricate the actuator.
Final Pre-Use Checklist
- Chute rotates freely
- No binding or grinding
- Latch holds position
- All screws tightened
- Lubrication applied
- Spark plug reconnected
Only operate the snow blower once all checks pass.
Frequently Asked Questions About Simplicity Snow Blower Chute Problems
Why does my Simplicity snow blower chute bind after storage?
Ice, snow residue, and corrosion are the main culprits after seasonal storage. Moisture gets into the chute housing and freezes the inner ring in place. Before each season, clear all debris from the mechanism, inspect the ring for rust or warping, and apply white lithium grease to all contact surfaces. This typically resolves any post-storage binding.
How do I know if the H1730e switch is the problem?
If your power chute stops responding but you can hear the motor hum when toggling the switch, the switch contacts are likely dirty or worn. Test continuity with a multimeter in both positions. If one direction shows no continuity, the switch needs cleaning or rebuilding. Most H1730e failures are caused by pitting on one contact and no contact on the other.
Can I fix the inner ring without buying a new one?
Yes, in most cases. A file or angle grinder can remove small amounts of material from the ring’s outer edge to correct binding. The key is working gradually and testing fit frequently. Over-grinding ruins the ring, so remove only what is necessary. Adding 2 to 3 thin washers under the mounting screws is another effective solution for minor fit issues.
What is the most common mistake when reassembling the chute?
Installing the inner ring backwards. The ring has three holes: one for the trim ring and two for alignment. The center hole must face the rear of the machine. Before reassembly, position the handle in the center of its travel so the chute points straight ahead. This ensures proper alignment and prevents binding even if the ring itself fits well.
How often should I lubricate the chute mechanism?
Once per season is the minimum recommendation. Apply white lithium grease before winter storage and again at the start of the snow season. If you use your machine frequently in wet snow, lubricate every 10 to 15 hours of operation. Any time you disassemble the chute for repair, fresh lubrication is essential.
Is it worth rebuilding the H1730e switch versus replacing it?
Rebuilding is almost always the better choice. The process takes 10 to 20 minutes, requires only basic tools and fine sandpaper, and costs nothing. Replacement switches run about $35. The H1730e is fully rebuildable, and a proper cleaning and contact adjustment restores full function in nearly all cases. Keep a spare rebuilt switch on hand for future failures.
Key Takeaways for Fixing a Stuck Simplicity Chute
A Simplicity snow blower chute not turning is rarely a major failure. In most cases, the cause is a simple fix involving the inner ring fit, switch contacts, or lubrication. The most critical step is correct ring installation: center hole facing the rear, handle centered, and no forced assembly.
On power models, rebuild the H1730e switch before buying a replacement. It is fast, free, and effective. With proper annual maintenance and correct summer storage, your Simplicity will deliver smooth, reliable chute control for years. Address issues early, lubricate consistently, and store properly to avoid winter surprises.



