
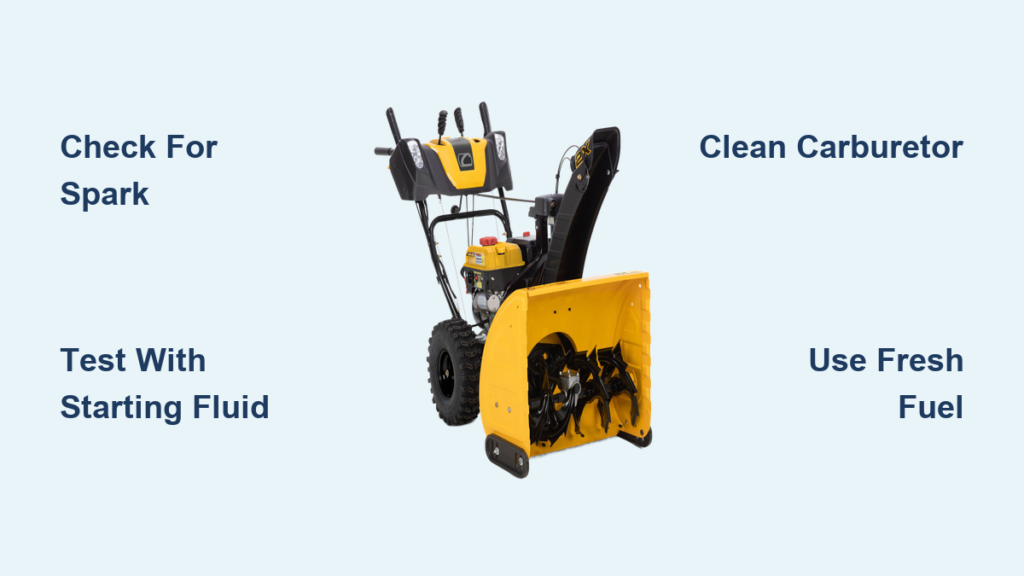
You pull out your Cub Cadet snow blower on a cold winter morning, ready to clear the driveway, only to find it won’t start. You’re not alone. A Cub Cadet snow blower will not start is one of the most common small engine complaints, especially after seasonal storage. The culprit? Usually a clogged carburetor caused by old, degraded fuel. This guide walks you through proven steps to diagnose and fix the issue, often in under an hour. You’ll learn how to check for spark, test fuel delivery, clean the carburetor, and avoid future starting problems.
Check for Spark First
Before diving into the fuel system, confirm your engine is getting spark. No spark means no ignition, even with perfect fuel and compression.
Remove and Test the Spark Plug
- Locate the spark plug (a small, wire-connected port on the engine).
- Remove the plug using a 10mm socket or wrench.
- Reattach the spark plug wire to the plug.
- Hold the metal base of the plug against the engine block to ground it.
- Press the start button or pull the recoil cord.
Watch for a strong blue spark jumping the gap.
- Blue spark means your ignition is fine. Move to fuel testing.
- No spark or weak orange spark means the problem is in the ignition system.
Diagnose No-Spark Issues
If there’s no spark, take these steps:
- Inspect the spark plug for fouling, corrosion, or wide gap.
- Replace if damaged, then retest for spark afterward.
- Check the ignition coil. A failing coil is a common cause.
- Verify safety switches like the chute control or handle switch are engaged.
Pro Tip: Spark plugs are rarely the root cause. Always test for spark at the plug rather than assuming a replacement fixes the issue.
Test with Starting Fluid
If you have spark, the next step is to confirm whether the engine can fire with external fuel.
Quick Starting Fluid Test
- Remove the spark plug again.
- Spray a 1–2 second burst of starting fluid into the cylinder.
- Reinstall the spark plug.
- Attempt to start the engine.
What happens?
- Engine pops or fires briefly? You have compression and spark. Fuel delivery is the problem.
- No response at all? Recheck spark or suspect compression issues, which are rare on these engines.
This test is a game-changer. One user reported that a friend used starting fluid and got the engine running, confirming a clogged carburetor in minutes.
Drain and Inspect Old Fuel
Old fuel is the leading cause of starting failure. Gasoline breaks down in as little as 30 days, leaving varnish that clogs tiny carburetor passages.
How to Drain Fuel Safely
- Tilt the snow blower slightly to drain fuel from the carburetor bowl.
- Place a clean container under the drain to catch fuel.
- Observe the fuel’s condition:
– Dark, sticky, or foul-smelling fuel is degraded.
– Milky appearance means water contamination.
– Clear and fresh fuel may not be the issue.
Replace with Fresh Fuel
- Use ethanol-free gasoline whenever possible, as it resists gumming.
- If using regular gas, add fuel stabilizer and use within 30 days.
- Never leave fuel in the tank or carburetor over summer.
Warning: Running the machine dry isn’t always enough. Fuel often remains in the carburetor bowl, where it degrades and clogs jets.
Fix the Clogged Carburetor
A clogged carburetor is the most common reason a Cub Cadet snow blower will not start. The main jet, pilot jet, and emulsion tube are tiny and easily blocked by varnish.
Tools You’ll Need
- 10mm wrench or socket
- Screwdriver
- Carburetor cleaner
- Compressed air
- Thin wire or a bread bag twist tie
- Clean rag and container
Remove the Carburetor
- Remove the choke knob and side bolts.
- Disconnect the fuel line and primer line.
- Loosen the two mounting nuts (usually 10mm).
- Carefully pull the carburetor off, noting the gasket and metal sleeves so you don’t lose them.
Tip: Some models are tight. Take your time. One user found a missing bolt, suggesting prior repair work.
Clean Critical Carburetor Parts
Clear the Main Jet
- Located at the base of the carburetor.
- Use a twist tie or thin wire to poke through the tiny hole.
- Spray carb cleaner, then blow air through.
Clean the Pilot Jet
- A smaller jet near the throttle.
- Clear with wire and blow air through.
Unclog the Emulsion Tube
- A tube with multiple pinholes.
- Use wire to clear each hole, then spray and blow.
- Hold it up to light to check for blockages.
Check the Float and Needle Valve
- Ensure the float moves freely.
- Verify the needle seals when the bowl is installed.
- The needle and seat can fall out when removing the bowl. Work over a clean surface.
Pro Tip: One user “power washed” the carb with carb cleaner, spraying aggressively through all passages. It worked where a quick spray failed.
Reinstall the Carburetor
- Reassemble the float, needle, and jets.
- Replace the gasket and metal sleeves.
- Reconnect fuel and primer lines.
- Tighten mounting nuts securely.
Try starting with fresh fuel and proper priming.
Try a Quick Bowl-Only Clean
You might not need to remove the entire carburetor. One user fixed their machine with a one-bolt fix.
Fast Cleaning Method
- Remove the float bowl (one bolt).
- Clean the main jet with a twist tie.
- Spray carb cleaner into the bowl cavity.
- Reinstall the bowl.
Caveat: The needle valve may fall out, making reassembly tricky. If this happens, remove the carburetor and work indoors in warm light.
Still not starting? Consider full carburetor replacement.
Diagnose Choke Problems
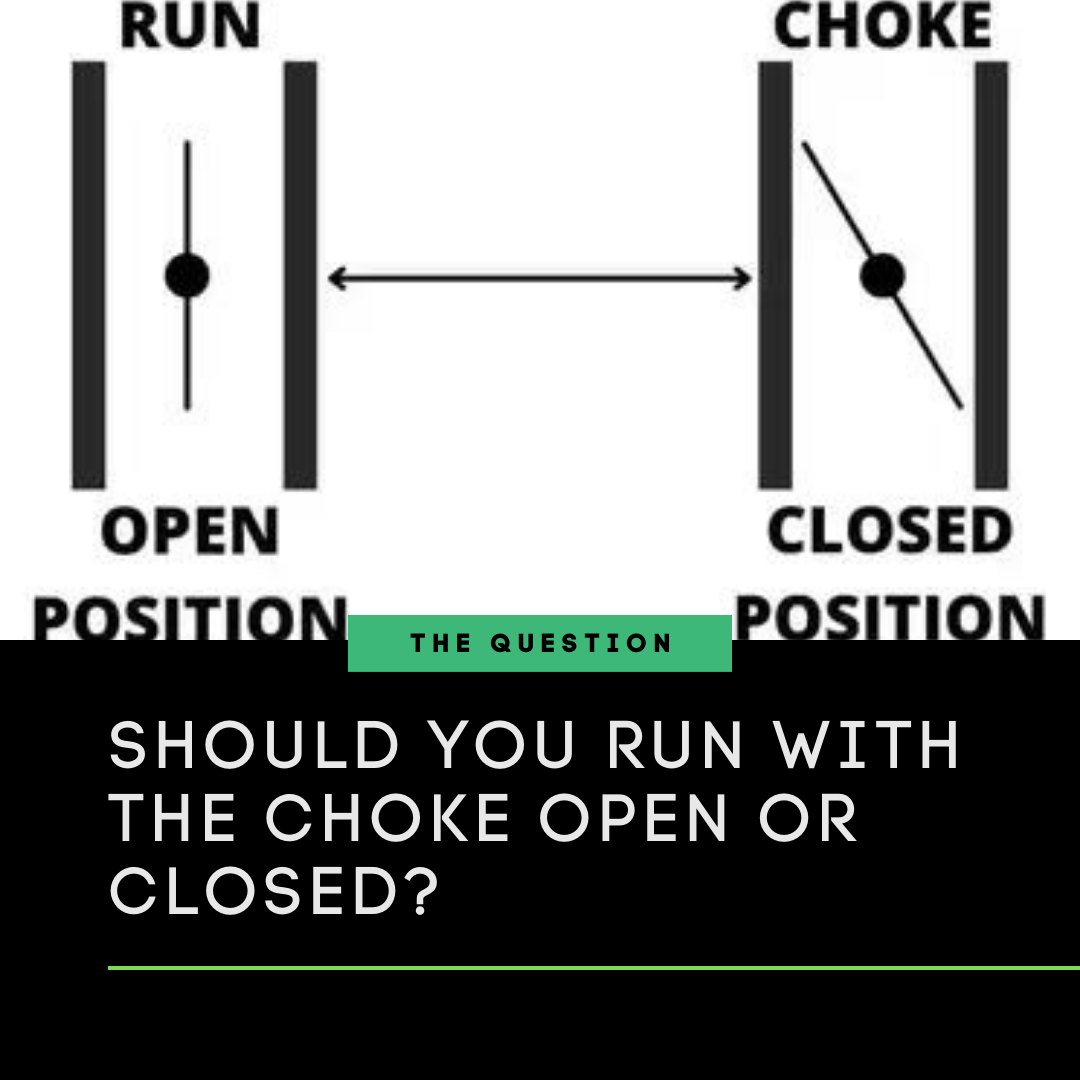
Incorrect choke use is a common mistake that mimics carburetor failure.
How Choke Works
- Choke closed (left position): More fuel, less air for cold starts.
- Choke open (right position): Normal air/fuel mix for running.
Signs of Choke-Related Issues
- Engine only runs with choke on means a clogged carburetor.
- Engine stalls when moving choke to run means fuel starvation.
- Engine surges or sputters means poor air/fuel mixture.
One user kept stalling after refueling, confused by the choke diagram. After cleaning the carb, the engine ran smoothly as the choke was moved to run.
Correct Starting Procedure
- Set throttle to low.
- Engage full choke.
- Prime properly: Hold the primer bulb for 3 seconds, release for 3 seconds, repeat 5 times.
- Start the engine.
- Gradually move choke to run as the engine warms.
Note: Some primer bulbs have a small hole. Cover it with your finger for better suction.
Decide: Clean or Replace the Carburetor?

Sometimes cleaning isn’t enough. Here’s how to decide.
When to Clean
- Machine sat with old fuel
- First-time starting issue
- You have tools and time
- Cost-saving is a priority
Time required: 1–3 hours
Cost: $5 for carb cleaner
When to Replace
- Ongoing starting issues since purchase
- Cleaning didn’t help
- Carburetor is corroded or damaged
- You want a guaranteed fix
OEM replacement: ~$93 at a Cub Cadet dealer
Aftermarket (eBay): Under $23
One user replaced theirs in December, ordered online, and kept the old one as a spare after cleaning it.
Key Insight: A carburetor can fail in under one year, especially with ethanol fuel and poor storage.
Prevent Future Starting Failures
Avoid next winter’s frustration with smart fuel and storage habits.
End-of-Season Fuel Prep
- Drain the tank completely.
- Run the engine until it stops to clear the carburetor bowl.
- Or fill with ethanol-free fuel plus stabilizer, then run for 5 minutes to circulate.
Best Fuel Practices
- Use ethanol-free gas to prevent gumming.
- Add stabilizer if storing with fuel.
- Use TrueFuel (canned fuel) for long-term storage.
- Avoid regular gas without stabilizer.
- Never leave fuel over 30 days.
Annual Maintenance Checklist
- Check spark plug condition
- Clean or inspect carburetor
- Verify fuel lines for cracks
- Lubricate auger and chute
- Store in a dry, covered area
Pro Tip: Clean the carburetor every year, even if it starts fine. Preventive cleaning saves hours of troubleshooting later.
When to Call a Pro
Not comfortable with DIY repairs? You have options.
On-Site Repair Services
Some technicians come to your home to:
– Diagnose starting issues
– Clean or replace the carburetor
– Tune up the engine
Check local small engine shops or search “Cub Cadet snow blower repair near me.”
DIY Support Resources
- YouTube: Search “How to Remove Carburetor From 3X26 Cub Cadet” for model-specific videos.
- Forums: User communities offer real-world advice.
- Manuals: Download your model’s manual online, though some cover multiple engines and can be confusing.
Frequently Asked Questions About Cub Cadet Snow Blowers That Won’t Start
How long can fuel sit in a Cub Cadet snow blower?
No more than 30 days. Old fuel degrades and clogs the carburetor with varnish and residue.
Why does my snow blower only run with the choke on?
This indicates a clogged carburetor. The tiny orifices (main jet, pilot jet, emulsion tube) are blocked and need cleaning or replacement.
Should I clean or replace the carburetor?
Try cleaning first. If the machine has had ongoing issues since purchase, replacement may be more cost-effective. OEM costs $93; aftermarket options can be found for under $23.
Is ethanol-free fuel really necessary?
Strongly recommended. Ethanol attracts moisture and leaves varnish deposits that clog carburetor passages over time.
Can I use starting fluid to diagnose the problem?
Yes. If the engine fires briefly with starting fluid, the issue is fuel delivery, not spark or compression. This is a fast way to confirm a clogged carburetor.
How do I find the carburetor on my model?
Consult online videos specific to your model, such as “How to Remove Carburetor From 3X26 Cub Cadet.” Owner’s manuals may be confusing if they cover multiple engines.
Key Takeaways for Fixing Your Cub Cadet Snow Blower
A Cub Cadet snow blower will not start is almost always a fuel delivery issue, most often a clogged carburetor from old gas. By checking spark first, testing with starting fluid, cleaning the carburetor, and using fresh ethanol-free fuel, you can fix it yourself in most cases. The repair is affordable, often requiring only basic tools and an hour of time.
Start by checking for spark, confirm fuel delivery with a quick starting fluid test, and clean or replace the carburetor if needed. With proper end-of-season fuel prep, you’ll prevent 90% of starting problems before they happen. Stay proactive, keep your carb clean, and never let old fuel ruin your winter again.



