
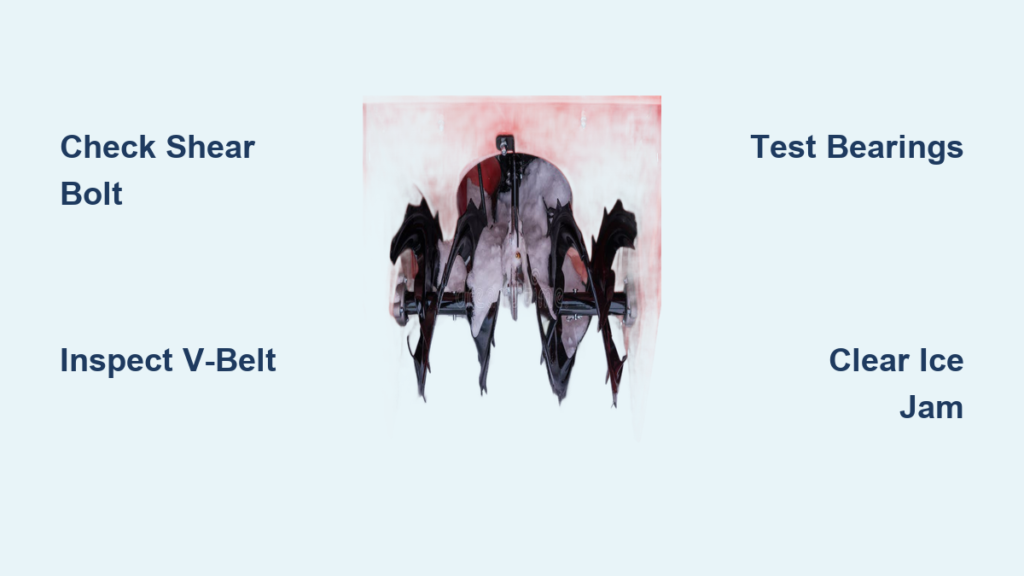
You start the engine after a heavy snowfall, ready to clear your driveway, only to find the snow blower auger not turning. The wheels move, the engine runs, but instead of throwing snow, the machine just pushes it forward. This is one of the most common and frustrating problems snow blower owners face during winter.
The issue typically means power isn’t being transferred from the engine to the auger system. Common causes include a broken shear bolt, worn V-belt, seized bearing, or gearbox failure. Smoke from the belt housing, engine stalling when the auger engages, or one auger spinning while the other remains still all point to specific underlying problems. By following a logical diagnostic path, starting with the simplest causes first, you can often fix the problem quickly and get back to clearing snow.
This guide walks you through every likely cause, how to identify it, and exactly how to fix it safely and effectively.
Start With the Shear Bolt

The shear bolt (or shear pin) is the most common reason a snow blower auger won’t turn. This is a designed weak point meant to break when the auger hits a rock, curb, or ice chunk, protecting the gearbox and engine from expensive damage.
Signs of a Broken Shear Bolt
A broken shear bolt produces recognizable symptoms. Look for these indicators:
- One auger spins freely while the other doesn’t (on dual-auger models)
- The auger shaft turns, but the blade assembly doesn’t
- A visible gap or empty hole where the bolt should connect the auger to the drive shaft
- The engine runs, but no power reaches the auger
How to Inspect and Replace a Shear Bolt
Follow these steps to check and replace a broken shear bolt:
- Turn off the machine and disconnect the spark plug wire. Safety always comes first.
- Remove the auger housing cover if needed for access.
- Locate the shear bolt on the auger shaft, usually on the side of the auger near the housing.
- Check both sides on dual-auger models. If one bolt is missing or cracked, that’s your problem.
- Remove the broken piece with pliers or a screwdriver.
- Insert a new OEM shear bolt. Never substitute a regular bolt.
- Secure it with the included lock nut. Hold the bolt head with a wrench and tighten the nut snugly, but don’t over-tighten.
- Manually rotate the auger to ensure smooth movement.
Pro Tip: Keep spare shear bolts on hand. They cost under $10 and can save you hours of downtime when failure happens mid-storm.
Why a Real Shear Bolt Matters
Using a standard bolt defeats the safety mechanism entirely. When the auger hits an obstacle, the bolt won’t break, and the impact transfers directly to the gearbox. This can result in stripped gears, damaged transmission components, or a seized motor. Repair costs can exceed $200, versus roughly $5 for a proper shear bolt.
Inspect the V-Belt for Damage

If the shear bolt is intact but the auger still won’t turn, the V-belt (or cogged belt) is the next likely culprit. This belt transfers power from the engine to the auger drive system and can wear out, stretch, or snap over time.
Symptoms of a Bad V-Belt
Watch for these warning signs:
- No auger movement despite the engine running
- Smoke coming from the belt housing when you engage the auger
- The auger pulley doesn’t spin when the lever is pulled
- Belt appears loose, cracked, or frayed during inspection
How to Check the Belt
Perform a thorough inspection with these steps:
- Disconnect the spark plug wire.
- Open the belt access panel or remove the front housing.
- Visually inspect the belt for cracks, fraying on the sides, or glazing (a shiny surface caused by slipping).
- Check for stretching by examining how much slack exists when disengaged.
- Shine a flashlight under the belt to check contact with the pulley. Hidden wear on the underside is common.
- Engage the auger lever and verify the tension roller pulls the belt taut.
Belt Replacement Steps
Replace a compromised belt using this procedure:
- Release tension on the belt by disengaging the auger.
- Slide the old belt off the pulleys.
- Route the new OEM-specified belt following the manufacturer’s diagram.
- Re-engage the tensioner and ensure the belt is fully seated.
- Reassemble the housing.
Warning: A belt that looks fine on top may be worn underneath. If symptoms persist after visual inspection, replace it anyway.
Test for Seized Auger Bearings
Bearings support the auger shaft and allow smooth rotation. If they seize due to age, ice, or lack of lubrication, the auger won’t turn, even if the drive system is otherwise functional.
Symptoms of Bad Bearings
Look for these indicators of bearing failure:
- Auger won’t turn by hand
- Grinding noise during operation
- Resistance when rotating the auger manually
- One side spins freely while the other is stuck
How to Diagnose and Replace Bearings
Follow this diagnostic and replacement process:
- Disconnect the spark plug wire.
- Remove the auger housing.
- Try rotating the auger shaft by hand. If it’s stiff or frozen, suspect the bearings.
- Inspect both front and rear bearings for rust, cracks, or dryness.
- Spin each bearing. If they don’t turn smoothly, replace them.
- Use a bearing puller or gentle tapping to remove old bearings.
- Install new ones and pre-grease them using lithium white grease.
- Reassemble and test the auger manually.
Pro Tip: Ice buildup can mimic bearing failure. If the auger is frozen, let it thaw in a warm garage or use a heat gun. Never force a frozen auger.
Examine the Auger Assembly for Damage

Even with a good belt and shear bolt, a bent, cracked, or worn auger won’t spin properly. Physical damage to the auger itself is often overlooked but important to check.
What to Look For
Inspect the auger assembly for these issues:
- Warped or cracked blades
- Bent auger shaft
- Loose or missing bolts on the blade assembly
- Uneven snow pickup during operation
Repair Options
Choose the appropriate fix based on damage severity:
- Minor blade damage: Replace individual blades if your model allows.
- Severe damage: Replace the entire auger assembly.
- Loose components: Tighten all fasteners and check for stripped threads.
Always consult your owner’s manual for correct part numbers and torque specifications.
Diagnose Gearbox Failure (Dual-Stage Models)
If the engine runs, the drive works, and the shear bolt and belt are fine, but the auger still won’t turn, gearbox failure is likely. This applies especially to dual-stage snow blowers, which use gears to transfer power to the auger.
Common Gearbox Issues
Watch for these internal problems:
- Stripped brass worm gear (common in PowerSmart, Toro, and similar models)
- Chipped or worn gear teeth
- Failed output shaft
- Lack of lubrication or contamination inside the gearbox
How to Confirm Gear Damage
Verify gearbox failure with these steps:
- Disconnect the spark plug wire.
- Remove the front housing and auger.
- Manually turn the drive shaft. If it spins but the auger doesn’t, the gears are likely stripped.
- Remove the gearbox cover (if accessible) and inspect internal gears.
- Look for missing or chipped teeth, metal shavings in the grease, or a cracked or loose worm gear.
Repairing a Stripped Gearbox
A full gearbox repair is complex but doable with patience:
- Disassemble the transmission case by removing side bolts and housing caps. Gently separate the case halves and watch for stuck bushings or lost spacers.
- Clean thoroughly using brake cleaner or oven cleaner. Scrub with a stiff brush and blow out debris with compressed air.
- Replace damaged parts with new OEM components, including a new brass worm gear or full gearbox assembly if needed.
- Reassemble with proper lubrication by applying lithium white grease to gears and bearings. Use a grease gun to fill the housing, then reinstall spacers and caps in the correct order.
- Reconnect the auger engagement cable and belt before testing.
Expert Note: This is a complex repair. If you lack experience with gear systems, consider professional help.
Clear Ice and Debris Jams
Sometimes the auger isn’t broken. It’s just frozen. Ice and packed snow can stop the auger from turning even when all mechanical components are in good shape.
How to Fix an Ice-Jammed Auger
Follow these steps to clear an ice jam:
- Turn off the machine and disconnect the spark plug wire.
- Inspect the auger and impeller for packed snow or ice buildup.
- Use a plastic scraper or rubber mallet to break up ice. Never use metal tools, which can damage components.
- Let the machine sit in a warm garage to thaw if ice is extensive.
- Once clear, manually rotate the auger to ensure smooth movement.
Prevention Tip: After each use, run the snow blower without snow for 30 seconds to blow out moisture and prevent freezing.
Verify Operational Settings First
Before diving into mechanical repairs, confirm that basic operational settings aren’t the cause. Sometimes the simplest explanation is the right one.
Quick Operational Checks
Run through this short checklist:
- Is the snow blower in transport mode? Some models disable the auger in this position.
- Is the throttle set high enough? Low RPM may prevent auger engagement.
- Is the choke closed? The engine may lack power if still in cold-start mode.
- Is the auger lever fully engaged? The cable may be loose or misadjusted.
Follow This Troubleshooting Sequence

Save time and effort by working through this logical diagnostic flow:
-
Does the engine start?
– No: Check the spark plug, fuel, and carburetor
– Yes: Continue -
Can you turn the auger by hand?
– No: Check for ice or seized bearings
– Yes: Continue -
Is the shear bolt intact?
– No: Replace with a proper OEM shear bolt
– Yes: Continue -
Is the V-belt damaged or loose?
– Yes: Replace the belt
– No: Continue -
Is there smoke from the belt housing?
– Yes: Belt is slipping or burning. Replace it.
– No: Continue -
Are the bearings smooth?
– No: Replace the bearings
– Yes: Continue -
Are the gearbox gears stripped?
– Yes: Repair or replace the gearbox
– No: Recheck connections and cables
Safety Rules You Must Follow
Ignoring safety can lead to serious injury. Always follow these protocols:
- Disconnect the spark plug before any inspection or repair.
- Never work on a running machine.
- Secure the auger before working. Blades can snap back violently when freed.
- Use OEM parts only, especially for shear bolts and belts.
- Wear gloves and eye protection during all repairs.
Critical Reminder: The shear bolt is a safety device. Replacing it with a regular bolt risks catastrophic internal damage and voids your warranty.
Prevent Future Auger Failures
A little regular care prevents most breakdowns and extends the life of your snow blower.
Maintenance Checklist
Follow this routine to keep your machine running well:
- After each use: Clear snow and ice from the auger and housing.
- Monthly during the season: Inspect the belt, shear bolts, and bearings.
- End of season: Drain fuel or add stabilizer, lubricate gears and bearings, and store in a dry place.
- Always: Keep spare shear bolts, belts, and grease on hand.
Pro Tip: Take photos during disassembly. They’re invaluable when reassembling complex parts like the gearbox.
When to Call a Professional
Some repairs are best left to experienced technicians:
- Gearbox disassembly, especially if you lack specialized tools
- Internal gear replacement requiring precision and a clean workspace
- Persistent issues after replacing the common parts
- Situations where you lack confidence in the mechanical work
A repair shop can diagnose and fix complex issues quickly, usually for less than the cost of replacing a ruined transmission.
Frequently Asked Questions About Snow Blower Auger Problems
Why does my snow blower auger stop spinning when I engage it?
A sudden stop when engaging the auger usually means a broken shear bolt, a slipping V-belt, or ice jamming the mechanism. Start by checking the shear bolt, since it’s the most common and easiest fix.
How much does it cost to fix an auger that won’t turn?
Costs vary widely by cause. A shear bolt replacement runs under $10 and takes minutes. A V-belt replacement costs moderate dollars and takes 30-60 minutes. Gearbox repairs or auger assembly replacements are the most expensive, sometimes exceeding $200 in parts and several hours of labor.
Can I use a regular bolt instead of a shear bolt?
No. Regular bolts are stronger and won’t break under impact. This transfers the force to the gearbox and engine, causing stripped gears, motor strain, or transmission damage. Always use the correct OEM shear bolt with its notched or weakened design.
Why does smoke come from my snow blower’s belt housing?
Smoke from the belt housing indicates the belt is slipping, burning, or severely worn. The friction generates heat and visible smoke. Stop using the machine immediately and inspect or replace the belt before further use.
How do I tell if my snow blower gearbox is bad?
If the engine runs, the drive system works, and the shear bolt and belt are all fine, but the auger still won’t turn, the gearbox is suspect. Disassemble the gearbox to check for stripped gears, chipped teeth, or metal shavings in the grease.
Should I repair the gearbox myself or hire a professional?
Gearbox disassembly and repair is complex and requires precision, specialized equipment, and careful organization of small parts like spacers. If you lack experience with mechanical gear systems, professional repair is the safer and often more cost-effective choice.
Final Takeaways on Fixing a Snow Blower Auger
A snow blower auger not turning is a common problem, but rarely a hopeless one. In most cases, the fix is simple and inexpensive when you follow a logical diagnostic path.
Start with the shear bolt. It’s the number one cause and takes only minutes to replace. Next, inspect the V-belt, looking underneath, not just at the surface. Test the bearings and clear any ice before assuming deeper mechanical failure. Save the gearbox for last, since it’s the most complex and costly repair.
By following this guide, you can diagnose the problem accurately, make the repair safely, and get back to clearing snow without paying for unnecessary service calls. A $5 shear bolt can prevent $300 in damage. Always use the right parts, follow safety rules, and maintain your machine regularly. Your snow blower will reward you with years of reliable service.



