
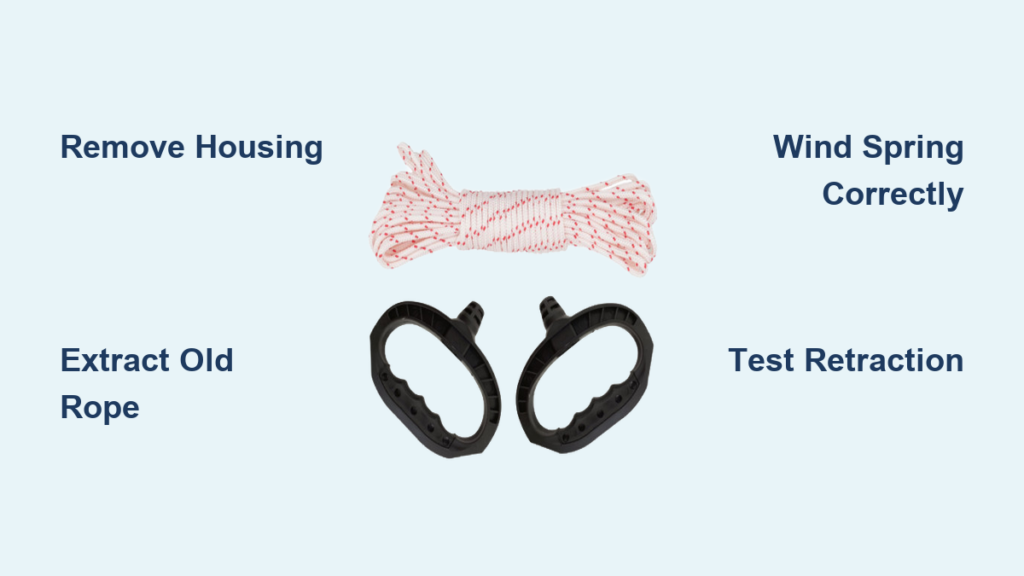
A broken snow blower pull cord can turn a quick winter chore into a frustrating ordeal. When the rope snaps or vanishes into the housing, you’re left stranded—especially during heavy snowfall or power outages when electric start isn’t an option. The good news: replacing a snow blower pull cord is a quick, low-cost DIY repair that takes under 30 minutes with basic tools. You don’t need to replace the entire starter assembly in most cases.
This guide walks you through every scenario: pre-drilled holes, no holes, and even when the rope has retracted into the housing. Whether you own a mid-90s model or a modern machine, these steps apply universally to Tecumseh engines and similar recoil starters found on lawnmowers, chainsaws, and other small engines.
Remove Starter Housing Safely
Locate and Remove Mounting Screws
The starter assembly is held in place by two quarter-inch hex-head screws, one on each side of the housing. Use a standard screwdriver to remove them carefully and keep them nearby for reassembly. Once both screws are out, gently pull the starter case away from the engine block. This exposes the starter reel, return spring, and rope spool mechanism.
Prevent Accidental Spring Release
Before touching the rotor, confirm the spring isn’t under tension. If the cord broke while partially wound, the spring may still be coiled tightly. Sudden release can cause injury or internal damage, so work slowly and avoid rotating the reel until you can control it with a screwdriver or vice grips.
Extract the Old Pull Cord Completely
Pull Out Remaining Rope Pieces
Start by removing any visible remnants of the broken cord. Pull it gently from the housing and avoid yanking, since it may be snagged under the recoil mechanism. Use needle-nose pliers to grip frayed ends or extract lodged pieces. Leftover fibers can interfere with the new cord’s path and cause binding.
Retrieve Retracted Rope with a Sharp Pick
If the rope snapped and pulled back into the housing, slide a sharp pick through the housing opening and hook the end from inside. Pull it out gently. If you can’t reach the tip, you’ll need to create a new access point.
Melt Tip of Intact Cord for Easier Feeding
If the old cord is still mostly intact but frayed at one end, trim the damaged portion and melt the tip with a lighter. This seals the fibers and makes it easier to guide through the spool during removal or reuse.
Prepare a New Starter Rope

Cut Rope to 67 Inches
Use #4.5 diameter polypropylene rope, which is durable and resistant to cold-weather fraying. Cut a 67-inch length, the standard for most Tecumseh-based snow blowers and similar small engines. Measure precisely: too short limits your pull stroke, and too long may cause tangling.
Attach Handle and Tie a Secure Knot
Thread one end through the replacement handle, which is available in kits at most hardware stores. Tie a triple knot inside the handle. Double knots work in most cases, but over-knotting prevents slippage under stress. Pull the knot tight using pliers or a wrench, then trim the excess with nippers.
Pro Tip: A loose knot during startup can cause the cord to release mid-pull—dangerous and frustrating. Always over-knot for safety.
Melt Rope End to Prevent Fraying
Briefly melt the free end of the new rope with a lighter before threading. This seals the fibers and keeps them intact as you feed the cord through tight spaces. Wear safety gloves, because this step gets hot fast.
Install Cord on a Rotor with Pre-Drilled Holes
Lock the Rotor with a Screwdriver
Pull the cord fully out if possible and insert a screwdriver through the rotor’s pre-drilled hole to lock it in place. This prevents the spring from retracting unexpectedly while you work.
Feed the New Rope Through the Housing
Thread the melted end of the new rope through the starter housing’s exit hole, then into the rotor’s output hole. Guide it with an awl if the opening is tight, and tie a temporary knot inside the rotor to hold it in place.
Wind the Spring and Release Slowly
Remove the screwdriver and let the rotor turn counterclockwise slowly, allowing the spring to pull the rope in smoothly. Keep light tension on the handle to prevent tangling. Once fully retracted, confirm the rope feeds freely.
Install Cord on a Rotor Without Pre-Drilled Holes

Clamp the Rotor with Vice Grips
When no hole exists to lock the rotor, use vice grips to clamp the outer edge firmly. This stops rotation during installation. Position the clamp so it doesn’t block the rope path.
Feed the Rope from Either Side
You can start feeding the rope from the handle side or the housing side. Just ensure the handle isn’t tied yet if you’re feeding the cord through the housing first. Push the rope through the housing and into the rotor using an awl or nail punch.
Tie a Knot Inside the Rotor and Test Retraction
Once the rope reaches the rotor, tie a knot inside to secure it. Hold the rotor steady, release the vice grips slowly, and let the spring retract the cord. If it binds, recheck alignment and knot size.
Fix the Retracted Rope Scenario
Create a New Entry Hole with a Heated Awl
If the rope vanished into the housing and won’t come out, heat a metal awl or nail with a torch. Carefully melt a small hole in the recoil housing rail, working on one side only and never drilling through. Work outdoors or in a well-ventilated garage, and avoid inhaling the fumes.
Wind the Rotor 3–4 Turns Counterclockwise
Spin the rotor 3–4 full turns counterclockwise to build spring tension. Align the rotor’s hole with your newly melted access point.
Thread the Rope and Set Proper Tension
Insert the rope through the new hole, tie a knot inside the rotor, and pull it slightly to seat it. Turn the rotor one full turn clockwise to relieve excess tension before releasing. Test the pull: the cord should retract firmly without feeling too tight.
Wind the Return Spring Correctly
Turn the Spool Counterclockwise Until It Stops
Before feeding the rope, wind the spool counterclockwise (toward the hole) until it stops naturally. This sets maximum tension for reliable recoil.
Back Off One Full Revolution
After reaching the stop, turn the spool one full turn backward (clockwise). This prevents over-tensioning and leaves room for the rope to wind properly without binding.
Secure the Spool During Installation
Insert a screwdriver through the housing grate or use a clamp to hold the spool in place while you thread the rope. This maintains tension and prevents accidental unwinding.
Fine-Tune Pull Length and Tension
Measure Free Cord at Just Under a Foot
The ideal pull distance is just under 12 inches of free cord when fully extended. If the handle hits the housing or feels too loose, retie the knot at the correct length.
Avoid Knot Engagement During Start
The knot should never enter the housing during a pull. If it does, it can jam or fail under stress. Ensure only the rope, not the knot, feeds through the guide.
Test for Smooth Retraction
Give the handle 5–6 test pulls. It should extend smoothly and retract fully every time. If it sticks, check for kinks, misalignment, or excessive friction.
Reassemble and Test the Snow Blower

Reattach the Starter Housing
Align the starter unit with the engine mounting points. Insert the two hex-head screws and tighten securely with a screwdriver. Avoid overtightening, which can strip plastic housings.
Orient the Handle Toward the Gas Tank
Make sure the pull handle faces the gas tank side of the snow blower. This maintains proper ergonomics and prevents interference with other components.
Perform Full Test Pulls
Pull the cord firmly several times. You should feel consistent resistance followed by smooth recoil. If it binds or doesn’t return, revisit spring tension or the rope path.
Extend Lifespan with Regular Maintenance
Apply Silicone Lubricant Regularly
Spray silicone lubricant on the chute, auger housing, and starter mechanism using the straw attachment. This reduces snow buildup and keeps moving parts operating smoothly.
Bonus Benefit: Silicone helps prevent rust and reduces wear on the pull cord over time.
Clean the Housing Before Reassembly
Wipe out the starter housing and spray with carb cleaner or WD-40 to remove old grease, rust, and debris. A clean mechanism lasts longer and operates more reliably.
Melt the Final Knot for Durability
After tying the final knot, briefly apply flame to fuse the knot. This prevents gradual unraveling from repeated use and weather exposure.
Troubleshoot Common Pull Cord Issues
Cord Won’t Retract? Check Spring Tension
If the rope doesn’t pull back, the spring may be under-wound. Remove the housing and rewind the spool 1–2 extra turns counterclockwise before locking and rethreading.
Rope Wraps Too Tightly? Adjust the Length
Over-tensioning causes tight wraps and knot stress. Retie the handle knot to allow more slack, aiming for that 11–12 inch pull sweet spot.
Rope Gets Pinched? Cut a Notch in the Reel
Frayed or cut rope often means it’s being pinched during winding. Use a file or Dremel tool to cut a small notch in the reel’s side where the rope exits. This guides it cleanly and prevents damage.
Know When to Replace the Entire Assembly
Identify a Broken or Weak Spring
If the rotor spins freely with no resistance, or the spring is visibly cracked or deformed, replace the entire recoil assembly. A failed spring can’t be repaired safely.
Avoid Repeated Cord Failures
Frequent breakage, even with proper rope and knots, suggests internal wear. Upgrade to a new starter unit if problems persist after two or more cord replacements.
Save Money With DIY Repair
Cost Comparison: Rope vs. Full Assembly
- Replacement rope and handle kit: $8–$15
- New starter assembly: $40–$80
- Labor at a repair shop: $60+
Doing the repair yourself saves 75% or more, and you gain a skill that applies to future fixes on lawnmowers, chainsaws, or generators.
A Universal Skill for Small Engines
This repair applies to nearly all recoil starters. Once you master it on your snow blower, you can fix pull cords on:
– Lawnmowers
– Chainsaws
– Leaf blowers
– Generators
– Pressure washers
Stay Safe: Key Precautions
Wear Gloves When Using Heat
Always use heat-resistant gloves when melting rope ends or housing holes. Molten plastic and hot metal can cause serious burns.
Work in a Ventilated Area
Melting plastic emits toxic fumes. Perform any torch work outdoors or in a garage with open doors.
Never Over-Tighten Knots
An overly tight knot can deform the handle or housing. Pull snug, then trim. Don’t crush the fibers.
Frequently Asked Questions About Replacing a Snow Blower Pull Cord
What type of rope should I use to replace a snow blower pull cord?
Use #4.5 diameter polypropylene rope for most Tecumseh engines and similar recoil starters. Polypropylene resists fraying in cold weather and holds up under repeated stress.
How long should the replacement pull cord be?
Cut the new rope to 67 inches, which is standard for most snow blowers and similar small engines. This length provides a full pull stroke without excess slack that can cause tangling.
Can I replace the pull cord without removing the starter housing?
In most cases, no. Removing the housing gives you access to the rotor and spring, which is necessary for proper tensioning. The process takes only a few minutes and requires removing just two screws.
Why does my pull cord keep breaking?
Frequent breakage usually points to a pinched rope path, a damaged reel, or over-tensioning. Cut a small notch in the reel’s side where the rope exits, and confirm the cord is just under 12 inches of free pull length.
Do I need to replace the whole starter assembly?
Only if the return spring is broken or weak. If the rotor spins freely with no resistance, or the spring shows visible cracks, replace the entire recoil unit. Otherwise, a new cord is usually all you need.
How do I know if the recoil spring is still good?
Test it by spinning the rotor by hand. You should feel firm resistance and see the rotor return to its starting position. If it spins loosely or doesn’t recoil, the spring has failed.
Final Thoughts on Replacing a Snow Blower Pull Cord
Replacing a snow blower pull cord is one of the most accessible DIY repairs you can tackle. With a new 67-inch length of #4.5 polypropylene rope, a few basic tools, and about 30 minutes, you can restore reliable manual starting without paying for a shop visit or a full assembly replacement.
The key steps come down to this: lock the rotor, extract the old cord, prepare the new rope with melted ends and secure knots, wind the spring correctly, and fine-tune the pull length. Keep a spare rope kit in your garage, and you’ll be ready for the next break—on your snow blower or any other small engine in your shed.



