If you’ve just unboxed your Snow Joe snow blower and are wondering where to start, you’re not alone. Whether it’s your first winter with a powered snow remover or you’re upgrading from a shovel, knowing how to use a Snow Joe snow blower correctly makes all the difference in clearing snow quickly, safely, and without frustration. Designed for residential use, Snow Joe models offer gas-free, low-maintenance alternatives that range from lightweight cordless shovels to powerful corded blowers—each with unique features tailored to different snow conditions and property sizes.
Using your Snow Joe properly starts long before the first storm. From assembly and power setup to operating techniques and post-use care, every step impacts performance and longevity. This guide walks you through everything you need to know, including model-specific instructions, safety must-dos, pro tips for efficiency, and how to avoid common mistakes. Whether you own the compact 24V-SS10, the cordless iON18SB, or the heavy-duty 22″ 15A corded model, you’ll learn exactly how to get the most out of your machine.
Assemble Your Snow Joe in Under 5 Minutes
Most Snow Joe models feature tool-free assembly, so setup is fast and straightforward. The exact steps depend on your model, but all take less than five minutes.
Attach the Handlebar on the iON18SB and 22″ 15A
For the iON18SB and 22″ 15A, lift the handlebar into position and snap it securely onto both sides of the unit. On the 22″ 15A, fasten it with the included wing nuts. Ensure it clicks or locks firmly. Wobbling can affect control during use.
Install the Chute Crank on the 22″ 15A
Slide the directional chute crank into place on the 22″ 15A model. Secure it with the cotter pins provided. This crank lets you rotate and angle the discharge chute from your handle.
Insert the Battery on Cordless Models
For the 24V-SS10 and iON18SB, slide the battery into the compartment until it clicks. Check the LED charge indicator to confirm power level. Always charge the battery fully before first use.
Power Up: Corded vs. Cordless Setup
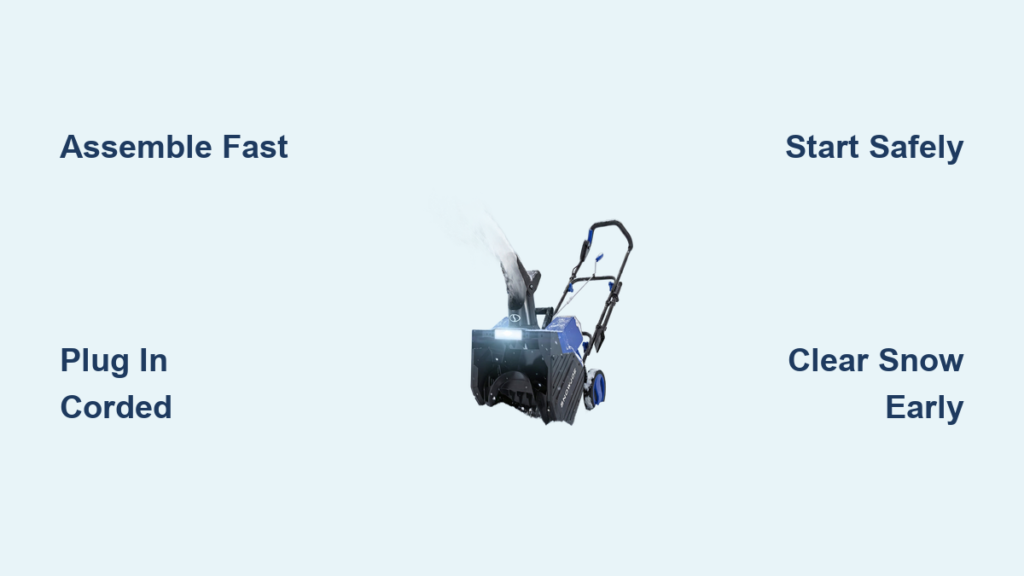
Your Snow Joe’s power source determines how you start and operate it. Know the difference between corded and cordless models to avoid delays when snow hits.
Plug In the Corded Model (SJ623E and 22″ 15A)
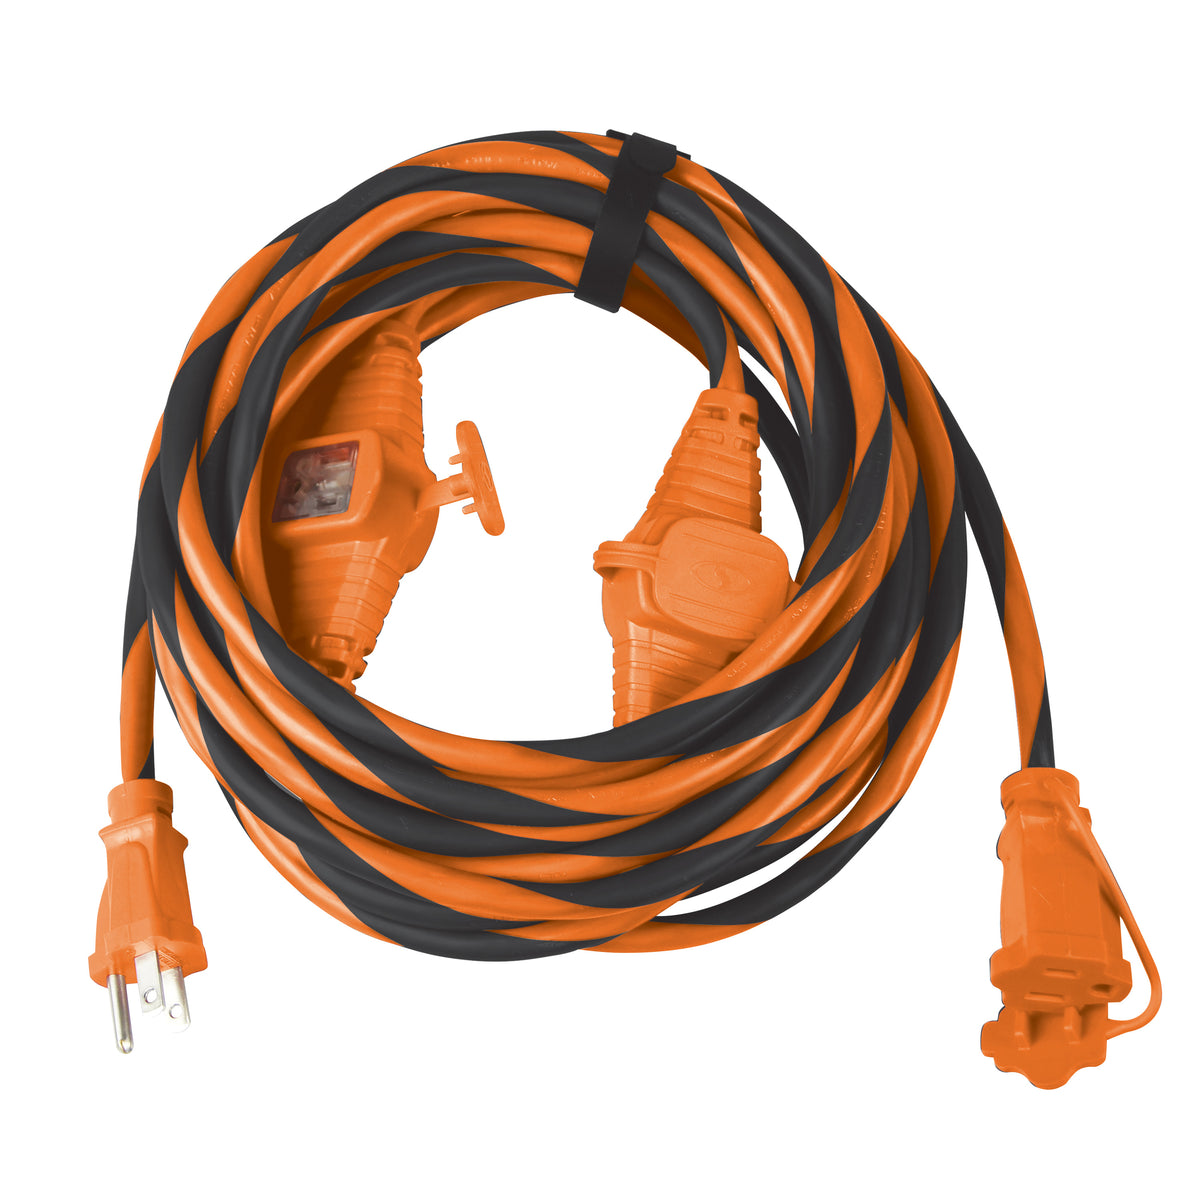
Use a 14-gauge, 100-foot extension cord as a minimum, or a 12-gauge cord for longer distances. Plug the cord into the snow blower, then clip it to the handle using the built-in cord clip. This keeps the cord behind the auger and prevents snags. Finally, plug into a standard 15-amp outdoor outlet.
Never use indoor cords or undersized wires. They can overheat or cause voltage drop, reducing performance.
Charge and Install Battery on Cordless Models
The iON18SB uses a 40V lithium-ion battery that charges in about 60 minutes. The 24V-SS10 uses a 24V iON+ battery with up to 24 minutes of runtime. Always charge fully before use and store at room temperature. Use only the included Snow Joe charger.
Start the Snow Blower Safely

Each model has a slightly different startup sequence, but safety comes first across all versions.
Start Corded Models (SJ623E and 22″ 15A)
- Press the safety switch (usually a red button near the handle).
- Pull and hold the trigger lever.
- The auger starts spinning immediately.
Keep the trigger pulled while moving forward. Release it to stop the auger instantly. Always unplug the unit before touching the chute or auger.
Start Cordless Models (24V-SS10 and iON18SB)
- Press the power button on the handle.
- Pull the trigger lever to activate the auger.
The LED indicator shows battery life. If the unit doesn’t start, check that the battery is fully seated and charged.
Clear Snow Like a Pro With the Right Operating Techniques
How you push, steer, and adjust your Snow Joe determines how fast and clean your driveway gets.
Use the Right Stance and Grip
Stand upright behind the unit. For dual-handle models like the 24V-SS10, grip both handles to avoid bending. For handlebar models (iON18SB, SJ623E, 22″ 15A), use both hands and let the machine’s weight help it glide forward. Never force it. Let the auger do the work.
Push, Don’t Force: Let the Auger Pull
Walk forward slowly. The auger pulls snow in automatically. Pushing too fast clogs the chute. Maintain a steady pace, especially in wet or packed snow.
Use the Single-Pass or Two-Pass Method
- Single pass: Use for snow up to 8 inches deep. Clear the full width in one go.
- Two-pass method: For snow over 8 inches (tested up to 18 inches):
1. First pass: Clear the top layer.
2. Second pass: Remove the base down to pavement.
This prevents jams and strain on the motor.
Adjust the Discharge Chute Correctly

Directing snow where you want it prevents re-clearing and protects property.
Rotate and Angle the Chute
All models feature 180-degree chute rotation. Use the crank (22″ 15A) or manual adjustment (others) to point left, right, or straight ahead. Adjust the discharge angle (up or down) using the knob and tighten to lock.
Pro tip: Aim snow toward open areas, away from walkways, windows, and neighbor’s yards.
Maximize Throw Distance
- 24V-SS10: Up to 20 feet
- SJ623E: Up to 25 feet
- iON18SB and 22″ 15A: Adjustable via chute angle
Throw distance drops in wet, heavy snow. Adjust the chute higher for shorter throws, lower for longer distance.
Handle Different Snow Types Effectively
Snow Joe models perform best when matched to snow conditions.
Fresh, Light Powder
All models excel here. Clear immediately because fresh snow is light and easy to throw. The 22″ 15A can move over 800 pounds per minute.
Packed or Icy Snow
The 15-amp motor in corded models handles dense, compacted snow without stalling. The rubberized auger attachments (22″ 15A) protect pavement while digging in.
Avoid using the iON18SB on icy surfaces. It’s designed for light to moderate snow.
Wet, Heavy Snow
Slow your pace. Wet snow is harder to throw and more likely to clog. Use the two-pass method and clear more frequently to avoid buildup.
Prevent and Clear Auger Jams Quickly
Jams happen when snow is too deep, wet, or old, but they’re easy to avoid and fix.
Prevent Clogs Before They Happen
- Clear snow when it’s fresh.
- Don’t exceed the 8-inch single-pass limit.
- Use the two-pass method for deep snow.
- Keep the chute clear after each use.
Fix a Jam Safely
- Unplug the unit (corded) or remove the battery (cordless).
- Use the onboard clean-out tool (SJ623E, 22″ 15A) to clear ice or snow from the chute.
- Never use hands or metal objects to avoid injury or damage.
Most users never need the tool if they clear snow promptly.
Use Built-In Safety Features the Right Way
Snow Joe designs prioritize user safety, and using them correctly is essential.
Never Reach Into the Auger
Even if the unit seems off, always disconnect power before inspecting or clearing the chute. The safety switch prevents accidental starts, but it’s not foolproof.
Use Headlights at Night
Models like the SJ623E (20W halogen), 22″ 15A, and iON18SB (LED) have headlights for dusk or evening use. They illuminate the path ahead, making nighttime clearing safe and effective.
Keep Cords Clear on Corded Models
Clip the extension cord to the handle. This keeps it behind the auger and reduces tripping or snagging. Never stand on the cord.
Maintain Your Snow Joe After Each Use
A few minutes of care after each storm extends your machine’s life.
Clean the Auger and Chute
Use the onboard clean-out tool to remove ice or snow buildup. Let the unit run for 10 seconds after clearing to blow out residue. Always unplug first.
Recharge Batteries Immediately
For cordless models, recharge after every use. The iON+ system charges in about an hour. Store batteries at room temperature and never in freezing garages or hot attics.
Fold for Storage on the 22″ 15A
Loosen the thumb screws and fold the handle down. This model stores vertically in tight spaces like closets or sheds.
Store Dry and Off the Ground
Keep the unit in a dry area. Moisture causes rust and electrical issues. Store batteries separately from the machine.
Choose the Right Model for Your Needs
Not all Snow Joes are the same. Pick the one that matches your snow load and property size.
24V-SS10: Lightweight and Portable
- Best for: Patios, decks, small walkways
- Weight: Under 10 lbs
- Runtime: 24 minutes
- Ideal if: You want to avoid bending and clear light snow quickly
iON18SB: Cordless Convenience
- Best for: Driveways up to 30 feet
- Battery: 40V, 60-minute charge
- Features: LED headlight, 180° chute
- Ideal if: You want cordless freedom and quiet operation
SJ623E: High-Capacity Electric
- Best for: Heavy snowfall, medium to large driveways
- Power: 15-amp motor, 720 lbs/min
- Warranty: 2-year
- Ideal if: You want gas-level power without gas
22″ 15A: Maximum Power, Corded
- Best for: Deep, packed snow (up to 18 inches)
- Width: 22 inches (cleared a two-car driveway in 15 minutes)
- Features: Rubberized auger, folding handle
- Ideal if: You have outlet access and want no-downtime clearing
Troubleshoot Common Issues Fast
Quick fixes keep your Snow Joe running when you need it most.
Unit Won’t Start (Corded)
- Check: Extension cord connection, outlet power, safety switch pressed
- Fix: Plug directly into outlet, try a different cord, ensure trigger is pulled with safety switch
Battery Not Holding Charge
- Check: Battery seated properly, LED indicator
- Fix: Recharge fully, store at room temperature, use only the Snow Joe charger
Chute Not Throwing Far
- Cause: Wet snow, clogged chute, low power
- Fix: Clear ice buildup, adjust chute angle, slow your pace
Extension Cord Keeps Disconnecting
- Cause: Loose plug, no cord clip
- Fix: Use the built-in clip, ensure snug fit, avoid sharp bends
Maximize Longevity and Performance
A well-maintained Snow Joe lasts for years. Follow these habits:
Clear Snow Early
Don’t wait until snow packs down. Fresh snow is lighter, easier to throw, and less likely to jam.
Avoid Ice and Gravel
Never use on icy surfaces or areas with loose gravel. The auger can kick up debris and damage surfaces.
Service Before Winter
Before the first storm:
– Charge batteries
– Inspect cords for damage
– Test the unit briefly
– Lubricate chute pivot points (if recommended)
Final Tips for Efficient Snow Removal
- Work with the wind: Push snow downwind to maximize throw distance.
- Clear in sections: Divide your driveway into lanes for even coverage.
- Help your neighbors: The 22″ 15A is powerful enough to assist others.
- Use at dusk: Headlights let you clear before morning ice forms.
Frequently Asked Questions About Snow Joe Snow Blowers
How do I start a Snow Joe snow blower for the first time?
For corded models, attach a 14-gauge, 100-foot extension cord, plug into a 15-amp outlet, press the safety switch, then pull the trigger. For cordless models, charge the battery fully, slide it in until it clicks, press the power button, and pull the trigger lever.
What extension cord do I need for a Snow Joe corded snow blower?
Use a 14-gauge, 100-foot extension cord as a minimum. For longer distances, upgrade to a 12-gauge cord to prevent voltage drop. Always clip the cord to the handle to keep it away from the auger.
Can I use a Snow Joe on icy or packed snow?
The 22″ 15A and SJ623E handle packed, dense snow well, even in 18-inch drifts. The iON18SB should be avoided on icy surfaces and is best for light to moderate snow only.
How do I clear a jam in my Snow Joe snow blower?
First, unplug the unit (corded) or remove the battery (cordless). Then use the onboard clean-out tool (included on SJ623E and 22″ 15A) to clear ice and snow from the chute. Never use your hands or metal tools.
How long does the battery last on a Snow Joe cordless model?
The 24V-SS10 runs up to 24 minutes per charge. The iON18SB uses a 40V battery that fully recharges in about 60 minutes. Runtime varies based on snow density and workload.
When should I use the two-pass clearing method?
Use the two-pass method for snow deeper than 8 inches. Make a first pass to clear the top layer, then a second pass to remove the base down to pavement. This prevents clogs and reduces motor strain.
Key Takeaways for Using Your Snow Joe Snow Blower
Learning how to use a Snow Joe snow blower comes down to a few core habits: assemble correctly, match your model to your snow load, clear snow while it’s fresh, and follow safety protocols every time. Use a 14-gauge extension cord for corded models, recharge batteries after every use, and always disconnect power before clearing jams. With proper technique and minimal post-use care, your Snow Joe will turn a dreaded winter chore into a quick, efficient job.
Next step: Before the first snow falls, charge your battery or inspect your extension cord, test your machine briefly, and review your model-specific features so you’re ready to go the moment the flakes start falling.