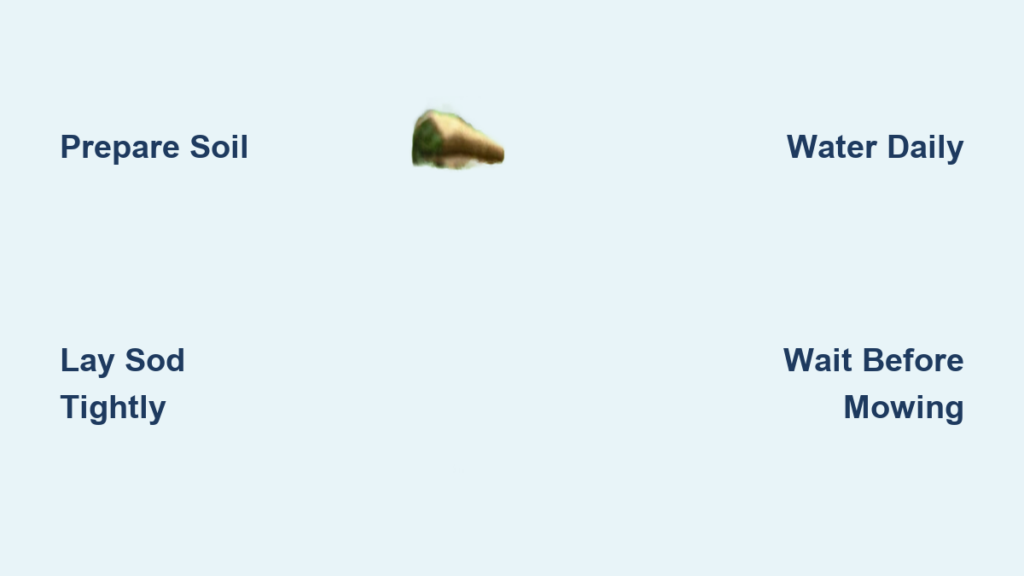
Installing a sod lawn gives you an instant, lush yard without waiting months for grass to grow from seed. Unlike seeding, sod installation delivers immediate results, but success depends on proper planning, soil prep, and consistent care. Done right, your new lawn will be ready for foot traffic in just 2 to 4 weeks.
Most people underestimate how critical soil preparation and timing are. Skipping steps like removing old grass or skipping a soil test can lead to patchy growth, poor drainage, or wasted money. This guide covers everything from choosing the right sod to watering schedules, based on expert practices and regional climate needs.
Choose the Right Sod for Your Climate
Match Grass Type to Your Region
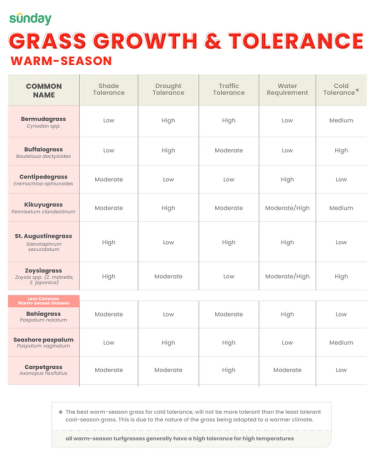
Selecting the wrong sod is one of the top reasons lawns fail. Grass falls into two categories. Cool-season grasses like Kentucky Bluegrass, Tall Fescue, and Perennial Ryegrass thrive in northern regions. Warm-season grasses like Bermuda, St. Augustine, and Zoysia perform best in southern states. The transition zone in the central U.S. needs blends like Tall Fescue or hybrid Bermuda that handle both heat and cold.
Consider these factors when choosing your sod. Full sun areas with 6 or more hours of daily light work well with Bermuda or Kentucky Bluegrass. Partial to full shade areas need Fine Fescue or shade-tolerant Zoysia varieties. High traffic areas benefit from durable options like Marathon II Fescue or Bermuda, both of which recover quickly from wear.
Pro Tip: Talk to your local sod supplier. They know which varieties perform best in your specific area and can recommend options like Marathon II Sod for durability and year-round color.
Pick Based on Sunlight and Lawn Use
Your lawn’s exposure to sunlight and how you plan to use it should guide your sod choice. Some grasses demand more mowing and watering than others. For low maintenance, choose Zoysia or Tall Fescue. These varieties tolerate varying conditions while requiring less ongoing attention.
Measure Your Lawn Area Accurately
Calculate Square Footage
Before ordering sod, you need exact measurements. For rectangular areas, multiply length by width. For irregular shapes, break the area into smaller sections, calculate each, and add the totals together. Use a measuring wheel, open-reel tape, or digital tools like the Sod Solutions Area Calculator that lets you draw over satellite images for precise measurements.
Add Extra for Waste and Errors
Always order 5 to 10 percent more than your calculated area. This buffer compensates for cutting waste, covers damaged pieces, and fills odd-shaped gaps. For example, a 275 square foot lawn needs 289 to 303 square feet of sod. This small investment prevents mid-installation shortages that delay root establishment.
Test and Prepare the Soil

Conduct a Soil Test
Even if your yard looks healthy, test the soil before installing sod. A soil test reveals pH levels, nutrient content, and soil texture. The ideal pH range for most grasses is 6.0 to 7.0. Use an at-home kit or send a sample to a soil testing lab. Results take up to 10 business days, so start testing early in your planning process.
Adjust based on results. Low pH indicates acidic soil that needs lime. High pH requires sulfur to lower acidity. Poor soil structure benefits from mixing in compost or well-rotted manure. These amendments create the optimal growing environment your new sod needs.
Remove Existing Vegetation
Never lay sod over live or dying grass. This blocks root growth and generates heat that kills new sod. Choose one removal method. Manual removal involves digging out grass and weeds with a shovel. A sod cutter rents for efficient large-area stripping. Herbicide application with glyphosate takes 10 to 14 days before installation to kill stubborn weeds.
Clear all debris including rocks, roots, and sticks. Shake soil off old roots before disposal to reduce hauling weight. This step creates the clean, root-free surface your new sod needs to establish quickly.
Grade and Level the Ground
Set Proper Height Below Hardscapes
Final soil level should sit 1 to 1.5 inches below sidewalks, driveways, or patios. This allows mower wheels to roll smoothly, water to drain away from foundations, and creates a clean finished look. Use a grading rake or the back of a push broom to smooth the surface.
Create a Slight Slope for Drainage
Shape the soil to slope 3 to 4 inches over 10 feet away from buildings. This prevents water from pooling near foundations and promotes healthy root development. Walk across the area to identify depressions, then fill low spots with topsoil or compost.
Avoid over-tilling unless soil is severely compacted. Tilling disrupts beneficial soil biology and costs 150 to 300 dollars to rent equipment. The exception is heavy clay soils, which need 6 to 8 inches of tilling to improve aeration and water penetration.
Handle Sod Delivery Properly
Order Fresh, Local Sod
Sod must be installed within 24 to 48 hours of harvest. Older sod dries out and dies before it ever takes root. Buy from local suppliers for fresher cuts, and confirm same-day or next-day delivery. If you cannot install immediately upon delivery, do it within 24 hours.
Transport and Store Without Damage
Keep rolls on pallets, not the ground, to prevent premature rooting. Move sod using wheelbarrows or wagons to avoid tearing. Work quickly and start laying as soon as delivery arrives. Avoid walking on laid sod during installation. Stand on bare soil and lay sod in front of you to prevent disturbing already-installed sections.
Lay Sod in a Brick-Wall Pattern
Start at the Longest Straight Edge
Begin along a sidewalk, driveway, fence, or other straight boundary. Use a string line or straight board to align the first row perfectly. This foundation ensures the rest of your installation stays even and professional-looking.
Stagger Seams Like Bricks
Place the first row straight and flush against the edge. For the second row, offset seams by half a piece. Continue alternating this pattern throughout the installation. Staggering seams prevents weak straight-line joints, reduces water channeling, and improves overall stability and appearance.
Fit Pieces Tightly Together
Butt sod edges snugly together with no gaps and no overlaps. Sod shrinks slightly after installation, so gaps will widen over time, exposing soil and inviting weeds. Use scraps to fill corners, curves, and areas around flagstones. Press seams firmly with your hands or feet to ensure good contact.
Trim Around Obstacles Cleanly
Cut Sod for Sprinkler Heads and Edges
Use a sharp utility knife, sod knife, or box cutter for clean cuts. For sprinkler heads, cut a small circle in the sod and fit it around the riser. For curved beds, make relief cuts to bend sod smoothly. Always cut from the soil side upward to avoid damaging grass blades.
Tool Tip: A Hy-Ha Japanese sod knife gives ultra-precise cuts with minimal effort for professional-looking edges.
Install Sod on Slopes Correctly

Lay Horizontally Across the Incline
Place sod strips across the slope, never up and down. This method slows water runoff, helps retain moisture, and prevents erosion. Secure each piece with sod staples or landscape pins to keep it from sliding.
Water gently using a low-output sprinkler to avoid washing sod away before roots establish. The horizontal orientation combined with proper staking holds sod in place while roots grow into the soil below.
Water and Roll the Sod
Mist During Installation
Sprinkle laid sod every 200 square feet as you go to keep it moist and help roots settle. This prevents drying while you finish the rest of the installation. After full coverage, proceed to deep initial watering.
Use a Lawn Roller for Better Contact
Rolling removes air pockets and presses roots into the soil for faster establishment. Fill a lawn roller with water, using half to three-quarters capacity. Roll in multiple directions to ensure even contact. Skip this step for small areas where foot traffic and mowing will naturally settle the sod over time.
Water Deeply and Consistently
The first watering should soak the soil to 3 to 6 inches deep. Apply water for 40 to 60 minutes with sprinklers, then check by lifting a corner. The soil underneath should be damp, not soggy.
During the first 2 to 3 weeks, water twice daily. Early morning sessions after 4 a.m. work best to reduce evaporation and fungal risk. Each session should last 15 to 20 minutes, keeping soil consistently moist. After 3 to 4 weeks, reduce watering to 2 to 3 times per week, switching to deep, infrequent sessions that encourage deep root growth.
Care for New Sod After Installation
Fertilize at the Right Time
You have two options for fertilizing new sod. Apply high-phosphorus starter fertilizer like LFI New Lawn Starter Fertilizer or Scotts Turf Builder Starter Food on day one at half the recommended rate. Water thoroughly after spreading. Alternatively, wait 30 to 60 days or until after the fourth mow before applying a balanced fertilizer like 10-10-10 or 16-4-8.
Warning: Avoid over-fertilizing. Excess fertilizer weakens grass, creates shallow roots, and pollutes groundwater through runoff.
Overseed Shady Spots
Most sod grows in full sun and may thin out under trees or in shaded areas. Lightly overseed these spots with shade-tolerant grass seed like Scotts Classic Grass Seed Sun and Shade Mix. Use a hand-powered spreader for precision application. Top with a light layer of compost and keep moist until germination creates uniform growth across your lawn.
When to Mow New Sod
Wait 3 to 4 Weeks Before First Cut
Do not rush the first mow. Wait until the sod has been down at least 3 weeks and the grass reaches 3 to 3.5 inches tall if your mowing height is 2 inches. Test root attachment by gently lifting a corner. If it resists, roots are set and ready for mowing.
Use Proper First Mow Techniques
Use a sharp blade and set the mower high. Never remove more than one-third of the grass blade length at once. Use a lightweight mower to avoid tearing or creating indentations. Avoid heavy foot traffic until after the second or third mow, allowing roots to fully establish.
Avoid Common Sod Installation Mistakes
Top Errors That Cause Lawn Failure
Laying sod over old grass blocks root growth and creates heat that kills new sod. Skipping soil prep leads to poor drainage and weak root development. Leaving gaps between pieces creates bare patches and invites weed growth. Underwatering dries out roots and prevents establishment. Walking on new sod too soon causes indentations and breaks root contact.
Save Money Tip: Skip the sod roller and starter fertilizer if your soil is healthy and the area is small. Focus your efforts on proper grading, clean soil, tight seams, and consistent watering instead.
Frequently Asked Questions About Installing Sod Lawn
How long does it take for sod to root?
Sod begins rooting within the first week after installation. Full establishment typically takes 2 to 4 weeks with proper watering and care. You can test root development by gently tugging on a corner. If it resists, roots have attached to the soil below.
Can I install sod myself or should I hire a professional?
DIY installation saves money and is entirely achievable for most homeowners. Professional installation costs 0.86 to 1.75 per square foot while DIY runs 0.31 to 0.82 per square foot. For small to medium yards, the savings justify the effort. Large areas or challenging slopes may benefit from professional help.
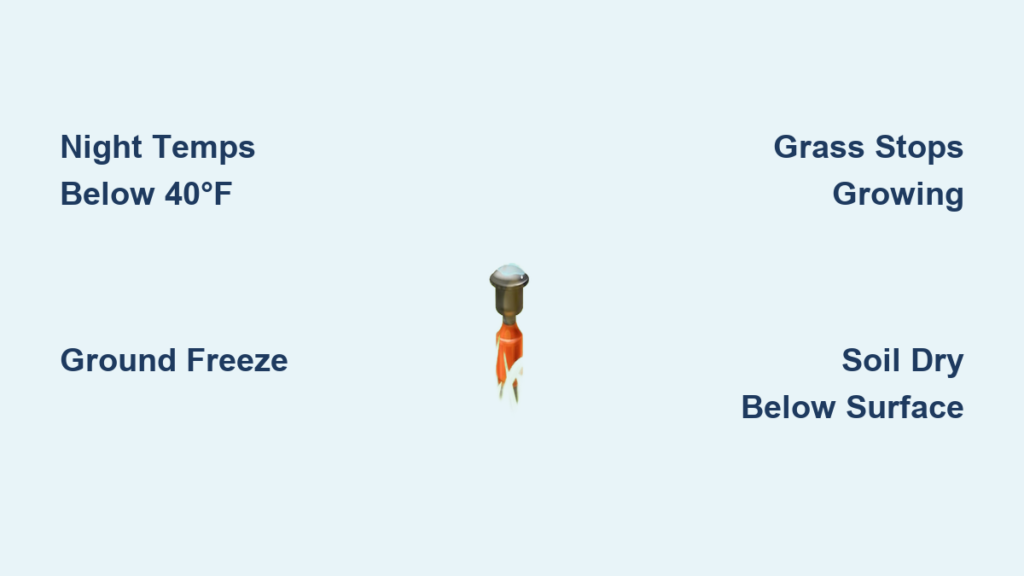
What is the best time of year to install sod?
Cool-season grasses install best in late summer to early fall. Warm-season grasses prefer late spring to early summer when soil temperatures are warm. Avoid installing on frozen ground or during extreme heatwaves unless you can provide adequate irrigation.
How often should I water new sod?
Water twice daily for the first 2 to 3 weeks. Each session should last 15 to 20 minutes. After 3 to 4 weeks, reduce to 2 to 3 deep waterings per week. Adjust based on your climate, soil type, and grass variety. Always water in the early morning to minimize evaporation.
Should I add starter fertilizer when installing sod?
Starter fertilizer is optional but beneficial. Apply high-phosphorus fertilizer on day one at half the recommended rate to avoid burning tender roots. Alternatively, wait 30 to 60 days until after the fourth mow to let roots establish naturally before fertilizing.
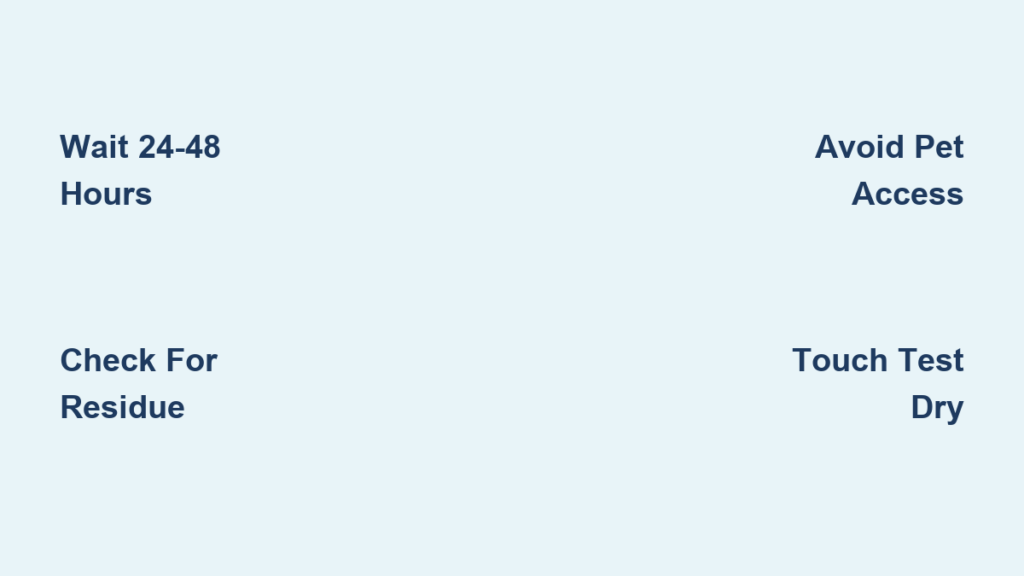
Why is my sod turning brown after installation?
Brown sod usually indicates underwatering, poor root contact, or laying sod over old vegetation. Check soil moisture beneath the sod. Ensure edges are butt tightly together with no gaps. Verify you removed all old grass and vegetation before installation. Correct these issues quickly to save the sod.
Key Takeaways for Installing Sod Lawn Successfully
The success of your sod installation depends on three core principles. First, proper grading keeps the soil 1 to 1.5 inches below hardscapes for drainage and mowing access. Second, clean, root-free, well-amended soil creates the foundation your sod needs to establish quickly. Third, immediate and consistent watering is critical for root establishment during the first few weeks.
Skip unnecessary expenses like starter fertilizer or sod rollers if your project is small and soil is healthy. Focus your efforts on foundation, fit, and moisture instead. With proper preparation and care, a sod lawn transforms a barren yard into a lush, durable outdoor space ready for use in days, not months.