A lush, green lawn requires consistent watering, but dragging hoses around your yard every day is time-consuming and inefficient. Installing an in-ground irrigation system eliminates this chore while conserving water and keeping your grass healthy. This guide walks you through how to install a lawn irrigation system from planning and material selection to final setup and maintenance.
You will learn how to assess your water supply, design efficient zones, select durable components, and avoid common installation mistakes that plague DIY projects.
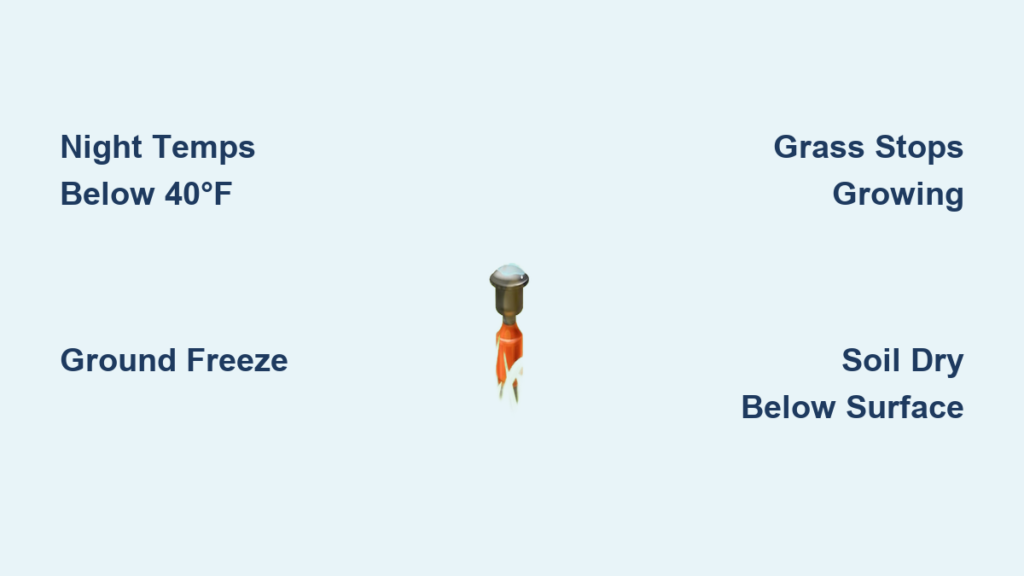
Plan Your Sprinkler Layout Before Digging
A well-designed layout prevents dry spots, ensures even coverage, and matches your system to your available water supply. Skipping this step leads to poor performance and costly repairs later.
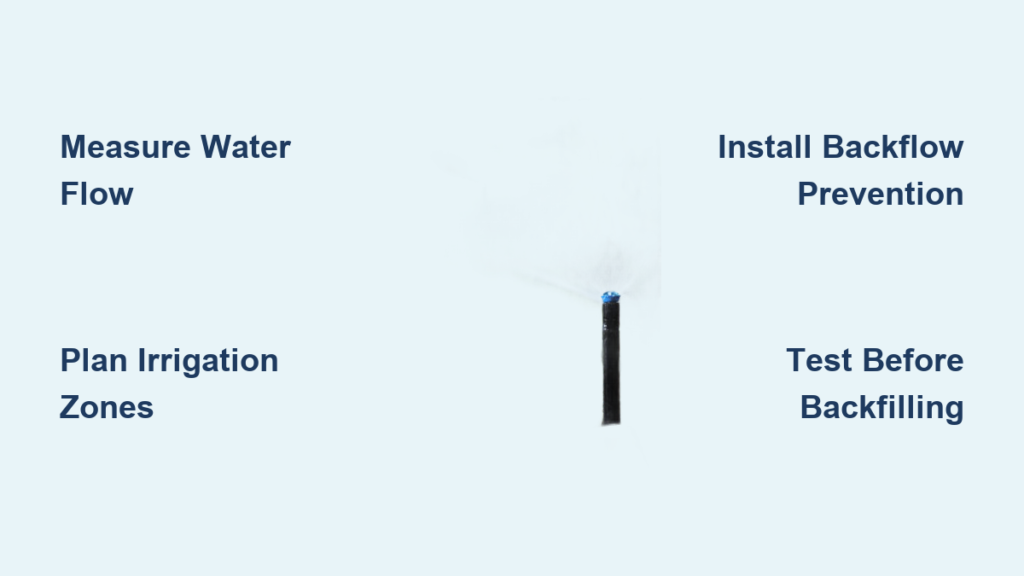
Measure Water Pressure and Flow Rate
Your system performance depends on knowing exactly how much water your home provides. Test both pressure and flow before purchasing any components.
Check PSI using a $10 hose bib gauge attached to an outdoor faucet. The ideal range is 40 to 80 PSI. Below 40 PSI means your sprinklers will not pop up properly or spray effectively. Calculate GPM by filling a 5-gallon bucket and timing how many seconds it takes to overflow. Use the formula: GPM equals 5 multiplied by 60, divided by seconds to fill. This number determines how many sprinkler heads each zone can support.
Test your flow at peak household usage times, such as early morning, for realistic results. Municipal water pressure fluctuates throughout the day.
Divide Your Yard Into Irrigation Zones
Not all areas of your lawn need the same amount of water. Grouping zones based on specific characteristics improves efficiency and plant health.
Separate your yard by sun versus shade exposure, since shaded areas need less water. Account for different plant types, such as turf versus shrubs or flower beds. Consider slope and soil composition, because clay retains water longer than sandy soil. Most importantly, do not exceed your total GPM when adding heads to any single zone.
A good rule is that total GPM of all heads in a zone must be less than or equal to your available GPM. For example, with a 15 GPM supply, you can run up to 15 pop-up spray heads at 1 GPM each, but only 4 to 6 rotor heads since they use more water.
Map Head Placement and Pipe Routes
Creating a detailed sketch of your yard before digging saves significant time and money. Use free design tools like IrrigationTutorials.com or Rain Bird’s Design Service to create professional layouts.
Mark head positions with flags or spray paint, then connect them with string to visualize pipe runs before trenching. Ensure head-to-head spacing with 50 percent spray overlap for even coverage across every square foot of lawn.
Always call 811 before digging to locate underground utilities and avoid dangerous strikes.
Choose the Right Materials for Your System
Selecting quality components ensures your system lasts for years while performing reliably. Cheap materials lead to leaks, pressure loss, and frequent repairs.
Select the Correct Pipe Type
The right pipe depends on your climate and specific application within the system.
PVC Schedule 40 in 1-inch diameter works best for main lines and valve manifolds because it is strong and pressure-rated. PVC Class 200 in 3/4-inch works for lateral lines after valves, offering a lighter and cheaper option. Polyethylene pipe excels in cold climates where freeze resistance matters, and it bends easily around obstacles. LDPE pipe works well for final runs to sprinkler heads because it is flexible and uses clamp connections.
Always use 1-inch pipe for main lines to reduce pressure loss and allow for future expansion. Avoid Orbit brand pipes and valves, which are frequently cited for leaks and poor durability.
Pick Sprinkler Heads Matched to Your Landscape
Different areas of your yard require different types of sprinkler heads for optimal performance.
Pop-up spray heads work best for small, flat areas near sidewalks or structures. They offer adjustable arcs from 90 to 360 degrees and use less than 1 GPM. Gear-driven rotor heads cover large lawns ranging from 8 to 65 feet in radius, using 1 to 3 GPM. MP Rotators provide high efficiency at approximately 0.5 GPM through multi-stream technology that resists wind blowout. Bubblers and misters target shrubs, gardens, and succulent beds with low-pressure, focused watering.
Look for heads with built-in check valves to prevent drainage when the system shuts off. Pressure-regulating nozzles maintain consistent spray patterns even when pressure fluctuates.
Install Required Backflow Prevention
Backflow prevention is required by law in most areas to protect your drinking water from contamination.
A Pressure Vacuum Breaker, called a PVB, is the most common type and must be installed at least 6 inches above the highest sprinkler head. A Double Check Valve works indoors or where PVB installation is not feasible. Reduced Pressure valves suit high-risk situations involving chemical injection systems.
Always install an isolation shut-off valve upstream from the backflow preventer, use union fittings for easy removal, and include a blow-out port for winterization.
Dig Trenches and Lay Pipe Properly
Proper trenching depth and technique protects pipes from damage and ensures frost resistance in colder climates.
Dig Trenches to the Correct Depth
Standard depth for irrigation pipes is 8 to 12 inches, which prevents mower damage and protects against frost heave. This depth satisfies requirements in most municipalities, with 8 inches being the minimum in many areas.
In cold climates, either dig deeper trenches or use poly pipe for better freeze resistance. Use a trencher rental for large yards, typically around $88 per day, or a trenching shovel for small areas and places near existing utilities. Hand-dig carefully near driveways, sidewalks, and utility lines to avoid damage.
Assemble PVC or Poly Pipe Correctly
Leak-free connections require following proper gluing or fitting procedures.
For PVC pipe, cut the pipe cleanly with a ratcheting pipe cutter, apply purple primer to both pipe and fitting, coat with blue PVC cement, insert with a quarter turn, and hold for 10 to 30 seconds. Wait 30 minutes before pressurizing the system. For poly pipe, slide the clamp over the pipe, insert the fitting fully, pull the clamp over the joint, and tighten securely.
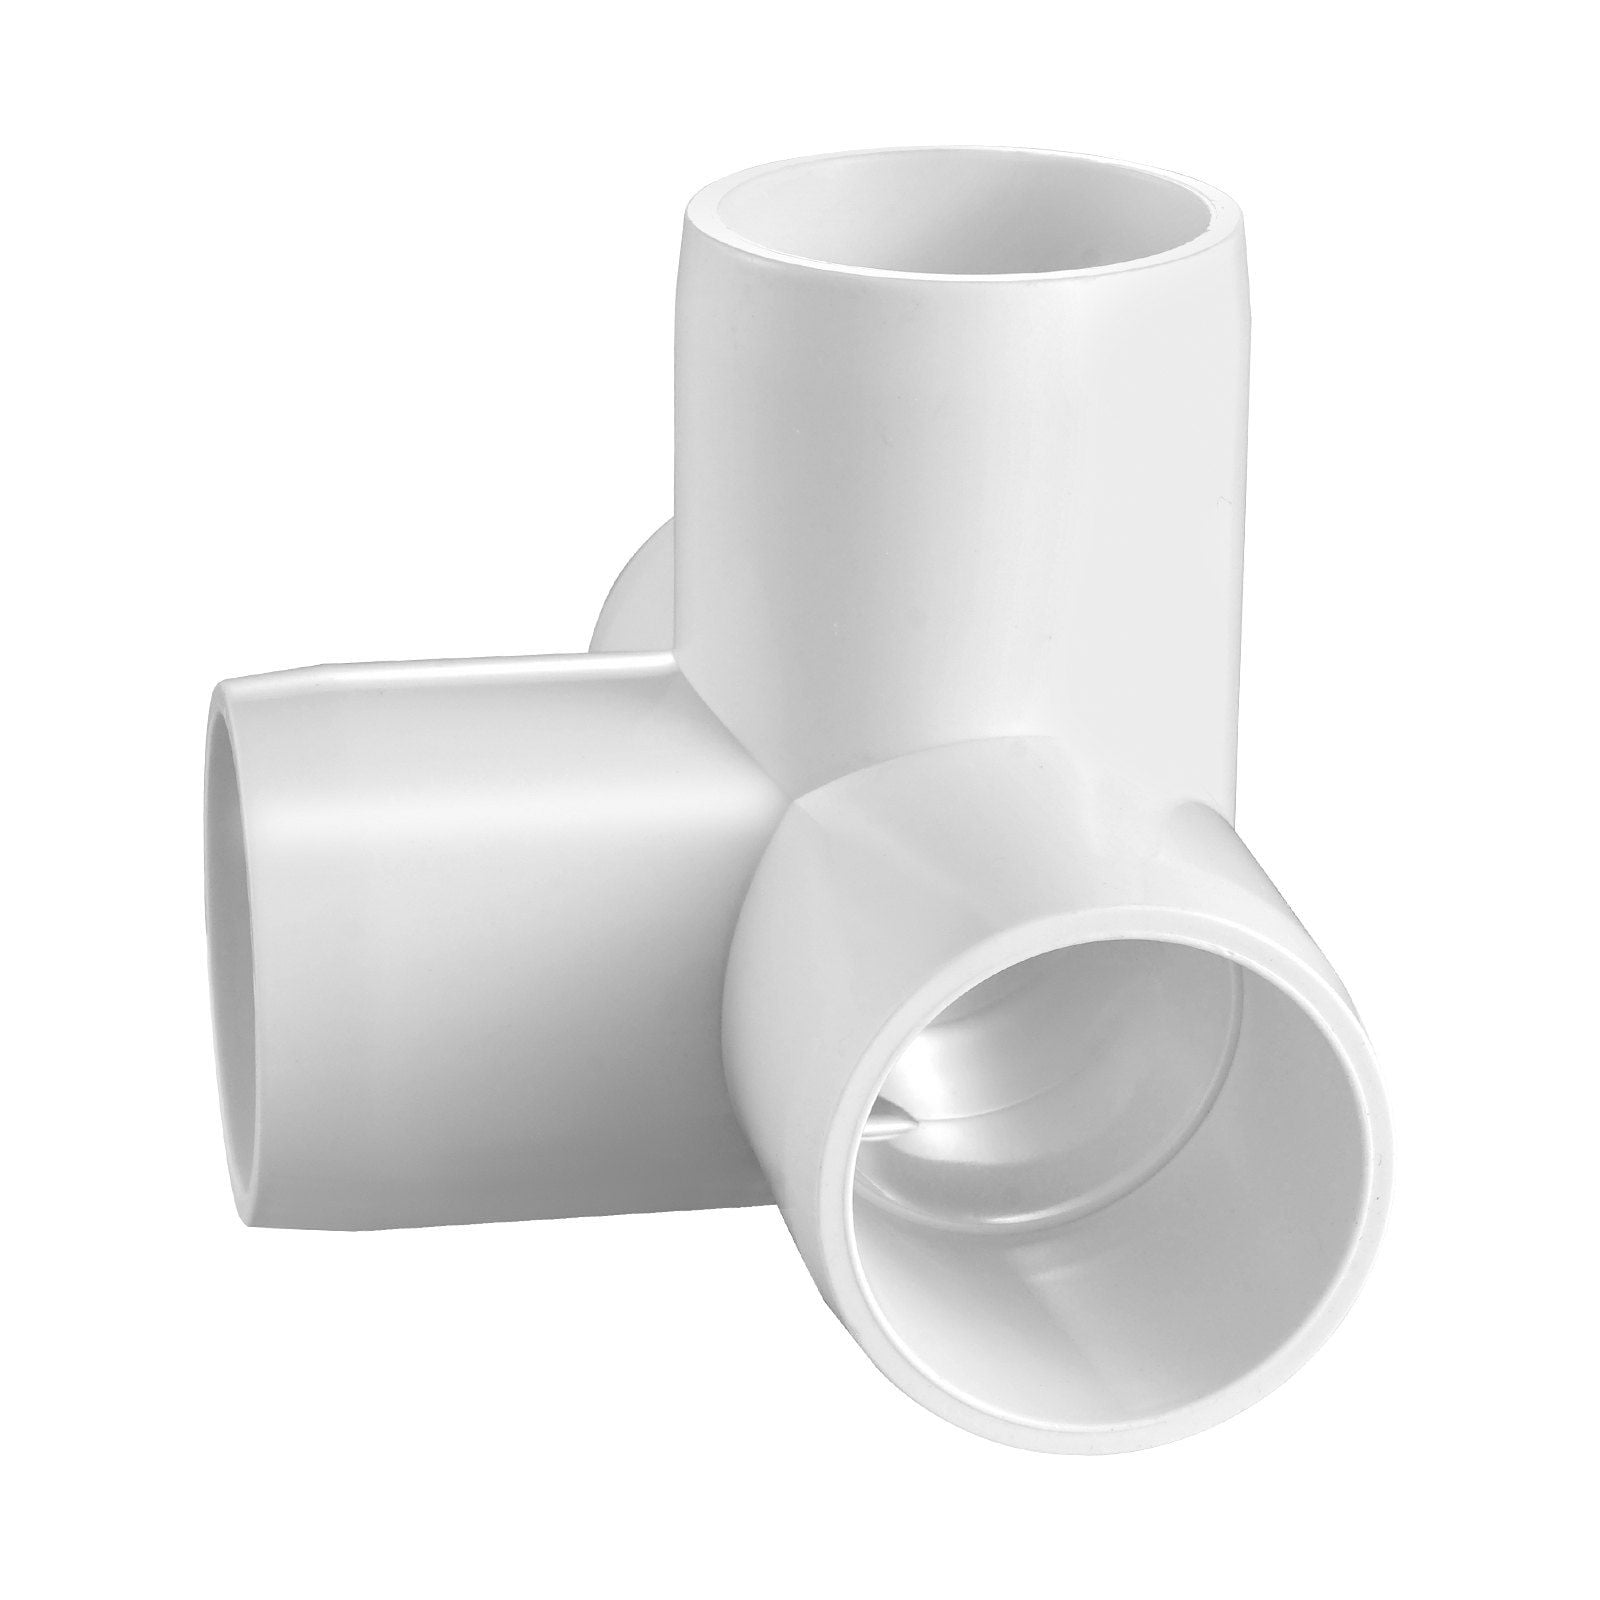
Use tees for splits, elbows for turns, and threaded T-fittings for risers to sprinkler heads. A 6-inch funny pipe, also called a swing joint, allows easy head alignment and prevents cracking from soil movement.
Connect to Your Water Source Safely
Linking your irrigation system to the home water supply requires careful planning and the right components to prevent leaks and ensure adequate pressure.
Tap Into Outdoor Spigot or Main Line
Option one involves tapping into an existing outdoor faucet by shutting off water, cutting the pipe, and installing a 1-inch PVC tee. Use a tapping saddle for uninterrupted main line access. Option two uses indoor PEX or copper connections with SharkBite connectors for easy, solder-free joints, which works best for high-pressure systems.
Avoid copper-to-PVC underground connections, as this is a common failure point. Hire a plumber if you are unsure about making these connections.
Install Key Components in the Main Line
Your main line setup should include several critical components for safety and functionality.
Install a shut-off valve for quick system isolation when needed. Add a Y-strainer to catch debris and prevent nozzle clogging. Include a double check valve for backflow protection. Add a blow-out port for winter air purging in cold climates.
Consider installing a companion meter if your utility offers one, because it charges only for water usage rather than sewer fees, often paying for itself over time.
Build Your Valve Manifold for Easy Access
Grouping valves in one accessible location simplifies maintenance and allows manual adjustment of each zone.
Create a Central Valve Station
Use a valve box, with NDS or similar quality brands recommended, to house all valves. Install flow-control valves on each zone, which allows manual adjustment if certain areas need more or less water. Glue or thread valves into a PVC manifold, ensuring flow arrows point toward the sprinklers. Leave adequate space between valves for removal during repairs.
Elevate the valve box using a patented base rather than stacking bricks, which can shift and create an uneven installation.
Test Everything Before Backfilling
Never cover trenches until you have fully tested the system. Hidden leaks require costly re-digging to repair.
Flush Debris from All Pipes
Clogged nozzles are the most common post-installation problem, so flushing is critical.
Cap all head openings before turning on water. Open each zone manually and run water for 3 to 5 minutes until it runs completely clear. This removes construction debris, pipe primer, and cement residue that ruins nozzles and seals.
Check for Leaks Under Pressure
After flushing, test the entire system under pressure before backfilling.
Install flush caps on all open ends, then open the main valve slowly to release trapped air. Inspect every joint carefully for drips or seepage. Fix any misaligned O-rings or bad seals immediately.
Keep trenches open until you are 100 percent confident the system holds pressure. Backfilling hides problems that become expensive headaches later.
Install and Adjust Sprinkler Heads
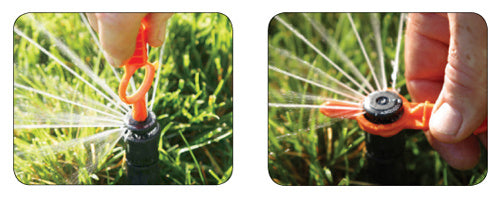
Final above-ground components require careful installation and adjustment for optimal performance.
Set Heads Using Swing Joints
Connect swing pipes to threaded T-fittings on lateral lines, then attach risers and heads. Set left and right stop points before backfilling to prevent over-spraying. Position the top of each head approximately half an inch above soil level, which makes them visible for adjustment but safe from mower damage.
Fine-Tune Spray Patterns
Use the small adjustment key included with most heads to set arc from 40 to 360 degrees. Reduce radius in windy areas to prevent drift. Rotate heads to avoid spraying driveways, windows, or adjacent heads. Use catch cups to test distribution uniformity across each zone.
Check and adjust heads monthly as grass grows and seasons change.
Wire and Program the Controller
Automation transforms your system from a manual chore into a set-it-and-forget-it convenience.
Run and Connect Sprinkler Wire
Trench wire from the controller location to the first valve box. Use 18-gauge multi-strand wire with 6 to 12 strands, color-coding black as common and other colors for zone-specific wires. Connect using waterproof wire nuts, leaving 12 to 18 inches of slack at each connection. Pre-attach wires to valves before burial for easier access.
Set Up Smart Controller Features
Mount the controller near a power source, such as inside a garage. Drill through the wall using a taped drill bit to pull wire into the house. Connect to Wi-Fi and download the manufacturer app, such as Rachio or B-Hyve.
Enable rain skip to automatically postpone watering when rain is forecast. Set up freeze protection to prevent watering during cold spells. Configure soil moisture alerts and leak notifications for monitoring system health.
Label each zone clearly at the controller, such as Front Lawn or Side Beds, for easy programming.
Backfill and Restore Your Lawn
Proper final steps ensure your lawn recovers quickly and the system stays protected.
Fill Trenches in Stages
Backfill gently using original soil, avoiding compaction near joints or heads. Use a hand tamper or walk over backfilled areas to settle soil. Repeat this process 2 to 3 times over 3 to 4 days as soil sinks. Water daily to speed compaction and help soil settle naturally.
Repair Sod or Reseed
Lay sod or sprinkle grass seed over disturbed areas. Keep the soil consistently moist until the grass is fully established, typically 7 to 14 days. Avoid heavy foot traffic on repaired areas until the grass is established.
Avoid Common Installation Mistakes
Even experienced DIYers make these errors. Knowing what to avoid saves time, money, and frustration.
Overloaded Zones and Poor Spacing
Too many heads per zone causes low pressure and dry spots. Stay under your GPM limit and consider using pressure-regulating valves to maintain consistent performance.
Skipping Backflow Prevention
Failing to install backflow prevention risks contaminating your drinking water and violates code requirements in most areas. Always install a PVB or double check valve.
Backfilling Before Testing
Hidden leaks require expensive re-digging to repair. Test fully, flush all lines, pressurize the system, and inspect every joint before covering any trenches.
Using Undersized Pipe
Small pipe causes significant pressure drop, leading to weak spray and poor coverage. Use 1-inch pipe for main lines and 3/4-inch for laterals.
Maintain Your System Year-Round
Regular maintenance keeps your irrigation system running efficiently for over a decade.
Seasonal Maintenance Tasks
In spring, flush the system, inspect heads for damage, and program the timer for the growing season. In fall, blow out lines with compressed air at 100 PSI maximum and remove the PVB if required in your climate. Throughout the year, clean nozzles monthly, adjust heads as needed, and check for sunken areas that indicate leaks.
Using MP Rotators and smart controllers can cut water use by up to 30 percent while keeping your lawn healthy.
Frequently Asked Questions About Installing a Lawn Irrigation System
How long does it take to install a lawn irrigation system yourself?
A small yard typically takes 16 to 20 hours over several weekends. Large or complex yards may require 3 weeks or more of weekend work. Professional installation costs $3,500 or more, while DIY runs $1,500 to $1,800 in materials and tool rentals.
What is the most common mistake when installing irrigation?
Skipping the planning phase leads to overloaded zones, poor coverage, and pressure problems. Always measure water pressure and flow before designing your system, and stay within GPM limits for each zone.
Do I need a permit to install a lawn irrigation system?
Many municipalities require permits and inspections for irrigation installation, particularly for backflow prevention components. Check with your local building department before starting your project.
Can I connect an irrigation system to my existing outdoor faucet?
Yes, but this limits your system capacity. For full-featured systems, tap into the main water line for adequate pressure and flow. Outdoor faucet connections work for small, simple setups only.
How deep should irrigation pipes be buried?
Standard depth is 8 to 12 inches, which prevents mower damage and frost heave. In cold climates where winterization is required, deeper burial or freeze-resistant poly pipe provides better protection.
What is the best type of sprinkler head for water conservation?
MP Rotators use approximately 0.5 GPM and provide multi-stream coverage that resists wind drift. Combined with a smart controller that adjusts watering based on weather, they can reduce water usage by up to 30 percent.
Key Takeaways for Installing Your Lawn Irrigation System
Installing a lawn irrigation system is a major project that pays dividends in healthier grass, lower water bills, and eliminated manual watering. Success requires thorough planning: measure your water supply, design zones that stay within GPM limits, and map head placement with proper overlap before digging.
Choose quality materials from trusted brands like Rain Bird, Hunter, or Toro, avoiding budget options that fail prematurely. Install proper backflow prevention to meet code requirements and protect your family. Test everything before backfilling trenches, because fixing hidden leaks is expensive and frustrating.
Invest in a smart controller and MP Rotators for long-term water savings. With proper planning, quality components, and careful installation, your DIY sprinkler system will deliver professional results for over a decade.