You want a lush, green lawn fast, and laying sod over your existing grass seems like the perfect shortcut. But here is the hard truth: installing sod over an existing lawn is risky and often leads to failure. While some claim it works under special conditions, most horticultural experts and landscaping professionals strongly advise against it. Why? Because healthy sod needs direct contact with nutrient-rich soil to root properly, and old grass stands in the way.
This guide breaks down why skipping proper prep is a costly mistake, when limited exceptions apply, and the step-by-step method for guaranteed success. Whether you are renovating a worn-out yard or upgrading curb appeal, you will learn how to install sod correctly or explore smarter alternatives like overseeding or kill-and-remove methods.
Why Laying Sod Over Grass Fails
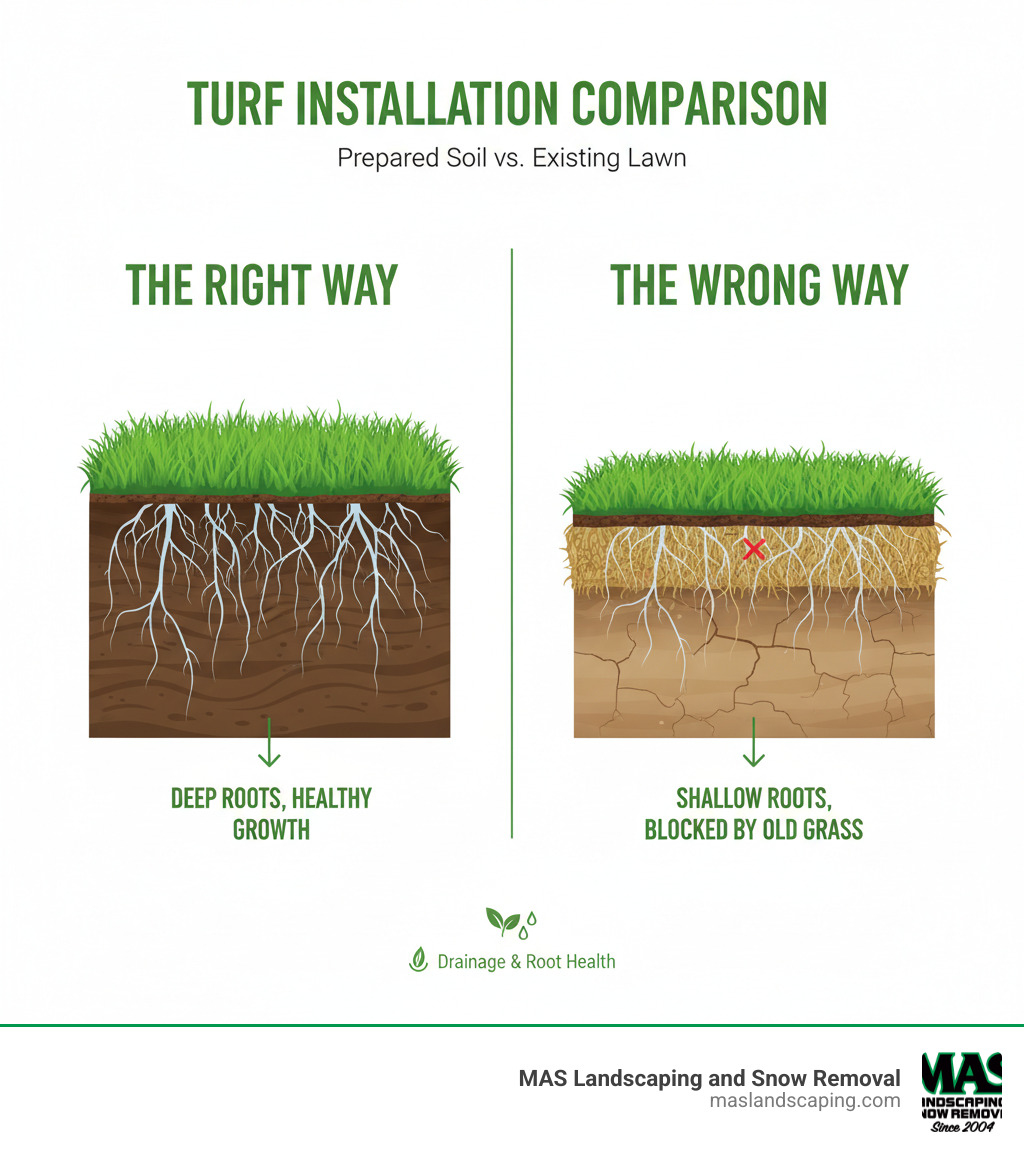
When you lay sod over living or dead turf, you are building your new lawn on a weak foundation. Roots cannot penetrate the barrier of old grass and thatch, leading to shallow growth, poor water absorption, and eventual sod collapse. Weeds, pests, and diseases from the old lawn can also invade your fresh sod. The result is a patchy, dying lawn just weeks after installation.
Shallow Roots Cause Sod to Lift
New sod must bond with the soil beneath by sending roots downward. If laid over existing grass, even dead turf creates a physical barrier. Roots grow sideways or stop altogether, leaving sod floating on the surface. Within days, foot traffic or wind can lift corners, exposing dry soil underneath. Without deep anchoring, the sod dries out fast and dies.
Water Cannot Reach the Soil
Old grass and thatch act like a sponge sitting on top of the soil, not part of it. When you water new sod, moisture gets trapped in this upper layer instead of soaking into the ground where roots need it. The result is the sod roots stay dry while the surface feels wet. You end up overwatering the top but starving the base, creating stress and disease.
Weeds and Pests Survive Underneath
Your current lawn likely hosts weed seeds, insect eggs like grubs, and fungal spores. If you do not remove the old turf, these problems survive and migrate into your new sod. Within weeks, you may see crabgrass emerging, brown patches spreading, or pests damaging root zones, all because the old lawn was not fully eliminated.
Uneven Ground Leads to Poor Drainage
Existing lawns often have bumps, dips, or compacted areas. Laying sod over them magnifies these flaws. After installation, water pools in low spots, encouraging rot and moss. High areas dry out quickly. Irrigation becomes inefficient, and mowing turns into a balancing act. A smooth, graded base is essential for even growth and long-term usability.
When Sod Over Grass Might Work
In rare cases, no-till sodding can work if strict steps are followed. This method skips turf removal but requires killing the existing lawn completely. However, this approach is not suitable for thick zoysia, bermuda, or lawns with heavy thatch or compaction. Success depends on having a thin, healthy old lawn with no thatch and well-drained soil plus high-quality sod.
Apply Glyphosate Herbicide to Kill Grass
Use a non-selective herbicide like glyphosate to kill all vegetation. Spray evenly on a calm, dry day when the grass is actively growing. Avoid rain for at least 24 hours after application.
Wait 7-10 Days for Complete Kill
Do not rush. Wait until every blade turns brown and brittle. Test by tugging. Dead grass should resist pulling, indicating root death.
Mow Grass Short and Prepare Surface
Cut the dead lawn as short as possible, ideally to 1 inch or less. This reduces the barrier between new sod and soil. Remove clippings and debris so sod lies flat. Gently rake to expose soil pockets, then install sod the same day. Press each piece firmly into place to maximize contact.
Why Soil Contact Is Non-Negotiable
Roots need mineral soil to grow. Grass roots thrive in mineral soil, rich in nutrients, microorganisms, and structure. They struggle in organic mats like dead grass or thatch. Even if sod appears to green up at first, long-term survival depends on roots reaching the mineral layer. Without it, the lawn will weaken and fail within months.
Thatch Blocks Root Penetration
A thatch layer thicker than one-half inch is a major obstacle. It is made of undecomposed stems and roots that resist breakdown. Sod laid over it floats, dries out, and fails to anchor. Mechanical removal via dethatching or sod cutting is the only reliable fix.
Decomposing Grass Creates Air Pockets
As old grass breaks down under new sod, it releases gases and shrinks in volume. This creates air pockets, further separating the sod from the soil. These voids accelerate drying and prevent root attachment, especially in warm weather.
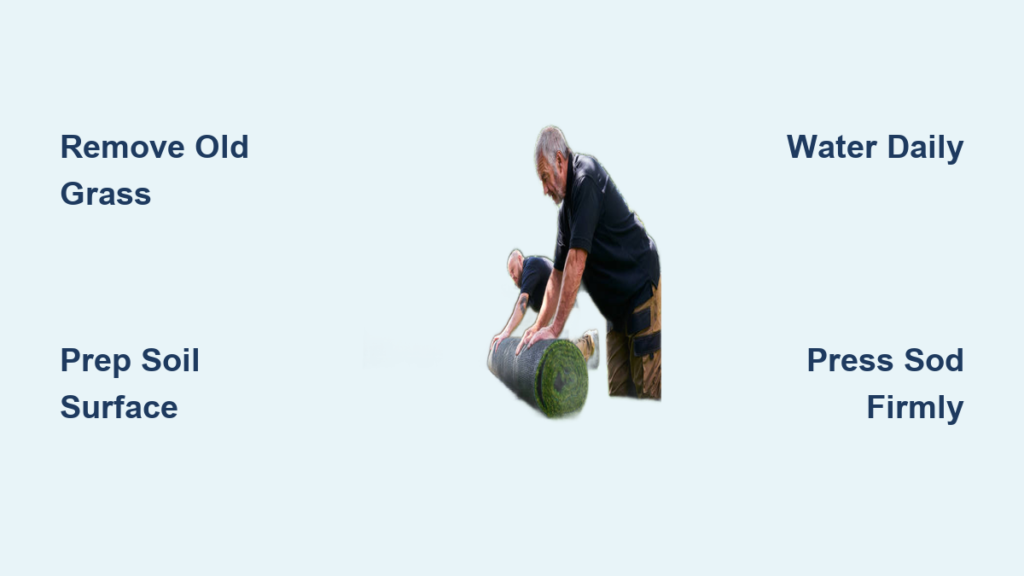
Step-by-Step: Proper Sod Installation Process
Remove Old Turf Completely
This is the critical first step. Use a sod cutter for large areas or a sharp shovel for small yards. Cut 1-2 inches deep to remove grass, roots, and top thatch. Roll up and discard old turf, then clear rocks, sticks, and debris. Renting a sod cutter costs $70-100 per day and is faster and more effective than manual digging.
Grade and Level the Soil
Create a smooth, stable base. Slope soil 1-2% away from foundations for drainage. Fill low spots with topsoil or sand. Use a rake to level high areas. Tamp lightly to prevent future settling.
Amend the Soil If Needed
Test pH and nutrients if possible. Most lawns prefer pH 6.0-7.0. Mix in 1-2 inches of compost or topsoil. Lightly till or rake to blend with native soil. Avoid over-tilling, which destroys soil structure.
Pre-Water the Bare Soil
Moisten the ground 1-2 days before sod arrives. Water deeply to 4-6 inches. Check with a screwdriver. It should slide in easily. Let excess water drain. Soil should be damp, not muddy.
Laying and Securing the Sod
Install Sod the Same Day
Fresh sod dries out fast. Begin laying within hours of delivery. Start along a straight edge like a driveway or sidewalk. Unroll pieces tightly together with no gaps or overlaps. Stagger joints like bricks for strength. Use a utility knife to trim around trees and curves.
Press Sod Into Soil Immediately
Walk over each piece or press by hand to eliminate air pockets. Roots must touch soil the moment they are laid. This immediate contact is crucial for successful establishment.
Roll With a Lawn Roller
Use a half-filled water roller to press sod into the soil. Roll in multiple directions for full contact. Pay extra attention to edges and seams. Re-roll any areas that feel spongy.
Fertilize and Fill Gaps
Apply Starter Fertilizer
Use a 10-10-10 or 16-4-8 starter fertilizer. Apply evenly with a broadcast spreader. Avoid high-nitrogen blends. They burn tender roots. Water thoroughly after application to move nutrients down.
Fill Small Gaps With Topsoil and Seed
For tiny spaces between sod pieces, fill with a thin layer of topsoil. Sprinkle matching grass seed into gaps. Lightly press or rake to ensure seed-to-soil contact. Water gently to avoid displacement. This prevents bare spots and encourages a seamless lawn over time.
Watering: The Make-or-Break Phase

First 2-3 Weeks: Daily Moisture
Root establishment depends on consistent moisture. Water every day or every other day, depending on heat and wind. Aim to keep soil moist to 4-6 inches deep. Check with a soil probe or screwdriver. Water early morning or late evening to reduce evaporation. Walking on sod during this phase can compact soil and damage roots. Stay off for at least 2-3 weeks.
After 3 Weeks: Transition to Deep Watering
Once roots are established and sod resists lifting, reduce frequency. Water 2-3 times per week with deeper soakings. Allow the top inch of soil to dry slightly between sessions. This encourages roots to grow deeper and increases drought tolerance.
Species-Specific Sod Tips

Different grass types have unique requirements for successful establishment. Choosing the right sod for your climate and conditions matters significantly.
Bermuda Grass: Full Sun Lover
Bermuda grass thrives in southern climates and requires 6 or more hours of direct sun. It tolerates heat and drought once established. Mow low at 0.5-1.5 inches for dense growth.
Kentucky Bluegrass: Cool-Season Classic
Kentucky bluegrass thrives in northern regions and spreads via underground stems called rhizomes. It prefers consistent moisture and cooler temperatures. Mow at 2.5-3.5 inches.
Tall Fescue: Shade Tolerant and Durable
Tall fescue adapts to partial shade and needs regular watering during establishment. It is a less aggressive spreader and requires precise sod placement. Mow at 3-4 inches to reduce stress.
Long-Term Lawn Care After Sodding
Fertilize Seasonally
Apply fertilizer 1-2 times per growing season. Use slow-release formulas to avoid burn. Avoid over-fertilizing. Excess nitrogen weakens roots and pollutes waterways.
Mow Only After Roots Are Set
Wait until sod cannot be lifted easily, usually 2-3 weeks. Set mower high for first cut. Never remove more than one-third of blade height. Keep blades sharp to prevent tearing.
Control Weeds Early
Hand-pull weeds in the first few months. Spot-treat with herbicides labeled for new sod. Apply pre-emergent in following seasons to stop crabgrass and foxtail.
Aerate and Dethatch Annually
Core aerate in fall for cool-season grasses or late spring for warm-season grasses. Remove thatch if layer exceeds one-half inch. This improves air, water, and nutrient movement into the soil.
Better Alternatives to Sod Over Grass
Overseed Instead of Replace
If your lawn is thin but soil is healthy, consider overseeding instead. Mow short and dethatch. Aerate with a core aerator. Spread high-quality seed matching your grass type. Fertilize and water daily until germination. This method works best for minor repairs and budget-friendly upgrades.
Solarize the Old Lawn
Kill grass naturally using the sun heat. Cover lawn with clear plastic during hottest 4-6 weeks. Heat builds under plastic, killing grass, weeds, and some pests. After removal, till and amend soil before sodding. This method is eco-friendly but takes weeks and will not kill deep-rooted weeds.
Kill and Remove Method
The safest middle ground involves spraying with glyphosate. Wait 7-10 days for complete kill. Remove dead turf with sod cutter or shovel. Proceed with full sod installation. This method combines chemical kill with mechanical removal for maximum success.
Final Verdict: Skip the Shortcut
Laying sod over an existing lawn might seem like a time-saver, but it is a gamble with high odds of failure. Direct root-to-soil contact is non-negotiable for a healthy, lasting lawn. Without removing the old turf, you risk poor establishment, pest infestations, and wasted money.
While no-till sodding can work in ideal, controlled cases, it is not recommended for most homeowners. The safest, most reliable method is complete removal of existing grass, followed by proper grading, soil prep, and careful sod installation.
Invest time in preparation. It pays off in a lush, durable lawn that lasts for years. Choose high-quality sod from trusted sources, follow species-specific care, and stick to a smart watering and maintenance schedule. Your yard will thank you.
Frequently Asked Questions About Installing Sod Over Existing Lawn
Can I lay sod directly over my existing lawn?
No, this is not recommended. Sod needs direct contact with mineral soil to establish roots. Existing grass creates a barrier that prevents root penetration, leading to shallow growth, poor water absorption, and eventual sod failure.
What is the no-till sodding method?
No-till sodding involves killing the existing lawn with glyphosate herbicide, waiting 7-10 days for complete death, mowing extremely short, and laying sod the same day. This only works on thin, healthy lawns with no thatch and well-drained soil.
How long does it take for sod to root?
Sod typically begins rooting within 2-3 weeks under proper watering conditions. You can test by gently tugging the sod. If it resists lifting, roots have established. Avoid walking on new sod during this critical period.
What happens if I do not remove old grass before sodding?
Without removal, old grass decomposes and creates air pockets between sod and soil. This causes the sod to dry out quickly, roots to grow horizontally instead of downward, and increased risk of weeds and pests invading the new lawn.
What is the best alternative to laying sod over grass?
Complete removal of existing turf using a sod cutter is the gold standard. Alternatively, overseeding works well for thin lawns, while the kill-and-remove method using glyphosate followed by sod cutter provides the best balance of effectiveness and effort.
How often should I water new sod?
Water new sod daily or every other day for the first 2-3 weeks to keep soil moist 4-6 inches deep. After roots establish, transition to deep watering 2-3 times per week to encourage deeper root growth and drought tolerance.