
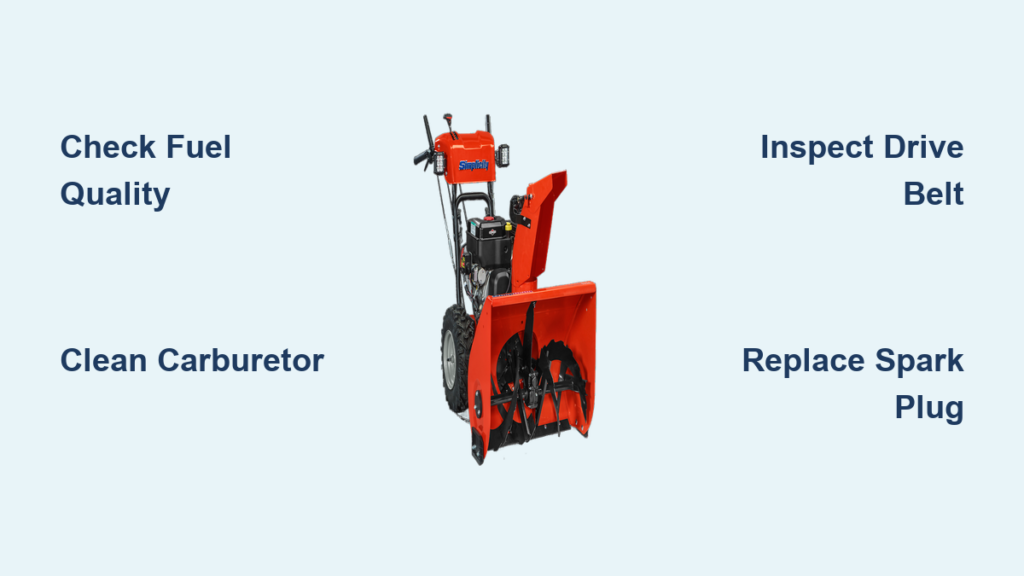
If your Simplicity snow blower won’t start, the auger isn’t turning, or it’s vibrating excessively, you’re not alone. Many homeowners face these issues after winter storage or heavy use in snowy regions. The good news? Most problems stem from simple, fixable causes like fuel degradation, worn belts, or clogged components. This guide focuses on simplicity snow blower repair with clear, step-by-step fixes anyone can do. You’ll learn how to diagnose common failures, replace key parts, and prevent future breakdowns, saving time, money, and frustration when snow hits.
Whether you own a Simplicity with a single-stage auger or a two-stage model, the principles of maintenance and repair are consistent. Many Simplicity units share design features with other brands, including carburetor layouts, belt routing, and impeller systems. By mastering a few core skills like cleaning the carburetor, replacing drive belts, and servicing auger bearings, you’ll keep your machine running reliably for years. Let’s dive into the most effective troubleshooting and repair strategies.
Diagnose Starting Problems
When your Simplicity snow blower won’t start, the issue usually lies in the fuel system or ignition. Old gasoline breaks down in as little as 30 days, forming gum and varnish that clog the carburetor. This is the most common cause of no-start conditions after storage.
Check Fuel and Filter Condition
Start by inspecting the fuel. If it smells sour or has darkened, drain it completely. Replace the in-line fuel filter, since this small part often gets overlooked but can block fuel flow. Always use fresh, ethanol-free gas when possible, or add a quality fuel stabilizer if storing for more than a month.
Pro Tip: Run the engine dry before storing. After turning off the fuel valve, let the engine run until it stalls. This clears the carburetor of residual fuel.
Clean the Carburetor Thoroughly
A clogged carburetor is the most common reason for hard starting. Remove it using a socket set and clean all jets and passages with carburetor cleaner. Soak the bowl and use compressed air to blow through fuel lines.
- Remove carburetor from engine
- Disassemble and remove float and needle
- Spray cleaner into all orifices
- Reassemble and reinstall
If cleaning doesn’t help, consider a carburetor rebuild kit. Replace gaskets to prevent leaks.
Test the Spark Plug
Even with clean fuel, a fouled spark plug can stop ignition. Remove the plug and check for carbon buildup or moisture. Use a spark tester to confirm ignition. Replace if cracked or worn.
- Gap setting: .025 to .030 inches
- Recommended plug: Champion RC12YC or equivalent
Keep a spare plug on hand for quick swaps during troubleshooting.
Fix Auger Drive Issues

If the engine runs but the auger won’t turn, the problem is likely in the drive system. This is a frequent complaint in Simplicity models, especially after heavy snow or lack of maintenance.
Inspect Drive Belt Tension
A loose or worn drive belt slips and fails to spin the auger. Shut off the machine and disconnect the spark plug before checking.
Look for:
– Cracks or fraying on the belt edges
– Glazing (shiny surface)
– Belt riding low in the pulley
Use a belt tension gauge to measure deflection. Most Simplicity models require 1/2 inch of play at the midpoint.
Replace the Drive Belt
Replacing the belt is straightforward but requires attention to routing.
Steps:
1. Remove the front cover using a screwdriver
2. Loosen the tensioner pulley
3. Slide old belt off both engine and auger pulleys
4. Route new belt following the diagram (usually inside the tensioner)
5. Re-tension and secure
Warning: Never force the belt. If it won’t seat, double-check the path.
Use a 1/2″ wide V-belt and check your manual for the exact model number. OEM belts last longer than generic versions.
Verify Clutch Engagement
Some Simplicity models use a friction disk or clutch system. If the belt is good but the auger still won’t engage, inspect the friction wheel and drive plate.
- Clean debris from the drive plate
- Check for uneven wear on the friction disk
- Adjust cable tension if the lever feels loose
A worn friction disk should be replaced, as it’s an affordable part that takes about 15 minutes to swap.
Resolve Poor Snow Discharge

If your Simplicity snow blower isn’t throwing snow far or clogs frequently, the discharge system needs attention. This reduces efficiency and increases strain on the engine.
Clear the Discharge Chute
Snow and ice build-up can completely block the chute. Always clear it before and after use.
Do this:
– Shut off engine and wait for auger to stop
– Use a plastic scraper (never metal)
– Check for ice packed behind the impeller
Expert Note: A clogged chute can cause belt slippage or engine stalling.
Inspect the Impeller
The impeller is the fan-like component that throws snow. If it’s cracked, bent, or worn, performance drops dramatically.
Signs of damage:
– Uneven wear on blades
– Vibration during operation
– Reduced throwing distance
Remove the housing to inspect. Replace if any blade is chipped or bent. Always balance the impeller when reinstalling.
Adjust Chute Deflector
An improperly positioned deflector can redirect snow back toward the machine. Make sure it’s fully open and aimed correctly. Use the control rod to adjust while operating from a safe distance.
Reduce Excessive Vibration
Vibration isn’t just annoying. It can damage bearings, fasteners, and the frame over time. If your Simplicity snow blower shakes violently, stop using it immediately.
Check Auger for Damage
Inspect the auger (the spiral blade) for bends, cracks, or missing fins. Even a small imbalance can cause major vibration.
Do a visual spin test:
– Disconnect spark plug
– Manually rotate auger
– Look for wobble or scraping
Replace the auger if bent or unbalanced. Never weld repairs, as this creates weak points.
Replace Auger Bearings
Worn bearings cause grinding noise and side-to-side play in the auger shaft. This is a common failure point.
Replacement steps:
1. Remove auger housing
2. Pull out auger assembly
3. Use a bearing puller to remove old bearings
4. Press in new ones (front and rear)
5. Grease liberally before reassembly
Time Estimate: 1.5 to 2 hours for first-time repair
Use high-temperature grease to extend bearing life. Check annually.
Tighten All Fasteners
Vibration loosens bolts. Check:
– Auger housing screws
– Engine mounting bolts
– Handlebar connections
– Skid shoes
Use thread locker on critical fasteners to prevent loosening.
Perform Essential Maintenance
Preventive care is the best way to avoid breakdowns. A 30-minute maintenance session after each storm or at season’s end keeps your Simplicity snow blower ready.
Clean After Every Use
Remove snow and slush from:
– Auger housing
– Discharge chute
– Undercarriage
– Cooling fins on engine
Let the machine dry before storing to prevent rust.
Check Belts and Cables
Look for:
– Belt wear (cracks, fraying)
– Cable fraying or sticking
– Proper lever return spring tension
Lubricate control cables with silicone spray.
Sharpen or Replace Auger Blades
Dull blades reduce efficiency and increase load. Some Simplicity augers have replaceable cutting edges. If not, file blades carefully to maintain balance.
Safety First: Always disconnect spark plug before servicing.
Prepare for Winter Storage

Proper storage prevents most next-season starting issues. Follow these steps before putting your Simplicity snow blower away.
Drain Fuel or Stabilize
Choose one:
– Drain fuel tank and run engine dry, or
– Add fuel stabilizer and run for 5 minutes to circulate
Stabilizer is easier but less effective than draining. For long-term storage (6+ months), draining is best.
Change Oil and Filter
If your model has a 4-cycle engine, change the oil while the engine is warm. This removes contaminants.
Steps:
1. Run engine 2 to 3 minutes
2. Remove drain plug or use suction pump
3. Replace with SAE 5W-30 or manufacturer-recommended oil
4. Replace filter if equipped
Check oil level monthly during season.
Cover and Store Properly
Store in a dry, covered area. Use a breathable cover (never plastic) to prevent condensation. Elevate on wood blocks if on concrete.
Source Parts and Tools
You can’t repair what you can’t replace. Know where to get genuine parts and the right tools.
Find Simplicity Snow Blower Parts
- Official Parts Sites: Jack’s Small Engines, Sears PartsDirect
- Local Dealers: Check with lawn equipment shops in your area
- Online Retailers: Amazon, Northern Tool, Tractor Supply Co.
Search by model number (found on frame tag) for exact matches.
Essential Repair Tools
Keep this toolkit ready:
– Socket set (metric and standard)
– Adjustable wrench
– Screwdrivers (Phillips and flathead)
– Bearing puller
– Belt tension gauge
– Safety gloves and goggles
Pro Tip: Print and keep your model’s belt routing diagram in the garage.
Prevent Future Failures
The best repair is the one you never need. Follow these habits to extend your Simplicity snow blower’s life.
Use Fresh Fuel Only
Never use gas older than 30 days. Buy small quantities and label containers with dates.
Run Weekly in Winter
Even without snow, start the engine weekly. Let it run 5 to 10 minutes. This keeps seals lubricated and the fuel system clear.
Keep Air Filter Clean
A clogged air filter reduces power and increases fuel consumption. Clean or replace every 25 hours of use.
- Foam filters: Wash with soap and water, re-oil
- Paper filters: Replace when dirty
Schedule Annual Service
At season’s end:
– Replace spark plug
– Change oil
– Inspect all belts and bearings
– Lubricate moving parts
Treat it like a car. Preventive service pays off.
Frequently Asked Questions About Simplicity Snow Blower Repair
Why won’t my Simplicity snow blower start after winter storage?
Old fuel is the most common culprit. Gasoline breaks down in 30 days and forms gum that clogs the carburetor. Drain old fuel, replace the fuel filter, and clean the carburetor with spray cleaner. Also check the spark plug for fouling.
How do I know if my snow blower drive belt is bad?
Look for visible cracks, fraying, or glazing on the belt surface. If the auger won’t spin while the engine runs, or spins inconsistently, the belt is likely slipping or broken. Measure tension with a gauge and replace if worn.
What causes excessive vibration during operation?
Vibration usually comes from a bent or unbalanced auger, worn bearings, or loose fasteners. Disconnect the spark plug and manually spin the auger to check for wobble. Replace damaged components immediately to prevent further harm.
How often should I service my Simplicity snow blower?
Perform basic maintenance after every use (cleaning, inspection). Schedule a full service at season’s end, including oil change, spark plug replacement, and belt inspection. During winter, run the engine weekly to keep seals lubricated.
Where can I buy genuine Simplicity replacement parts?
Check official parts sites like Jack’s Small Engines or Sears PartsDirect. Local lawn equipment dealers and online retailers like Amazon, Northern Tool, and Tractor Supply Co. also carry compatible parts. Always search by your model number.
Is it worth repairing an old snow blower, or should I replace it?
If the engine and frame are in good condition, repairing is usually cost-effective. Common repairs like belts, carburetors, and bearings cost far less than a new machine. Replace only if the engine is seized or the frame is cracked.
Final Thoughts on Simplicity Snow Blower Repair
Simplicity snow blower repair doesn’t have to be complex. Most issues stem from simple causes: old fuel, worn belts, or neglected maintenance. By following the steps in this guide, you’ll fix problems fast and keep your machine ready for the next storm. Start with the easiest fixes (fuel, spark plug, belt tension) before moving to major repairs like carburetor rebuilds or bearing replacement. Share your own tips and fixes to help others in the community stay snow-ready.



