
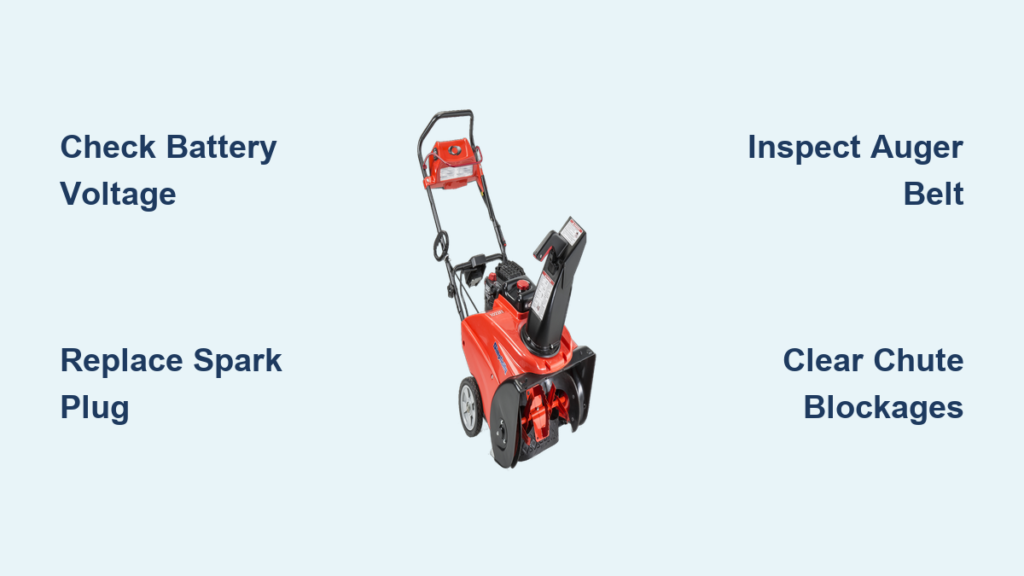
Your Simplicity snow blower clicks but won’t start, or it starts but refuses to throw snow properly. These are the most common frustrations owners face each winter. The good news? Most problems have clear, fixable causes once you know where to look.
This guide walks you through step-by-step solutions for the four biggest issues: engine starting failures, snow discharge problems, stuck chute controls, and excessive vibration. You’ll learn what actually works based on dealer insights, user experiences, and manufacturer specifications so you can get back to clearing your driveway fast.
Engine Won’t Start? Diagnose Fuel, Spark, and Battery First
When your Simplicity snow blower clicks, cranks, or sits completely silent, the problem usually traces back to three systems: fuel delivery, spark, or battery power. Always disconnect the spark plug wire before working on any components.
Test the Battery and Electric Start
For models with electric start, a weak battery is the top reason for failure. Test voltage with a multimeter; if it reads below 12.4V, recharge or replace the battery. Even with adequate voltage, inspect terminals for corrosion and ensure cable connections are tight. On models equipped with a fuel pump, listen for activation when you turn the key. Silence indicates a faulty pump or wiring issue.
Replace the Spark Plug (NGK BR6HS)
A fouled or worn spark plug prevents ignition entirely. Remove it with a socket wrench and inspect for oil deposits, carbon buildup, or a cracked ceramic tip. Clean minor deposits with a wire brush, but replacement is the safer bet. Simplicity recommends the NGK BR6HS spark plug annually. Reinstall with a gap of 0.028–0.031 inches and snug it down without over-tightening.
Use Fresh, Ethanol-Free Fuel
Stale gasoline is a silent killer of small engines. Fuel older than 30 days gums up the carburetor and prevents starting. Drain old fuel completely and refill with fresh, ethanol-free gasoline. Ethanol attracts moisture and degrades rubber fuel lines, leading to blockages. While draining, inspect fuel lines for cracks and replace the fuel filter annually.
Prime the Carburetor Correctly
Older Simplicity models use a primer bulb to flood the carburetor with fuel. Press the bulb 5–10 times before cranking. Don’t overdo it, as too much fuel floods the engine. If the bulb is cracked or hardened, replace it. Models without a primer benefit from one short pull to prime, followed by a 30-second wait before a full start attempt.
Snow Not Throwing? Clear Blockages and Check the Belt

If snow piles up in the chute or spills out the front of the intake hopper, your blower isn’t moving snow through the discharge system. This forces the machine to work harder and risks damage to components.
Inspect and Replace the Auger Belt
A worn auger belt slips under load, reducing throwing power. Check for cracks, fraying, or glazing (a shiny, smooth surface on the belt sides). Glazing can occur even when the belt appears structurally sound, so replacement is wise if you notice any slippage. Install an OEM belt for proper fit and use a belt tension gauge to set tension per your manual. Over-tightening wears bearings; under-tightening causes slippage.
Clear Chute and Impeller Blockages
Snow, ice, or debris can jam the discharge path. With the spark plug disconnected, use a broom handle or plastic tool to clear blockages. Never use your hands near moving parts. Remove compacted snow from the chute and impeller fins. For stubborn ice, let the machine warm in a garage or apply a de-icer spray. Clean after every use to prevent buildup.
Install or Verify the Heat Shield
On models with forward-facing exhaust, like the Simplicity Landlord with a 42″ blower, engine heat can melt snow inside the chute, causing refreeze and clogs. The manual requires a heat shield in these configurations. A local dealer confirmed that multiple customers resolved clogging issues after installing the OEM heat shield. If clogging persists despite a properly installed shield, test a temporary barrier (plywood or sheet metal) between the exhaust and chute for 15–20 minutes to confirm heat’s role.
Adjust Skid Shoes for Wet Snow
In slushy conditions, standing water can freeze under the auger. Check if the scraper bar touches the ground; if so, slide a 1/8″ flat stock under it and re-adjust the skid shoes to that height. This lifts the auger slightly, reducing contact with water. Users report this fix works in about 90% of wet snow cases. Extreme conditions, such as 10″ of snow followed by rain and freezing, may still overwhelm the system.
Chute Won’t Rotate? Inspect Cables and Lubricate Joints

A stuck chute means you’re dumping snow in one direction, which is both frustrating and inefficient. The cause is usually mechanical, not electrical.
Inspect Chute Control Cables
Check both ends of the chute cable for disconnection or fraying. If broken, replace it with an OEM cable for proper fit. As a temporary fix until the replacement arrives, secure the cable with a zip tie. Ensure the cable moves freely through its housing; kinks or rust can bind it and prevent smooth operation.
Lubricate Pivot Points
Dry or frozen pivot points seize the rotation mechanism. Spray silicone lubricant or apply light grease to the chute’s swivel joint and control lever. Work the lever back and forth to distribute the lubricant. Perform this task before each season and after heavy use to prevent seizing in cold conditions.
Check Gears and Linkage
Some models use gears to rotate the chute. Open the housing and inspect for stripped teeth or jammed components. If gears are damaged, replace them. Ensure linkages aren’t bent or obstructed. Reassemble and test movement by hand before reconnecting the cable to the control lever.
Excessive Vibration? Find the Imbalance Fast
Loud rattling or shaking during operation signals a mechanical imbalance. Ignoring it can lead to costly damage to bearings, housings, and the drive system.
Tighten or Replace Auger Blades
Loose or damaged auger blades cause major vibration. Shut off the engine, disconnect the spark plug, and inspect the blades. Tighten mounting bolts to specification. If blades are bent, cracked, or unbalanced, replace them. Never run the machine with damaged blades; they can break off and cause injury.
Replace Worn Bearings
Worn auger or impeller bearings allow wobble and grinding noise. Spin the auger by hand; roughness or grinding means the bearings are failing. Remove the housing and press out the old bearings, then install new ones with proper alignment. This job may require specialty tools, so consider professional help if you’re unsure.
Inspect the Impeller for Damage
The impeller must be balanced for smooth operation. Look for warping, cracks, or ice buildup on the fins. Clean thoroughly and check for symmetry. If damaged, replace the impeller rather than attempting a repair. An unbalanced impeller stresses the entire drive system and accelerates wear on other components.
Prevent Problems: A Seasonal Maintenance Plan
Most snow blower issues stem from skipped maintenance. A few key tasks keep your Simplicity running reliably all winter.
Pre-Season Checklist
Before the first storm hits:
– Lubricate all pivot points and cables
– Inspect belts for wear and verify proper tension
– Replace the spark plug (NGK BR6HS)
– Check the fuel filter and lines for blockages
– Verify oil level using SAE 5W-30
– Test all controls and chute movement
Post-Season Storage Steps
At winter’s end, protect your investment:
– Drain all fuel or add a stabilizer
– Run the engine until it dies to clear the carburetor
– Clean the auger housing and chute thoroughly
– Store in a dry, covered area
– Cover the unit to prevent dust buildup
After-Use Care Routine
After every session:
– Clear snow and ice from the housing
– Wipe down metal surfaces to prevent rust
– Inspect for loose bolts or visible damage
– Reapply lubricant to the chute pivot if needed
Where to Buy Parts: OEM vs. Aftermarket
Getting the right parts matters for performance and longevity.
OEM from Authorized Dealers
Dealers offer model-specific diagrams and genuine Simplicity parts. Choose OEM for heat shields, belts, and housings where fit is critical. Dealers can confirm compatibility and provide service manuals for your specific model.
Trusted Third-Party Sources
• Northern Tool: Reliable for belts, spark plugs, and filters
• Amazon: Fast shipping for common maintenance parts
• eBay: Good source for discontinued or used components
Aftermarket works fine for spark plugs and fuel filters. For belts and structural parts, OEM is preferred, especially when heat or load is involved.
Know When to Call a Professional
Some issues go beyond DIY territory. Seek professional help if:
– Problems persist after completing all troubleshooting steps
– Multiple components show simultaneous wear
– You lack specialized tools (like a belt tension gauge)
– Safety systems are compromised
– The unit is still under warranty
Local small engine shops or Simplicity dealers can diagnose complex issues and often offer competitive rates compared to larger repair chains.
Frequently Asked Questions About Simplicity Snow Blower Troubleshooting
Why won’t my Simplicity snow blower start even with fresh fuel?
If fresh fuel doesn’t solve the problem, the issue is likely electrical. Test the battery voltage (should read above 12.4V), inspect spark plug condition, and verify that the spark plug wire is securely connected. A fouled spark plug or weak ignition spark prevents combustion even when fuel delivery is perfect.
How do I know if my auger belt needs replacement?
Look for visible cracks, fraying, or glazing (a shiny, smooth surface) on the belt sides. Glazing often appears before cracks and causes slippage under load. If the blower struggles to throw snow or makes a squealing sound, the belt is likely worn even if it looks intact.
What causes snow to clog the chute repeatedly?
Repeated clogging typically points to one of three causes: a worn or glazed auger belt, missing heat shield on forward-exhaust models, or extremely wet snow conditions. Start by inspecting the belt, verify heat shield installation, and apply silicone spray or WD-40 to the chute interior to reduce sticking.
Can I use my Simplicity snow blower in heavy wet snow?
Single-stage Simplicity blowers can handle moderate wet snow with proper technique, but extreme conditions (10+ inches of heavy snow followed by rain) may overwhelm the system. Adjust skid shoes 1/8″ higher, apply anti-stick treatments to the chute, and move at a pace that keeps the auger fully loaded.
How often should I replace the spark plug?
Replace the spark plug annually, ideally before the first snowfall of the season. The NGK BR6HS is the recommended plug for most Simplicity models. Annual replacement prevents hard-starting issues and ensures reliable ignition throughout winter.
What type of oil should I use in my Simplicity snow blower?
Simplicity recommends SAE 5W-30 oil for most models. This viscosity performs well in cold winter temperatures and provides adequate protection during operation. Check the oil level before each use and change it according to the maintenance schedule in your owner’s manual.
Key Takeaways for Simplicity Snow Blower Troubleshooting
Start with the simplest fixes: fresh fuel, a new spark plug, and proper priming solve most starting issues. For snow discharge problems, inspect the auger belt for glazing and verify heat shield installation on forward-exhaust models. Keep pivot points lubricated and skid shoes properly adjusted to handle wet conditions.
Document every issue you encounter, including weather conditions, operating time before failure, and what fixes worked. This record helps spot patterns over time and makes future troubleshooting faster. Most importantly, don’t ignore small problems; addressing them early prevents costly repairs and keeps your Simplicity snow blower running strong for many winters to come.



