
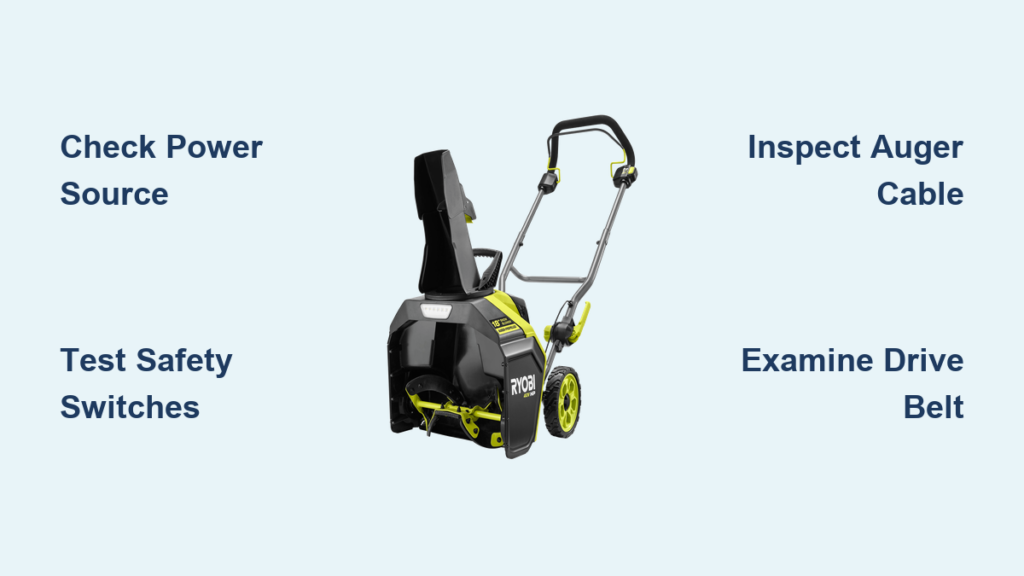
You just bought a brand new Ryobi snow blower, followed every step in the manual, and pulled the trigger—but the auger sits completely still. No spin, no grind, just silence. If your Ryobi snow blower is not working and the auger refuses to rotate, you’re facing one of the most frustrating problems for any new owner. This issue can affect corded, cordless, and gas-powered models, and it often appears right out of the box. The cause might be something simple like a loose cable, or it could point to a manufacturing defect. This guide walks you through every check, from power supply to gearbox, so you can pinpoint the problem and decide whether to fix it yourself or contact the dealer.
Start With Basic Power and Safety Checks
Before opening any panels, confirm the snow blower has proper power and that no safety system is blocking engagement. Many non-working issues trace back to something basic that gets overlooked.
Confirm the Power Source Is Delivering Full Energy
A weak or inconsistent power supply can prevent the auger from turning, even when the motor appears to run normally.
- Corded models: Use a heavy-duty 14-gauge outdoor extension cord. Thin or damaged cords often fail to deliver enough current for full motor engagement.
- Battery models: Install a fully charged Ryobi HP2.0, HP4.0, or compatible 40V battery. Try a second battery if one is available.
- Gas models: Use fresh fuel under 30 days old and set the choke correctly for a cold start.
If the motor runs but the auger still won’t spin, the problem lies in the safety system or mechanical components, not in the power supply itself.
Test Every Safety Interlock Switch
Ryobi snow blowers rely on multiple safety switches that stop the auger from engaging unless every condition is met. A single failed or misaligned switch can lock the entire system.
Common safety switches include:
– Handle lever switch that must be fully depressed
– Tilt switch that blocks operation if the unit tips
– Battery lockout on cordless models that requires secure seating
Press the auger lever firmly and listen closely. A faint click means the switch is making contact. Silence usually points to a faulty or misaligned switch.
Inspect the Auger Control Lever and Cable
If power and safety checks pass, move to the components that physically connect the lever to the auger mechanism.
Check Lever Movement and Cable Tension
The auger lever connects through a cable to the gearbox or clutch. A loose, frayed, or disconnected cable stops the auger from receiving the engagement signal.
Steps to inspect:
1. Turn off the unit and unplug it or remove the battery.
2. Find the auger control cable near the handle.
3. Trace it down to the gearbox housing.
4. Confirm both ends are firmly attached.
5. Pull the lever and watch for smooth cable movement.
If the lever feels mushy or offers no resistance, the cable likely needs adjustment or full replacement.
Adjust or Replace the Auger Cable
To tighten the cable:
1. Loosen the barrel adjuster near the gearbox.
2. Pull the cable taut without over-tensioning it.
3. Tighten the lock nut securely.
4. Test the lever for proper engagement feel.
If you spot fraying or visible damage, order a replacement cable such as Ryobi part #791-05220 or the model-specific equivalent.
Examine the Drive Belt and Pulley System

The drive belt transfers power from the motor to the auger. Even when the belt looks fine, it can slip or sit slightly off-track.
Locate and Visually Inspect the Belt
On most Ryobi two-stage snow blowers:
1. Set the unit on its side with the spark plug facing up for gas models.
2. Remove the belt cover using a screwdriver or wrench.
3. Check the belt for cracks, glazing, or fraying.
4. Confirm the belt sits properly on both the auger and engine pulleys.
A belt can appear whole yet still be too loose or worn to grip the pulleys effectively.
Realign or Replace a Slipping Belt
If the belt has come off track:
1. Use a screwdriver to guide it gently back onto both pulleys.
2. Clear any debris blocking the pulley path.
3. Replace the belt if it shows wear, using Ryobi part #753-04301 for many 24-inch models.
The full process usually takes 10 to 15 minutes with basic hand tools.
Diagnose the Gearbox and Auger Assembly
When power, safety, cable, and belt all check out, the issue may live inside the gearbox or along the auger shaft itself.
Listen for Motor Engagement Behavior
Start the snow blower and engage the auger while paying close attention to sound.
- A straining motor or pitch change means power is reaching the gearbox, so the issue lies downstream.
- Complete silence means the problem sits upstream in the switch, cable, or belt.
Check for Auger Shaft Binding
Ice buildup, debris, or a bent auger shaft can lock the system and prevent rotation.
Steps to check:
1. Power off the unit completely and disconnect power.
2. Put on protective gloves and try rotating the auger by hand.
3. If it won’t turn freely, look for ice inside the housing, jammed sticks or rocks, or warped auger blades.
A light spray of silicone lubricant inside the housing helps prevent future ice adhesion.
Test Gearbox Output
If the auger won’t budge by hand and you find no obstructions, the gearbox itself may be seized.
Common signs of gearbox failure:
– Grinding noise during startup
– Oil or grease leaking from the housing
– Complete immobility even with the motor running
Gearbox problems on a new unit often signal a manufacturing defect rather than normal wear.
Evaluate the Motor and Clutch on Cordless Models
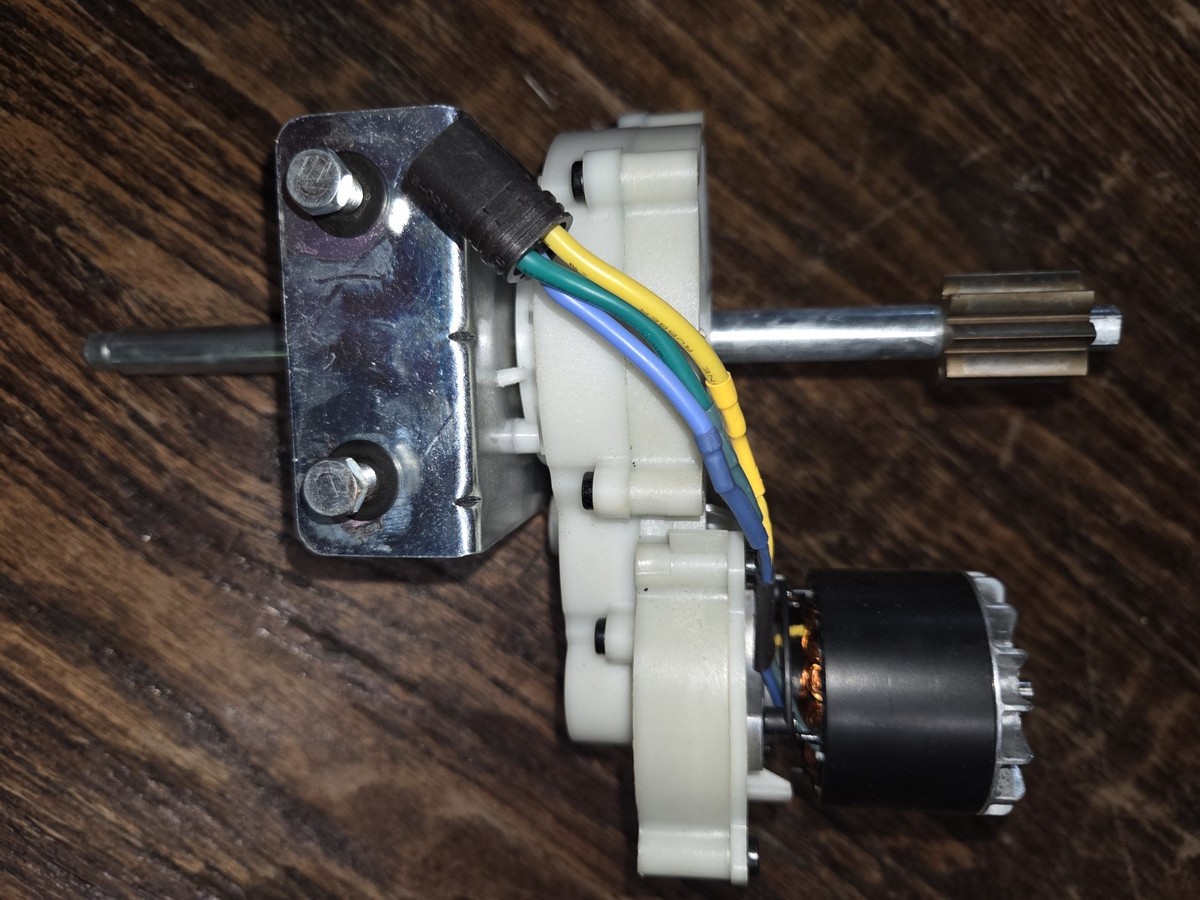
Battery-powered Ryobi snow blowers use an electric motor paired with an internal clutch. Failures in either component can stop the auger without warning.
Confirm the Motor Is Producing Output
If the motor hums but the auger stays still:
1. Remove the belt cover or clutch cover.
2. Start the unit and watch the motor pulley.
3. A spinning pulley confirms the motor works, so the problem sits in the belt or gearbox.
4. A stationary pulley points to a motor or controller fault.
Reset the Motor Controller
Some models include a thermal overload reset feature.
Reset steps:
1. Turn off the unit and remove the battery.
2. Wait 10 minutes to allow components to cool.
3. Reconnect the battery and test again.
If the motor still fails to engage, the controller or motor windings may need professional replacement.
Review Common Defects in New Snow Blowers
Brand-new snow blowers can ship with factory flaws that prevent operation from day one.
Known Issues With New Ryobi Units
- Misaligned safety switch from the assembly line
- Pinched or disconnected auger cable
- Improper or missing gearbox lubrication
- Faulty motor controller on cordless models
A unit that never worked out of the box, shows no visible damage, and passes every check above likely has a manufacturing defect that qualifies for warranty service.
When to Contact Ryobi or Your Dealer
Don’t spend more time on a defective unit. Recognize the right moment to escalate.
Warranty Claim Triggers
Contact Ryobi or your retailer if:
– The snow blower is new and has never worked properly
– You have verified power, safety, cable, belt, and gearbox function
– No visible damage or signs of misuse exist
Ryobi offers a 3-year warranty on most snow blowers. Register your product online and keep your receipt ready before filing a claim.
How to Request a Replacement
- Visit the Ryobi support page and enter your model and serial number.
- Describe the issue clearly as “auger does not rotate despite full troubleshooting.”
- Request a repair or replacement under warranty.
- Attach a short video showing the motor running with a stationary auger to speed up the process.
Prevent Future Auger Failures
A few simple habits keep your Ryobi snow blower running reliably for many winters.
Pre-Season Inspection Checklist
- Test the auger lever and cable tension
- Inspect the belt for visible wear
- Lubricate the auger shaft bearings
- Clear any leftover debris from storage
Winter-Ready Operating Tips
- Never operate on gravel or pavement, which can damage the auger
- Spray ice repellent inside the housing before storms
- Shut off the auger before clearing any jam
Frequently Asked Questions About Ryobi Snow Blower Auger Problems
Why won’t my brand new Ryobi snow blower auger spin?
A new unit with a non-spinning auger usually points to a loose or disconnected auger cable, a misaligned safety switch, or a dry gearbox from the factory. Confirm all safety switches click when engaged and inspect the cable for proper tension.
Can a bad extension cord stop the auger from turning on a corded model?
Yes. A thin or damaged extension cord can drop voltage below the level needed for full motor engagement. Always use a 14-gauge outdoor extension cord rated for the amperage of your snow blower.
How do I know if my Ryobi snow blower has a bad safety switch?
Press the auger lever firmly and listen for a faint click. Silence or a soft, inconsistent click usually means the switch is faulty, misaligned, or blocked by debris near the handle.
What does a slipping drive belt sound like?
A slipping belt often produces a high-pitched squeal or a burning rubber smell when the auger lever is pressed. The auger may also turn slowly or stop under heavy snow load.
Is a non-spinning auger covered under Ryobi warranty?
Most Ryobi snow blowers carry a 3-year warranty that covers manufacturing defects. A new unit that never worked out of the box, with no visible user damage, usually qualifies for repair or replacement.
Should I try to fix a seized gearbox on a new snow blower?
No. A seized gearbox on a new unit almost always indicates a factory defect. Contact Ryobi or your dealer for warranty service rather than attempting a DIY gearbox repair.
Key Takeaways for Fixing a Ryobi Snow Blower That Won’t Work
Start with the simplest checks first: confirm the power source, test every safety switch, and inspect the auger cable for proper tension. If those pass, move to the drive belt and look for glazing, fraying, or misalignment. A non-spinning auger on a new Ryobi snow blower that passes every test most likely points to a manufacturing defect, so use your 3-year warranty before attempting complex repairs. Register your product, document the issue with a short video, and contact Ryobi support for a fast resolution.



