Winter storms arrive fast, and a neglected snow blower can leave you stranded mid-driveway. Regular Husqvarna snow blower maintenance keeps your equipment running smoothly, prevents costly breakdowns, and extends its lifespan. Whether you operate a compact single-stage unit or a heavy-duty two-stage machine, consistent care makes the difference between effortless clearing and frustrating mechanical failures.
This guide covers everything you need to inspect, lubricate, adjust, and store your Husqvarna snow blower properly. You’ll find step-by-step instructions, time estimates, and expert tips drawn from manufacturer guidelines and professional repair practices. By following these proven maintenance steps, you ensure quick starts, strong throwing power, and dependable operation throughout every snowy season.
Pre-Season Inspection Checklist
A thorough 20-minute inspection before the first snowfall prevents mid-storm breakdowns and costly repairs. Start with a complete visual scan for cracks, loose fasteners, and damaged components. Addressing small issues now saves significant time and money when snow is falling.
Check Tires and Traction System
Inspect each tire for wear patterns, low air pressure, and dry rot. Uneven tread or cracked sidewalls reduce grip on icy or slushy surfaces. Rotate tires if wear appears uneven across the axle. On models with drive systems, verify proper belt tension. Belts that are too loose slip under load, while overly tight belts strain the engine. Replace any frayed, cracked, or glazed belts immediately.
Examine Auger and Impeller
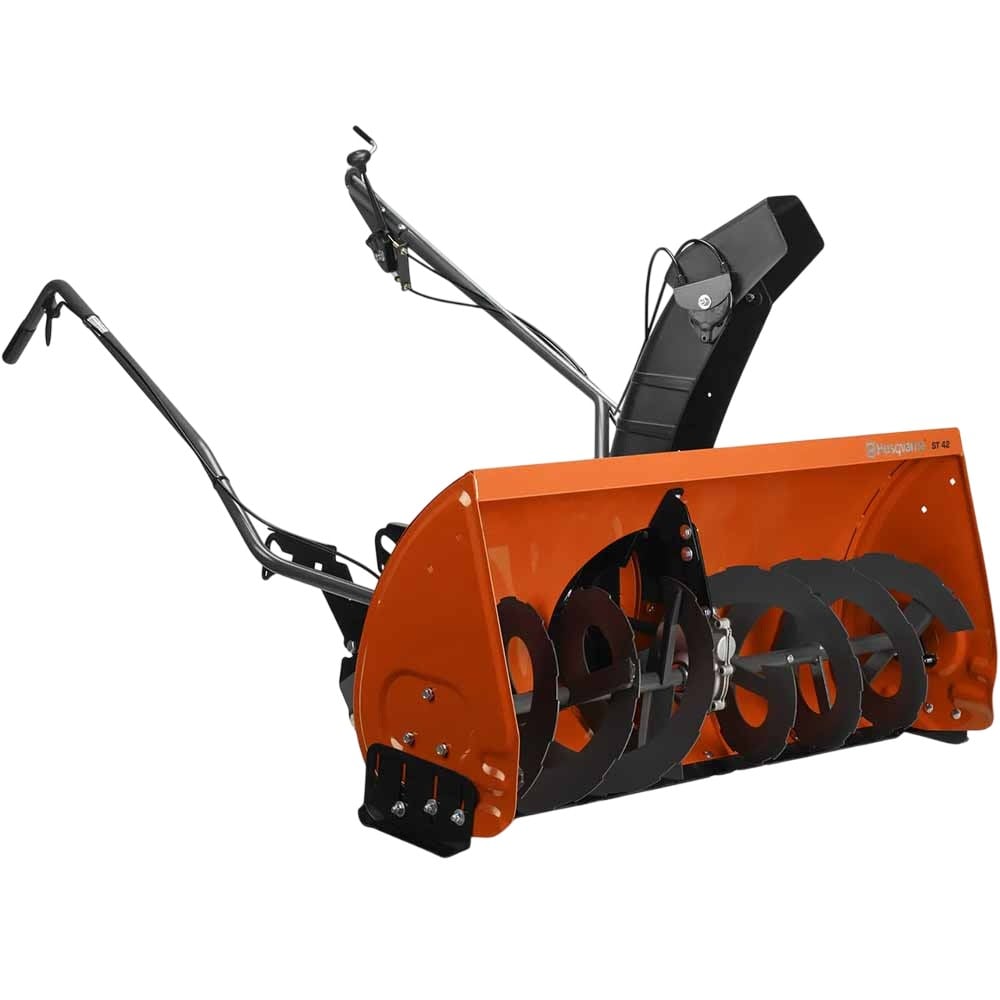
With the spark plug disconnected, spin the auger by hand. It should rotate smoothly without binding or grinding. Bent, cracked, or broken paddles reduce throwing distance and overwork the engine. Check the impeller for dents, warping, or obstructions. Any structural damage requires professional repair or component replacement to restore balanced operation.
Inspect Skid Shoes and Scraper Bar
Skid shoes regulate cutting height and protect the auger housing from pavement damage. Replace them when wear reduces thickness below 1/4 inch. The scraper bar should sit just above ground level, clearing snow completely without scraping concrete. Replace the bar when it wears down to 1/2 inch or less to maintain proper clearance and cutting efficiency.
Engine Care and Fuel Management
Your Husqvarna’s small engine demands clean fuel, fresh oil, and a strong spark to deliver reliable cold-weather starts. Follow these essential engine maintenance steps each season.
Change Oil Annually
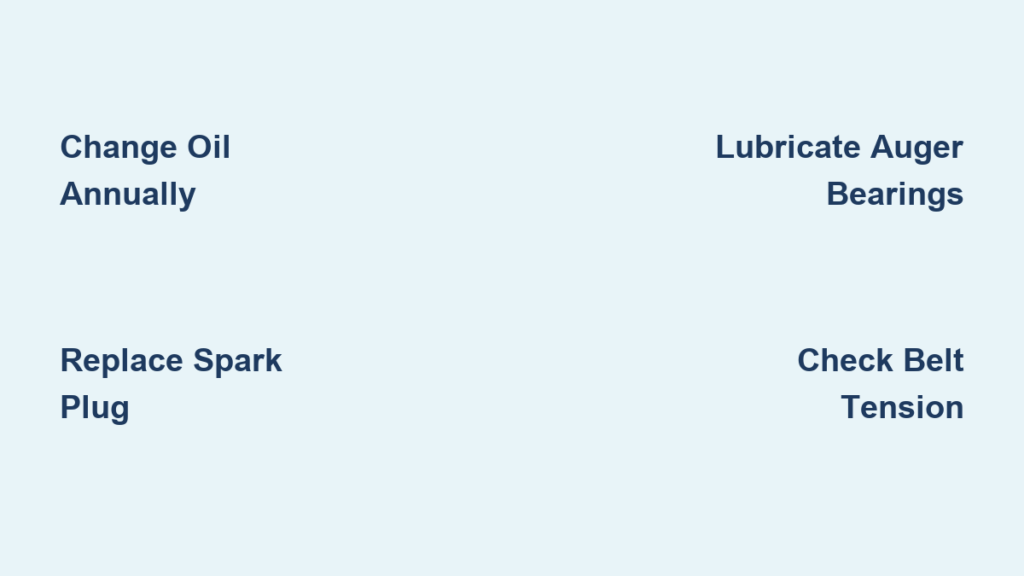
Drain the oil at season’s end or every 50 operating hours. Warm the engine briefly to suspend contaminants, then remove the drain plug and collect old oil in a suitable pan. Refill with SAE 5W-30 oil or the grade specified in your owner’s manual. Avoid overfilling, which causes foaming and poor lubrication. Verify the level sits between the minimum and maximum marks on the dipstick.
Replace Spark Plug
A fouled or worn spark plug causes hard starting, misfires, and rough running. Remove the old plug using a socket wrench and inspect the electrode for carbon buildup or excessive gap wear. Install a new NGK or Champion plug rated for your specific model. Set the gap to 0.025 inches with a feeler gauge, then reconnect the wire firmly.
Prevent Fuel System Issues
Ethanol-blended gasoline begins degrading within 30 days, forming varnish that blocks jets and clogs carburetors. Use fresh fuel each season or add a fuel stabilizer before storage. Run the engine for five minutes after adding stabilizer to circulate it through the fuel system. For extended storage beyond 90 days, drain the tank completely or run the engine dry.
Clearing Mechanism Maintenance
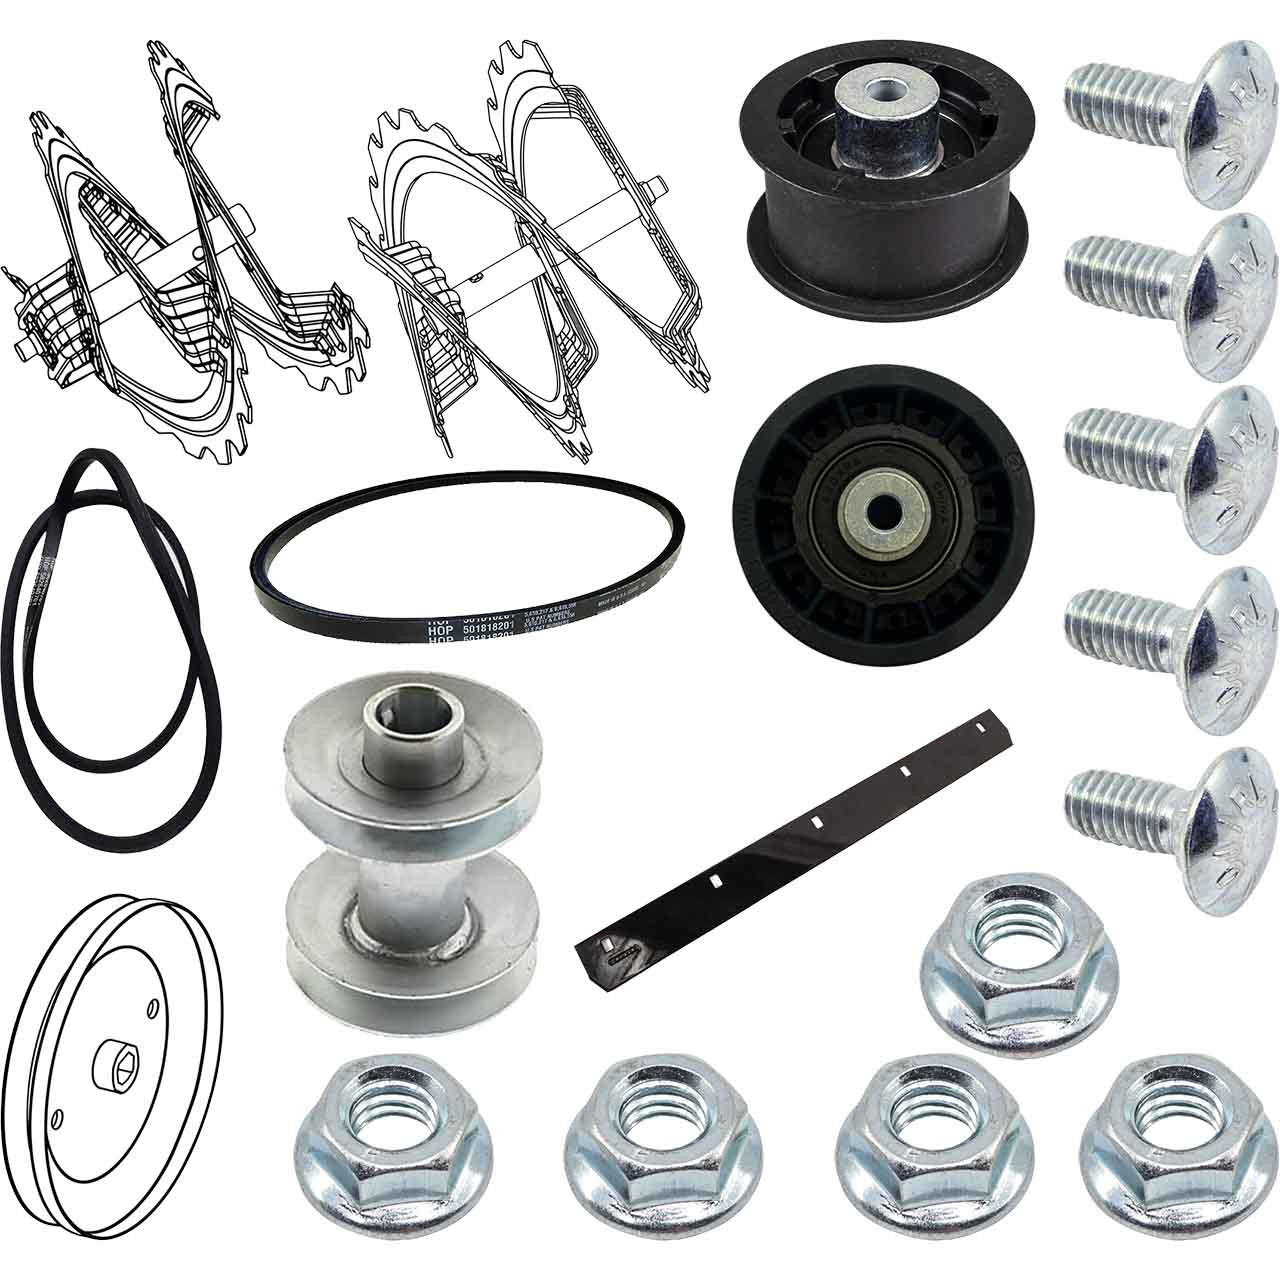
The auger and impeller form the heart of your snow blower’s performance. Keeping these components clean, lubricated, and properly adjusted ensures maximum throwing distance and reduces engine strain.
Remove Built-Up Snow and Ice
After every use, clear wet snow and ice from the auger housing, discharge chute, and surrounding areas. Allow ice to melt naturally rather than chipping it with sharp tools, which can scratch metal or crack plastic components. Use a soft brush or plastic scraper to remove residue. Leftover moisture promotes corrosion and adds unnecessary weight during storage.
Lubricate Auger Bearings
Apply lithium-based grease to auger shaft bearings monthly during the operating season. Locate grease fittings near each auger end and pump fresh grease until it appears at the seal. This step prevents rust formation and ensures smooth rotation under load. Skipping lubrication risks seized bearings or broken shafts during heavy use.
Adjust Auger Drive Belt Tension
If the auger engages sluggishly or slips under heavy snow, check belt tension immediately. Shut off the engine and disconnect the spark plug wire. Open the belt cover and press the belt midway between pulleys. Proper deflection measures approximately 1/2 inch. Adjust tension via the idler pulley or mounting bracket according to your model’s manual.
Electrical and Starting System Checks

Electric-start models depend on a healthy battery and clean connections, while recoil-start units still benefit from basic electrical system inspections.
Test Battery Charge (Electric Start Models)
Measure battery voltage with a multimeter. A reading of 12.6 volts indicates full charge, while anything under 12.2 volts requires recharging. Clean corroded terminals using a wire brush and coat them with dielectric grease to prevent future corrosion. Charge the battery fully before first use and every 30 days during storage periods.
Inspect Ignition Switch and Wiring
Examine all wiring near the starter, ignition switch, and control board for fraying, cracking, or loose connections. The engine should not cut out when you wiggle the key gently. Trace any intermittent power loss to its source and secure loose harnesses with zip ties away from moving parts and hot surfaces.
Verify Recoil Starter Function
Pull the starter cord slowly and feel for smooth, consistent engagement. If the cord sticks, jams, or fails to retract fully, disassemble the recoil housing and inspect the spring and cord mechanism. Replace broken springs or frayed cords right away. A failed recoil starter eliminates your backup starting option during emergencies.
Chute and Control System Tune-Up
Smooth directional control and chute operation improve both productivity and operator safety. Stiff levers or frozen rotation points make snow blowing unnecessarily difficult.
Free Frozen Chute Mechanisms
If the chute refuses to rotate or adjust, ice is likely trapped in the swivel joint. Pour warm (not boiling) water over the frozen area to thaw the mechanism safely. Once clear, apply silicone spray to all pivot points and rotate the chute fully through its range several times to distribute lubricant. Avoid using oil, which attracts dirt and creates grinding paste.
Lubricate Control Cables
Cables controlling the auger engagement and chute deflector can seize from moisture, salt exposure, and corrosion. Disconnect each cable end and slide the outer housing back. Spray cable interior with dry lubricant or silicone spray, then work the lever back and forth to restore smooth action. Replace any kinked, rusted, or frayed cables immediately.
Adjust Deflector Lever Tension
The chute deflector should hold its position firmly without sagging or drifting during operation. If it droops, tighten the adjustment screw on the control housing. The lever should require moderate effort to move but lock securely when released. Too much tension makes adjustment difficult; too little allows unwanted movement.
Sharpen and Replace Cutting Edges
Sharp cutting components improve performance, reduce engine strain, and extend machine life. The scraper bar and auger blades absorb the most contact with pavement and ice.
Sharpen Auger Paddles
Remove the paddles if your model allows disassembly. Use a metal file or angle grinder to restore the original bevel angle, typically between 25 and 30 degrees. Avoid overheating the metal by pausing frequently during grinding. Reinstall paddles in balanced sets to prevent vibration that damages bearings and housing.
Replace Worn Scraper Bar
Replace the scraper bar when thickness wears down to 1/2 inch or less. A worn bar scrapes pavement, damaging both the surface and the bar itself. Remove the mounting bolts, slide out the old bar, and install the replacement. Maintain a 1/8-inch clearance between the bar and the pavement for optimal snow removal without surface damage.
Storage Preparation Steps

Proper off-season storage protects your investment and ensures reliable starting next winter. Complete these steps at season’s end to prevent rust, fuel degradation, and tire damage.
Clean Entire Machine Thoroughly
Wash off all salt, slush, and road debris using a damp cloth. Avoid pressure washers, which force water into bearings, seals, and electrical components. Dry every surface completely, especially the undercarriage and chute areas where moisture collects and causes corrosion.
Protect Metal Surfaces from Rust
Spray all metal components, including the auger housing and discharge chute, with rust inhibitor or light machine oil. Focus on joints, bolts, and weld points where corrosion typically begins. Coat exposed threads with grease to prevent seizing. This protective barrier guards against humidity and condensation during storage.
Store in Dry, Covered Area
Keep your snow blower in a garage, shed, or other covered space. Elevate it off concrete using a tarp or wooden pallet to prevent moisture transfer from the floor. Cover with a breathable fabric cover. Plastic covers trap humidity and actually promote rust formation. Never store fuel in the tank unless you have added stabilizer.
Troubleshooting Common Issues
Even well-maintained machines occasionally develop problems. Use these diagnostic steps to identify and resolve common Husqvarna snow blower issues.
Snow Blower Loses Power Under Load
Check fuel flow, the air filter, and belt tension first. A restricted air filter or weak fuel supply starves the engine under heavy demand. Inspect the drive belt for glazing, cracking, or looseness. Also confirm the auger spins freely without binding from packed snow or ice accumulation.
Auger Doesn’t Engage
Verify the safety lever is fully depressed before troubleshooting further. Check the cable connection for disconnection or breakage. Inspect the auger belt for wear, slippage, or complete failure. On electric-start models, test the clutch coil with a multimeter. Zero resistance indicates a faulty coil requiring replacement.
Machine Vibrates Excessively
Stop operation immediately to prevent further damage. Common causes include unbalanced auger paddles, loose mounting bolts, or a bent auger shaft. Tighten all accessible fasteners and reinspect. Remove paddles and compare them visually or by weight to identify imbalance. Replace any bent or damaged components before resuming operation.
Frequently Asked Questions About Husqvarna Snow Blower Maintenance
How often should I perform Husqvarna snow blower maintenance?
Perform basic maintenance before each use, including checking oil and fuel levels. Complete a full inspection and service at the beginning and end of each winter. Conduct more detailed tasks like belt checks and bearing lubrication every 25 to 50 operating hours or once per season.
What type of oil should I use in my Husqvarna snow blower?
Use SAE 5W-30 motor oil for most Husqvarna snow blower models. Check your specific model’s owner’s manual for the recommended viscosity grade. Using the wrong oil type can cause poor lubrication, excessive engine wear, or hard starting in cold temperatures.
Can I leave fuel in my snow blower over the summer?
Yes, but only if you add a fuel stabilizer before storage. Run the engine for five minutes after adding stabilizer to ensure it circulates through the entire fuel system. Without stabilizer, ethanol-blended gasoline degrades within 30 days and can clog carburetors with varnish deposits.
Why does my snow blower auger not engage?
Start with the simplest checks first. Verify the safety key or lever is fully engaged. Inspect the auger belt for wear or breakage. Check cable connections for disconnection or damage. On electric models, test the clutch coil resistance with a multimeter. Each issue has a specific fix once properly diagnosed.
When should I replace the spark plug?
Replace the spark plug annually at the beginning of each season or after 100 operating hours. Signs of a failing plug include hard starting, rough idling, reduced power under load, or increased fuel consumption. Inspect the electrode during oil changes for early detection of wear or carbon buildup.
How do I prevent rust during snow blower storage?
Clean the machine thoroughly to remove all salt and moisture. Apply rust preventative coating or light machine oil to all metal surfaces. Store in a dry, covered location off concrete floors. These environment conditions allow humidity and condensation to accumulate, which accelerates corrosion even under cover.
Key Takeaways for Husqvarna Snow Blower Maintenance
Consistent Husqvarna snow blower maintenance delivers three major benefits: reliable cold-weather starting, optimal throwing performance, and extended equipment lifespan. Focus your efforts on the four most critical areas: fresh fuel and proper oil levels, sharp cutting edges, correct belt tension, and clean electrical connections. These steps prevent the majority of common breakdowns and keep your machine ready for any storm.
Start your maintenance routine this week by creating a simple checklist and scheduling reminders before and after the winter season. Download your model’s manual from the Husqvarna website for model-specific specifications, then stock essential supplies like spark plugs, oil, belts, and grease. Taking one hour for preventive care each year saves dozens of hours and hundreds of dollars in repair costs over your snow blower’s lifetime.