Snowfall can transform your neighborhood into a winter wonderland, but when it’s time to clear the driveway, that peaceful blanket of white quickly becomes a chore. If you own a snow blower, you’ve already taken the smart step toward faster, less strenuous snow removal. But knowing how to use a snow blower properly is essential for safety, efficiency, and machine longevity. Used incorrectly, even the most powerful model can stall, clog, or become a hazard.
This guide walks you through every step of operating a snow blower, whether gas-powered, electric, or battery-run, so you can clear snow confidently and avoid common mistakes. From pre-start checks to handling deep drifts and post-use maintenance, you’ll learn best practices that save time and protect your investment. Whether you’re a first-time user or looking to refine your technique, these actionable tips will help you master snow removal in any condition.
Pre-Start Safety and Setup
Before pulling the cord or pressing the start button, take time to prepare both yourself and the machine. A few minutes spent here prevent accidents and ensure smooth operation.
Dress for Winter Work
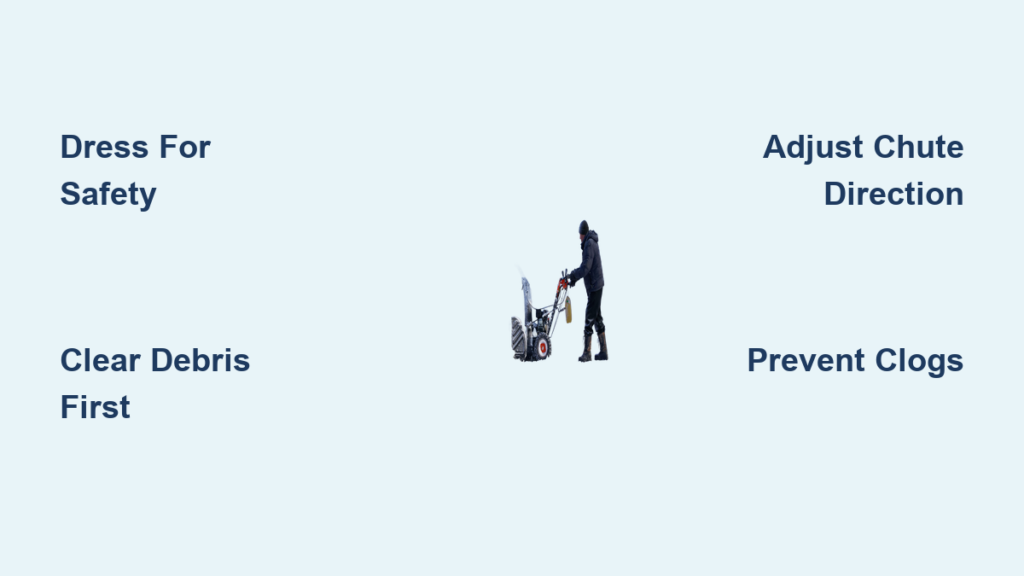
Wear layered, waterproof clothing that allows freedom of movement. Essential gear includes:
- Insulated, waterproof boots with good tread
- Gloves that allow grip but retain warmth
- Safety glasses to shield eyes from flying debris
- Hearing protection, especially for gas models
- Bright or reflective outerwear so you’re visible
Avoid loose clothing or scarves that could get caught in moving parts.
Clear the Area
Walk the path you plan to clear before starting. Remove:
- Rocks, sticks, and garden tools
- Lawn decorations or hoses
- Hidden obstacles like curbs or uneven pavement
Snow blowers can launch debris at high speeds, up to 100 mph in some cases, posing serious injury risks. Clearing the area reduces the chance of damage to property or people.
Inspect the Snow Blower
Do a quick visual check:
- Ensure auger and impeller move freely by hand, with the machine off
- Look for cracks, loose bolts, or damaged chutes
- Check tires or auger drive belts for wear
- Confirm fuel level and oil for gas models
- For electric models, inspect the cord or battery charge
If anything looks damaged, address it before starting.
Starting the Machine
The startup process varies slightly by power type, but the goal is the same: get the engine running smoothly and safely.
Starting a Gas-Powered Snow Blower
- Open the fuel valve if equipped
- Prime the engine by pressing the primer bulb 3 to 5 times
- Set the choke to “Start” or “Full”
- Turn ignition to “On” or pull the switch
- Engage the auger lever if required by model
- Pull the recoil cord smoothly and firmly
Once the engine sputters, move the choke to “Run” after 10 to 15 seconds. Let the engine warm up for 30 seconds before engaging the auger.
Pro Tip: If the engine floods, wait 10 minutes with the choke off to let excess fuel evaporate.
Starting Electric and Battery Models
- Plug in the cord securely for corded models or insert a fully charged battery
- Turn the power switch to “On”
- Press the safety release, usually a button or trigger
- Pull the start lever on some models
These models start instantly, with no pulling and no fumes. Just ensure the outlet is GFCI-protected and the cord stays behind you during use.
Operating Techniques for Clean Clearing
Now that the machine is running, it’s time to clear snow. How you move and position the snow blower makes a big difference in performance.
Adjust the Chute Direction and Deflector
Use the chute control rod or knob to aim the discharge away from people, vehicles, and windows. Never point it toward sidewalks or driveways where others might walk.
Set the deflector height to control how far snow is thrown. Lower for wet, heavy snow; higher for light powder.
Warning: Never adjust the chute by hand while the machine is running.
Choose the Right Speed and Gear
- Single-stage models: Best for snow up to 6 inches deep. Move at a steady pace.
- Two-stage models: Handle deeper snow. Use lower gears for heavy loads, higher for light snow.
- Three-stage models: Fastest clearing. Engage high-speed auger for maximum efficiency.
Match your speed to snow depth. Pushing too fast causes clogs; going too slow wastes time.
Handle Deep Snow and Ice
For snow over 8 inches:
- Make multiple passes, clearing half the depth first
- Use a rocking motion to break up packed snow
- Avoid forcing the machine; let the auger do the work
If you hit ice or compacted snow:
- Stop the machine
- Clear the area manually with a shovel or ice scraper
- Do not use metal tools near auger blades
Avoiding Common Problems

Even experienced users run into issues. Knowing how to prevent and fix them keeps your job on track.
Prevent and Clear Clogs
Clogs happen when wet, heavy snow packs into the auger housing or discharge chute.
To prevent clogs:
- Clear snow before it gets too deep or wet
- Use downward pressure on handles to maintain contact with the ground
- Overlap passes slightly to avoid ridges
If a clog occurs:
- Stop the engine immediately
- Wait for all moving parts to stop
- Use a plastic shovel or clean-out tool; never your hands
- Clear from the discharge chute first, then check the auger housing
Expert Note: Many models include a reverse function. Use it to back out clogs without stopping.
Prevent Stalls and Surges
Gas engines may stall due to:
- Incorrect choke setting
- Old or contaminated fuel
- Dirty spark plug
Keep fuel fresh (use stabilizer if storing more than 30 days) and replace the spark plug annually.
Electric models may surge if the battery is low or the cord is damaged. Always use the correct voltage and gauge.
Post-Use Care and Storage
Proper shutdown and maintenance extend your snow blower’s life and ensure it starts next time.
Shut Down Safely
- Disengage the auger and drive
- Let the engine idle for 1 to 2 minutes for gas models
- Turn off ignition or power switch
- Wait for all parts to stop moving
For gas models, close the fuel valve to prevent carburetor issues.
Clean and Dry the Machine
Remove built-up snow and ice from:
- Auger housing
- Discharge chute
- Tires and undercarriage
Use a brush or plastic scraper, never metal. Let the machine dry fully before storage to prevent rust.
Store Properly
- Store in a dry, covered area like a garage or shed
- Keep away from open flames or pilot lights, since fuel vapors are flammable
- For long-term storage, follow seasonal maintenance steps below
Seasonal Maintenance Checklist

A little upkeep now prevents headaches later. Perform these tasks at the end of winter.
Change Oil and Replace Spark Plug
For gas models:
- Drain old oil while engine is warm
- Refill with manufacturer-recommended oil
- Replace spark plug with correct type
This ensures smooth starts next season.
Check Belts and Auger Components
Inspect:
- Drive and auger belts for cracks or fraying
- Auger paddles for wear (replace if less than 1 inch thick)
- Skid shoes for uneven wear; adjust to maintain proper scraper height
Replace worn parts before next use.
Fuel System Care
- Drain fuel tank or add fuel stabilizer and run engine for 5 minutes to circulate
- Never store gasoline in the machine over summer
Stale fuel clogs carburetors and damages engines.
Troubleshooting Quick Reference
When problems arise, use this guide to diagnose and fix them fast.
Machine Won’t Start
Gas models:
- Check fuel level and freshness
- Inspect spark plug for fouling
- Ensure choke is set correctly
- Prime engine and pull cord firmly
Electric models:
- Verify outlet power and GFCI status
- Check cord for damage
- Ensure battery is charged if applicable
Auger Isn’t Turning
- Confirm auger engagement lever is pulled
- Check for clogs or obstructions
- Inspect shear pins on two-stage models; replace if broken
- Test belt tension and condition
Shear pins protect gears. If one breaks, the auger stops. Keep spares on hand.
Snow Blower Vibrates Excessively
- Stop immediately and check for:
- Loose bolts or hardware
- Damaged auger or impeller
- Uneven tire pressure
Vibration can lead to serious damage if ignored.
Model-Specific Tips

Different snow blowers require slightly different handling. Know your type.
Single-Stage Snow Blowers
- Best for: Light to moderate snow on flat surfaces
- Features: Rubber auger touches the ground, compact design
- Tip: Don’t use on gravel; the machine can pick up stones
Two-Stage Snow Blowers
- Best for: Heavy snow, long driveways
- Features: Separate auger and impeller, self-propelled options
- Tip: Use lower gears in deep snow; adjust skid shoes for smooth glide
Three-Stage Snow Blowers
- Best for: Fast clearing of deep, wet snow
- Features: High-speed accelerator, aggressive intake
- Tip: Let the machine feed itself; don’t force it forward
Frequently Asked Questions About Snow Blowers
What type of snow blower should I buy for a small driveway?
A single-stage electric snow blower works well for small driveways with snow up to 6 inches deep. These models are lightweight, easy to store, and require minimal maintenance.
Can I use a snow blower on gravel?
Single-stage snow blowers should not be used on gravel, as they can pick up and launch stones. Two-stage models with adjustable skid shoes are safer for gravel surfaces since the auger does not touch the ground.
How often should I change the oil in my gas snow blower?
Change the oil at the end of each winter season, or after every 25 hours of use. Drain the oil while the engine is still warm for best results.
Why does my snow blower keep clogging?
Clogs usually result from wet, heavy snow, pushing too fast, or not overlapping passes. Clear snow before it gets too deep, and always use a plastic shovel to remove clogs with the engine off.
How do I store a snow blower over summer?
Drain the fuel or add stabilizer and run the engine briefly to circulate it. Clean the machine, change the oil, and store in a dry, covered area away from heat or pilot lights.
What safety gear should I wear when using a snow blower?
Wear insulated boots, gloves, safety glasses, and hearing protection for gas models. Avoid loose clothing and scarves that could catch in moving parts.
Final Takeaways for Mastering Snow Blower Operation
Learning how to use a snow blower the right way transforms winter cleanup from a dreaded chore into a quick, manageable task. Always start with a clear area and proper safety gear, match your technique to snow conditions, and never skip post-use maintenance. Your next step: perform a quick inspection of your machine today so you’re ready the moment the first flake hits the ground.