Is your lawn more rollercoaster than putting green? Uneven ground isn’t just an eyesore. It makes mowing difficult, creates tripping hazards, and can lead to poor drainage and patchy grass. The good news: how to level a lawn is a solvable problem with the right approach. Whether you’re dealing with shallow dips, muddy puddles after rain, or lumpy terrain from frost heave or pests, this guide gives you a step-by-step plan to restore a smooth, healthy lawn.
You don’t need a landscaping crew or heavy machinery. With basic tools, the correct leveling mix, and proper timing, you can fix uneven spots and grow a lawn that looks professionally maintained. In this guide, you’ll learn when to level, what materials to use and avoid, how to apply fill without killing grass, and how to keep your lawn flat for years.
Assess Lawn for Low and High Spots
Before adding soil or sand, you need to know where and how much your lawn needs leveling. A quick inspection reveals problem areas that might not be obvious during regular mowing.
Walk across your lawn after a rain or early in the morning when dew is present. Puddles indicate low spots where water collects. Dew tends to linger in dips, making them easy to spot. Use a 2×4 board or a string line stretched between stakes to check for subtle depressions. If the board does not lie flat, the gap shows how deep the dip is.
Find Problem Areas Fast
Classify issues into two categories.
• Low spots: Sunken areas needing infill
• High spots: Raised bumps from soil heaving or poor sod installation
For accuracy, mark problem zones with garden flags or spray paint. This helps you focus efforts and avoid over-treating healthy areas. The goal is targeted repair, not covering the entire lawn unnecessarily.
Test Soil Compaction First
Compacted soil prevents roots from growing and causes the surface to mimic a washboard. To test, push a screwdriver into the ground. If it is difficult, your soil is compacted. Core aeration is a must before leveling.
Addressing compaction improves how well leveling material integrates with the soil, preventing future settling. Skipping this step means your fill material sits on top instead of blending in.
Prepare Lawn for Leveling
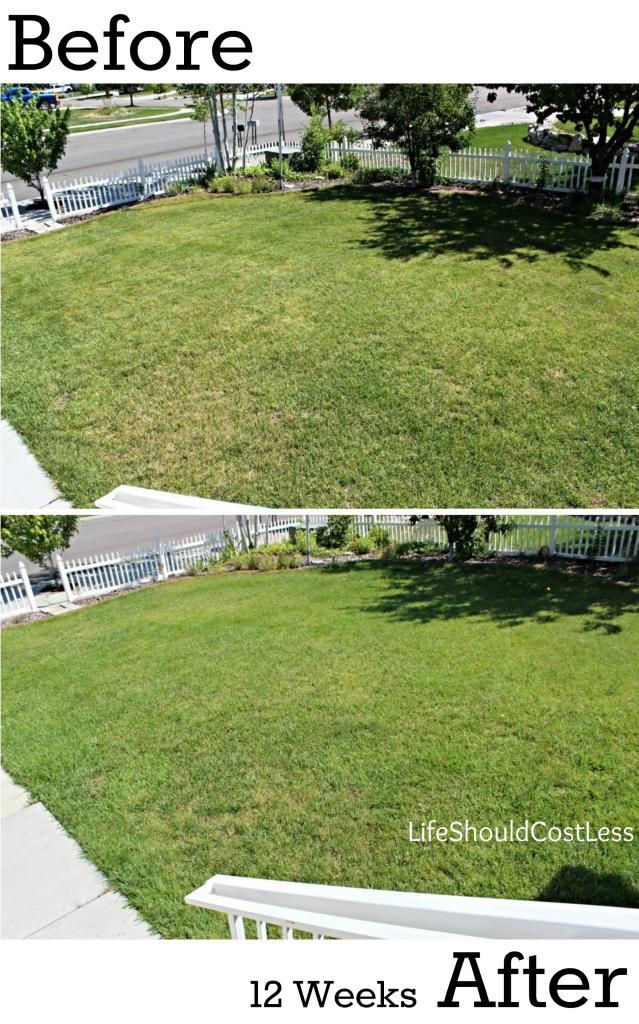
Proper prep ensures the leveling mix reaches the soil and does not just sit on top of thatch or tall grass. Preparation is the difference between a lasting fix and a temporary cosmetic improvement.
Mow Grass Short
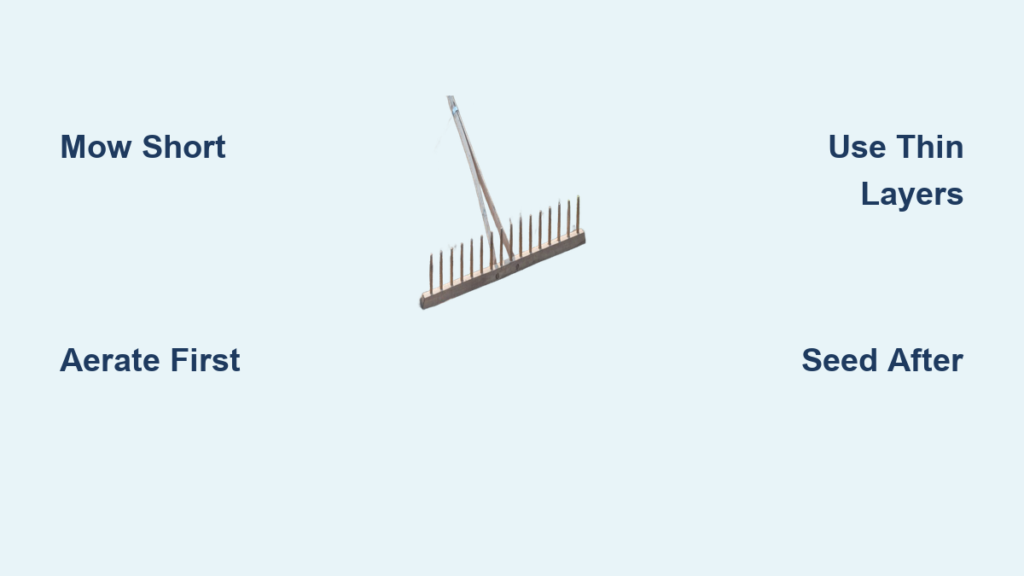
Cut your lawn to 1 to 2 inches. This is the shortest safe height for your grass type. Short grass lets the leveling mix filter down to the soil surface, especially important if you are topdressing large areas.
Avoid mowing too low and scalping the crown, which weakens grass. For cool-season lawns like Kentucky bluegrass or fescue, aim for 1.5 inches. Warm-season grasses like Bermuda or zoysia can handle being cut shorter. The key is exposing the soil without damaging the growth point.
Dethatch if Layer Is Thick
If your lawn has more than one-half inch of thatch, use a dethatcher or power rake. Thick thatch blocks the leveling mix from contacting soil, leading to poor integration and potential smothering.
Run the dethatcher in two directions. First go north-south, then east-west for full coverage. Remove debris afterward with a leaf rake. Thatch thicker than one-half inch acts as a barrier, not a base.
Core Aerate for Better Integration
Aeration pulls small plugs of soil from the ground, creating holes that allow air, water, and leveling mix to penetrate. Rent a core aerator or hire a pro for large yards.
Water the lawn 1 to 2 days before aeration to soften the soil. Run the aerator over the lawn twice in perpendicular passes for maximum coverage.
Best Time to Aerate and Level.
• Cool-season grasses: Mid-spring or mid-fall during active growth periods
• Warm-season grasses: Late spring to summer after green-up
If your grass is growing fast enough to need mowing every 2 to 3 weeks, it is strong enough to handle the stress of leveling.
Choose the Right Leveling Mix
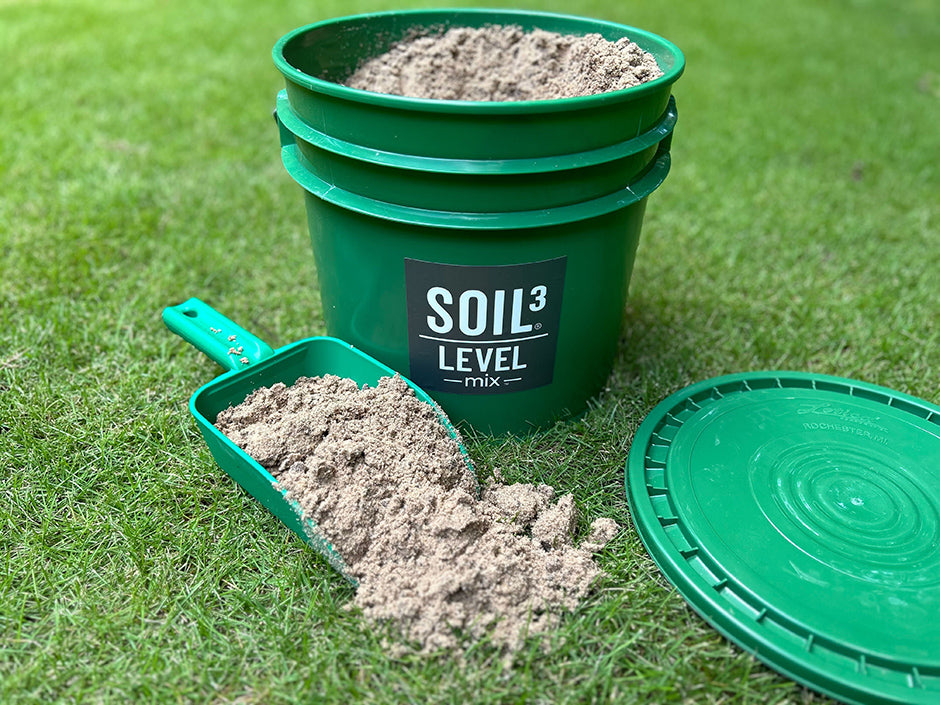
The wrong mix can do more harm than good. Your choice depends on grass type, soil texture, and whether you are fixing small dips or doing a full topdressing. Material selection makes or breaks the project.
Best Mixes by Lawn Type
For cool-season lawns like fescue and bluegrass, use a 2 to 1 to 1 blend of topsoil, sand, and compost. A 40% topsoil, 40% sand, 20% compost mix also works well. This balances drainage, nutrients, and structure. Avoid heavy clay soils, which compact easily. Screened topsoil is essential. Unscreened dirt contains rocks and debris that damage mowers.
For warm-season lawns like Bermuda and zoysia, use 100% mason sand for permanent leveling. Mason sand is fine, screened to one-thirty-second of an inch, and does not decompose like organic matter. If your soil is already clay-heavy, avoid sand. Use topsoil and compost only to prevent layering, which blocks water movement.
A general-purpose option works for most lawns. A 50/50 sand-compost blend provides balanced results. The compost feeds grass while sand improves drainage. This mixture is ideal for lawns with poor soil or frequent puddling.
Avoid These Materials
Some materials cause more problems than they solve.
• Builder’s sand or quarry sand: Too coarse and damages grass crowns
• Wet or clumpy soil: Does not spread evenly
• Unscreened topsoil: Contains rocks, sticks, and weeds
• Pure compost: Decomposes over time, causing future sinking
Pro Tip: Buy in bulk from local suppliers. Bagged sand costs up to $7 per bag. Bulk delivery saves money and ensures higher quality.
Apply Leveling Mix in Thin Layers
Applying too much at once is the number one mistake. Even 1 inch can suffocate grass by blocking sunlight and air. Thin applications prevent smothering and allow grass to grow through the fill.
For Minor Depressions Under 1 Inch
Shovel leveling mix into a wheelbarrow. Scatter over low spots using a garden trowel or your hands. Use a rake, broom, or lawn leveling rake to work the material down into the grass.
Apply no more than one-half inch at a time. Never bury more than half the grass blade. Excess coverage kills turf. Let the lawn recover for 2 to 3 weeks before adding another layer if needed.
For Deep Dips Over 1 Inch
For holes deeper than 1 inch, rebuild gradually. Fill with one-half inch of mix. Work it in with a rake. Step lightly to compact. Water and wait 2 to 3 weeks. Repeat until level.
For very deep voids like those from tree removal, consider excavating. Fill with soil in layers, then reseed or resod. This approach addresses root decay issues that simple topdressing cannot fix.
For High Spots
Cut around the bump with a sod cutter or spade. Lift the turf, remove excess soil underneath, then lay the sod back down. Press firmly and water.
Alternatively, use a power rake to break up and redistribute high areas during aeration. High spots are easier to fix than deep depressions because you remove soil rather than adding it.
Use Proper Tools to Spread and Smooth

The right tool makes the job faster and more effective. Using improper tools leads to uneven results and wasted material.
Lawn Leveling Rake
This is the best option for most homeowners. Features include a wide, flat base with channel blades that slice and spread material evenly. Its weight helps press the mix into the canopy without damaging grass. Ideal for large areas and professional results.
Alternative Tools
Several tools work for smaller jobs or budget-conscious homeowners.
• Landscaping rake: Sturdy metal tines work well for light spreading
• Plastic broom: Push mix through grass blades on small lawns
• 2×4 board: Drag across low spots as a DIY screed to check and smooth fill
Avoid standard garden rakes. They are too light and ineffective for even distribution. The extra investment in a leveling rake pays off in results.
Optional Lawn Roller
A light roller can help settle the mix, but never use on wet soil. Over-rolling compacts the soil, harming root growth. Use only for final smoothing, and skip if your soil is already dense. Most projects do not need a roller.
Seed After Leveling, Not Before
Seeding too early buries seeds under fill, reducing germination. Timing matters for successful establishment.
When to Overseed
Do it immediately after leveling while the soil is open and receptive. Grass seed needs contact with soil but not deep burial. The exposed soil after leveling provides perfect seed-to-soil contact.
How to Seed Properly
Scatter seed at a high rate like spreading chicken feed. Lightly rake or walk over the area to press seeds into the soil. Use a grass variety that matches your lawn.
Avoid burying seeds under more than one-fourth inch of soil. Most cool-season grasses germinate best when near the surface.
Pro Tip: Overseed during active growth. Fall for cool-season grasses, late spring for warm-season. Timing aligns with natural growth cycles for best results.
Fertilize and Boost Recovery
A stressed lawn needs nutrition to recover and fill in. Proper feeding accelerates healing and promotes thick growth.
Pre-Leveling Boost
Apply a fast-release nitrogen fertilizer 1 to 2 weeks before leveling to strengthen grass. Good options include Scotts Lawn Food or Stay Green 2000 ammonium sulfate. This prepares turf to withstand the stress of short mowing and topdressing.
Post-Leveling Fertilizer
Use a starter fertilizer or quick-release nitrogen to speed up germination and green-up. Apply Lebanon Turf Humic Max at 3 pounds per 1,000 square feet for rapid recovery. It contains humic acid, which enhances nutrient uptake.
Add Biostimulants
Products like CarbonizPN-G introduce beneficial microbes and biochar. Apply after aeration to improve soil health and root growth. These enhancers are not fertilizers but support long-term soil biology, especially in compacted or poor soils.
Water Properly to Settle and Grow
Watering is critical in the first 2 to 3 weeks. Proper moisture determines whether your leveling effort succeeds or fails.
Initial Watering
After applying the mix and seeding, water gently but thoroughly. Use a sprinkler, hose with soft spray, or watering can to avoid washing away the material. Soak until the top 2 to 3 inches of soil are moist.
Ongoing Moisture
Keep the soil consistently damp, not soggy, for the first 2 to 3 weeks. This ensures seed germination and helps the leveling mix settle. Water twice daily in hot weather, once in cooler conditions.
Avoid overwatering, which can erode the mix or drown new grass.
Recovery Time: With proper care, visible improvement can happen in as little as one week.
Avoid Common Leveling Mistakes
Even experienced homeowners make errors that undo their efforts. Learning what not to do protects your investment.
Mistake 1: Skipping Aeration and Dethatching
Without opening the lawn canopy, the leveling mix sits on top instead of integrating. Result is uneven finish and poor grass health. The prep work matters as much as the filling.
Mistake 2: Using Coarse or Wet Materials
Builder’s sand or wet topsoil clumps and does not spread. Always use dry, screened materials. Wet materials create bumps instead of fixing them.
Mistake 3: Leveling During Dormancy
Never level when grass is not actively growing. Dormant lawns cannot recover from stress. Time it with peak growth. Spring or fall for cool-season, summer for warm-season.
Mistake 4: Mowing Too High Beforehand
Tall grass blocks fill from reaching the soil. Mow short first. This seems counterintuitive, but short grass ensures contact between soil and fill material.
Mistake 5: Over-Compacting
Walking too much or using a heavy roller compacts soil, reducing oxygen and root growth. Light foot traffic is enough. Compact lightly with your feet rather than using heavy equipment.
Maintain a Flat Lawn Long-Term
Leveling is not a one-time fix. Prevent future bumps with regular care. Consistent maintenance preserves your hard work.
Aerate Annually
Core aeration every year reduces compaction and helps maintain even soil structure. This prevents the recurrence of low spots and promotes healthy root growth.
Topdress in Spring and Fall
Apply thin layers of sand-compost mix during overseeding to gradually improve surface uniformity. Small annual additions prevent major problems from developing.
Vary Mowing Patterns
Mowing the same route creates ruts. Change directions weekly to prevent washboarding. This simple habit protects against compaction from mower wheels.
Control Pet Traffic
Dogs running the same path compact soil. Rotate play areas or install stepping stones. Designate different zones for play to distribute wear.
Check After Rain
Low spots reappear after heavy rain. Address minor dips early before they worsen. Catching problems early prevents major re-leveling projects later.
Frequently Asked Questions About Leveling a Lawn
When is the best time to level a lawn?
Level during active growth periods. For cool-season grasses like fescue and bluegrass, level in mid-spring or mid-fall. For warm-season grasses like Bermuda and zoysia, level in late spring through summer after green-up. Never level during dormancy.
Can I use regular sand for leveling?
No. Avoid builder’s sand and quarry sand. They are too coarse and damage grass crowns. Use fine mason sand screened to one-thirty-second of an inch for permanent leveling. This material integrates well without floating to the surface.
How much leveling mix can I apply at once?
Apply no more than one-half inch at a time. Never bury more than half the grass blade. Excessive coverage blocks sunlight and suffocates grass. For deeper dips, build up gradually over several weeks with 2 to 3 week recovery periods between applications.
Should I seed before or after leveling?
Seed after leveling. Seeding before buries seeds under fill material, reducing germination. Apply seed immediately after leveling while the soil is open and receptive. Ensure seed-to-soil contact without deep burial.
How long does it take to see results?
With proper watering and fertilization, visible improvement can occur in as little as one week. Full recovery and grass blending takes 3 to 4 weeks depending on grass type and growing conditions. Patience produces better long-term results.
Can I level a lawn myself or do I need a professional?
You can level a lawn yourself with basic tools. A lawn leveling rake, core aerator, and wheelbarrow handle most residential projects. Hire a pro for large yards over one acre or severe grading issues requiring equipment.
Key Takeaways for How to Level a Lawn
Leveling a lawn successfully comes down to timing, material choice, and patience. Use a sand-compost blend for general repairs or pure mason sand for long-term stability. Apply in one-half inch layers, never smother the grass, and always seed after filling.
The most critical steps are proper preparation. Mow short, dethatch if needed, and core aerate before applying any leveling mix. Skipping prep work leads to poor integration and temporary results.
Choose screened, dry materials. Avoid wet or clumpy soil, builder’s sand, and unscreened topsoil. Material quality directly affects how well the fill integrates and how long it lasts.
Maintain your results with annual aeration, varied mowing patterns, and prompt attention to new dips. A flat lawn requires ongoing care, not just a one-time fix. With the right approach and consistent maintenance, you can transform a bumpy yard into a smooth, lush lawn that looks great and mows easily for years.