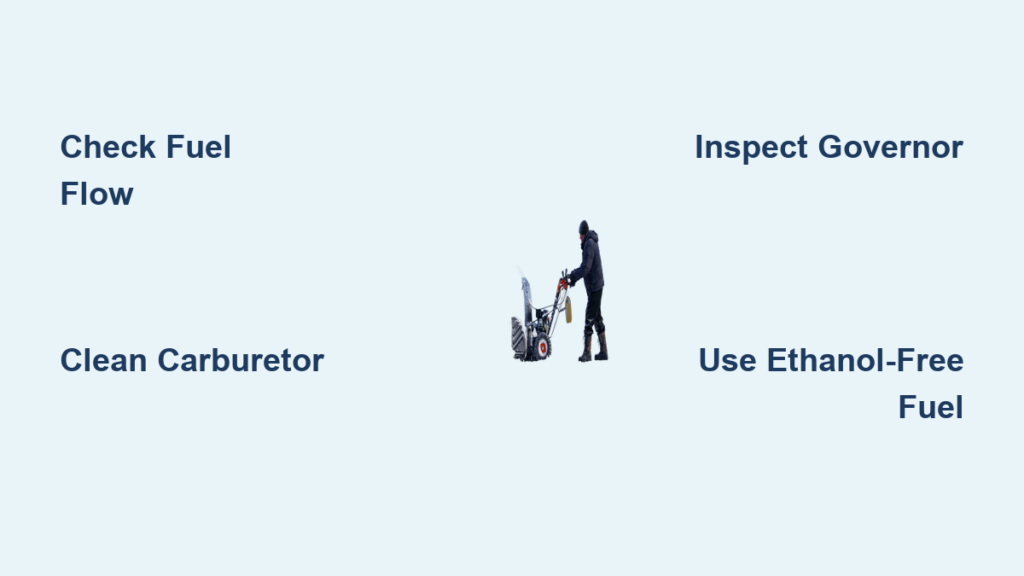
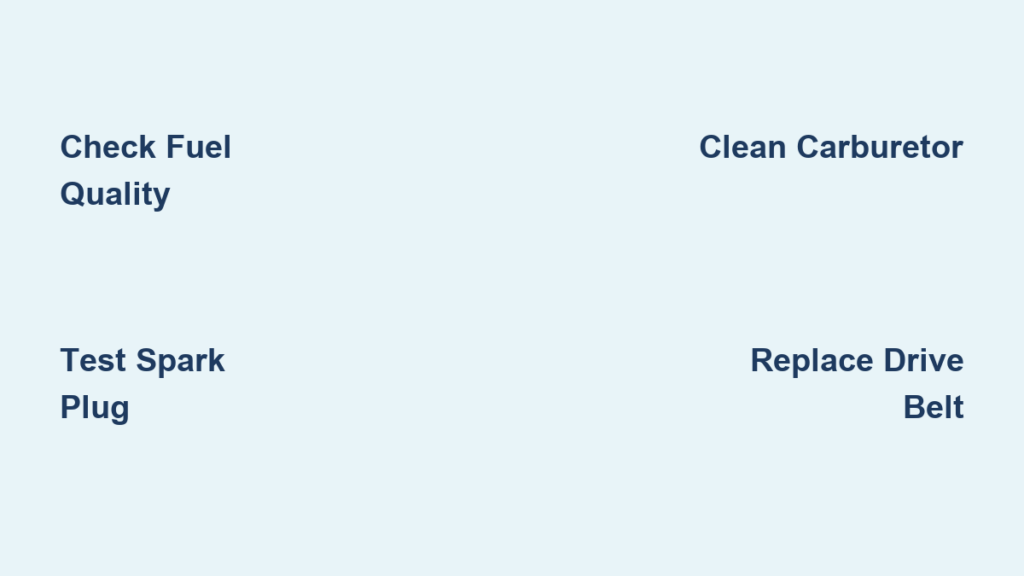
Winter storms hit hard, and when your Husqvarna snow blower will not start or sputters mid-job, you are left shoveling in the cold. You rely on your machine to clear driveways quickly and efficiently, so when it breaks down, every minute counts. The good news is that most Husqvarna snow blower repair tasks are manageable at home with basic tools and a little know-how. This guide covers the most frequent problems Husqvarna owners face, from no-start conditions and rough running to clogged augers and dead electric starters.
From fuel system failures to belt replacements and electrical glitches, we will walk you through actionable fixes that get your machine back in action before the next snowfall. Whether you own a ST227, ST324, or similar model, you will find practical solutions tailored to your equipment.
Diagnose Common Starting Issues
If your Husqvarna snow blower will not start, the problem usually lies in one of three areas: fuel, spark, or air. Before tearing into complex components, perform a quick diagnostic to isolate the cause.
Check Fuel Quality and Flow
Old or contaminated fuel is the top reason small engines fail to start after storage. Ethanol-blended gasoline degrades quickly, leaving varnish that clogs carburetors and fuel lines.
- Drain old fuel into a container if stored more than 60 days
- Inspect for cloudiness or separation and swap it out if present
- Confirm fresh fuel (ethanol-free preferred) fills the tank to at least half
- Squeeze the primer bulb 5 to 7 times until firm if equipped
Pro Tip: Add a fuel stabilizer to every tank during the season and before storage to prevent future clogs.
Test for Spark with Plug Inspection
A fouled or damaged spark plug stops ignition completely. Remove the plug using a 5/8″ socket or wrench.
Look for:
– Wet, black coating indicating fuel fouling
– White or melted tip indicating overheating
– Cracked porcelain requiring immediate replacement
Use a spark tester or ground the plug against the engine block while pulling the recoil. If no spark appears, replace the plug with the correct specification for your model.
Clear Air Intake and Filter
A blocked air filter restricts combustion. Remove the filter cover and inspect the foam or paper element.
- Foam filters: Wash in warm, soapy water, dry, and lightly oil
- Paper filters: Replace if dirty or damp
- Ensure no snow or ice blocks the intake near the engine
Fix Carburetor Performance Problems
When your snow blower starts but stalls or runs rough, the carburetor is likely clogged. Husqvarna models use diaphragm-type carburetors that are sensitive to stale gasoline.
Remove and Clean the Carburetor
- Disconnect the spark plug wire
- Drain fuel or clamp the fuel line
- Remove the air filter housing and cover
- Unhook fuel lines and linkage rods
- Unscrew mounting bolts and pull the carburetor free
Soak the unit in carburetor cleaner for 15 minutes. Use a plastic brush and compressed air to clear all ports. Never use wire, as it damages internal passages. Reassemble and reinstall carefully.
Adjust Idle and Throttle Screws
After cleaning, fine-tune performance:
- Locate the idle speed (T) and low-speed (L) screws
- Turn both clockwise until lightly seated, then back out 1.5 turns
- Start the engine and warm it up for 2 minutes
- Adjust the idle screw until the engine runs smoothly without stalling
Warning: Over-tightening adjustment screws damages needle seats. Use finger pressure only.
Replace Worn Drive Belts

A slipping or broken belt causes the auger or drive system to stop turning. Belt wear accelerates if the chute is jammed or the auger hits hard surfaces.
Identify Belt Type and Wear Signs
Husqvarna snow blowers use two belts:
– Auger belt: Powers the front impeller
– Drive belt: Transfers power to the wheels
Inspect for:
– Cracks or fraying on edges
– Glazing or a shiny surface
– Stretch or looseness
Replace both if either shows damage.
Install New Auger Belt
- Elevate the front of the machine on blocks
- Remove belt cover screws
- Slide the old belt off the pulleys
- Route the new belt following the original path, checking the routing diagram under the cover
- Reattach the cover and test auger engagement
Time Estimate: 25 minutes | Difficulty: Moderate
Replace Drive Belt
- Tilt the machine back to access the underside
- Remove bottom pan screws
- Release tension on the belt by moving the idler arm
- Slip the old belt off the engine and transmission pulleys
- Install the new belt, ensuring no twists
- Reinstall the pan and test forward and reverse motion
Unclog the Auger and Chute
Snow packing into the auger housing is common in wet conditions. Never clear by hand. Use a wooden stick or cleaning tool instead.
Stop Safely and Disconnect Spark Plug
Always follow these steps:
– Turn off the engine
– Remove the key or activate the stop switch
– Reconnect the spark plug only after clearing is complete
Clear Front Jam with Rod or Tool
- Position the machine on a flat surface
- Use a broom handle to push snow backward from the discharge chute
- Rotate the auger manually if possible to free binding
- Clear ice buildup around the scraper and skid shoes
Prevention Tip: Run the engine at full throttle when clearing wet snow and pause every 5 minutes to clear residual buildup.
Troubleshoot Electric Start Failures
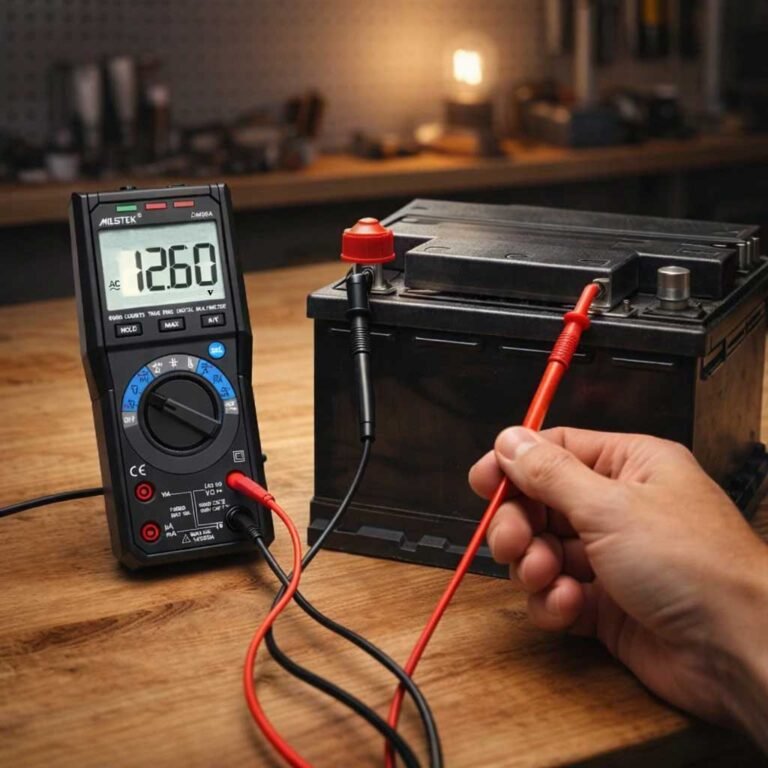
Models with electric start rely on a 12V battery system. If the starter clicks or does nothing, diagnose step by step.
Test Battery Voltage
Use a multimeter:
– Set to DC volts
– Touch the red probe to (+) and the black probe to (–)
– A healthy reading is 12.6V or higher
– Below 12.0V means you should recharge with a trickle charger
Note: Cold temperatures reduce battery output. Warm the battery indoors before testing.
Inspect Solenoid and Wiring
The solenoid sends power to the starter. If it clicks but the engine does not turn:
– Check wire connections for corrosion
– Clean terminals with a baking soda and water mix
– Ensure the ground wire is tight to the frame
If there is no click, test the solenoid with a jumper wire between the (+) terminal and the small post. If the starter engages, replace the solenoid.
Jump-Start Safely from a Car
Only if your snow blower has a standard 12V system:
– Park the car close with the engine off
– Connect the red jumper to the blower (+) battery terminal
– Connect the black jumper to the engine block as ground
– Crank for 3 to 5 seconds
– Disconnect immediately after start
Maintain Shear Pins and Gears
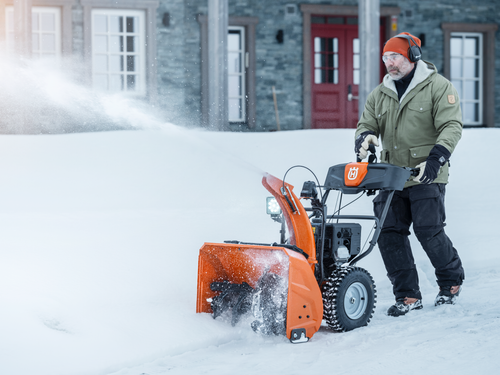
Shear pins protect the auger gearbox from damage when hitting obstacles. If the auger stops but the engine runs, a pin likely sheared.
Locate and Remove Broken Pin
- Shut off the engine and disconnect the spark plug
- Rotate the auger to align holes in the shaft and housing
- Use pliers or a punch to extract remnants
- Clean the hole with a wire brush
Install Correct Replacement Pin
Use Husqvarna-specific shear pins. Never substitute with nails or bolts, as they defeat the safety design.
- Insert the new pin through aligned holes
- Tap gently with a hammer until flush
- Confirm the auger turns freely
Pro Tip: Carry spare pins in your snow kit. Failures often happen during heavy storms.
Winterize After Each Season
Proper storage prevents most repair issues. Follow this checklist before storing your Husqvarna snow blower.
Drain Fuel or Use Stabilizer
Choose one method:
– Drain fuel tank and run carburetor dry: Best for short-term storage
– Add stabilizer and run for 5 minutes: Ideal for long-term storage
Stabilized fuel remains viable up to 12 months.
Change Oil and Replace Plug
- Warm the engine for 2 minutes
- Remove the dipstick and drain oil into a pan
- Refill with SAE 5W-30 (check your manual for capacity)
- Install a new spark plug
Fresh oil removes contaminants picked up during operation.
Lubricate Moving Parts
Apply lithium-based grease to:
– Auger bearings
– Drive shaft ends
– Chute rotation gears
Wipe down the exterior and store in a dry place.
Frequently Asked Questions About Husqvarna Snow Blower Repair
Why will my Husqvarna snow blower not start after sitting in storage?
Old or degraded fuel is the most common cause. Drain fuel older than 60 days and replace it with fresh, ethanol-free gasoline. Also check the spark plug for fouling and the air filter for blockages.
How often should I replace the drive belt on my snow blower?
Inspect belts every season and replace them when you see cracks, fraying, glazing, or stretching. Replacing both the auger and drive belts at the same time is a good preventive practice.
What type of oil does a Husqvarna snow blower use?
Most Husqvarna snow blowers use SAE 5W-30 motor oil. Always verify the capacity and specification in your model-specific manual before refilling.
Can I use regular gasoline with a fuel stabilizer instead of ethanol-free fuel?
Yes, a quality fuel stabilizer prevents varnish and degradation in ethanol-blended fuel. For best results and longer storage, ethanol-free fuel is preferred.
Why does my snow blower stall in wet, heavy snow?
Wet snow clogs the auger and chute, causing the engine to work harder. Run at full throttle, clear buildup regularly, and check shear pins if the auger stops turning.
How do I safely clear a clogged chute?
Turn off the engine, disconnect the spark plug wire, and use a wooden stick or cleaning tool. Never use your hands, and reconnect the plug only after the clog is cleared.
Key Takeaways for Husqvarna Snow Blower Repair
Successful Husqvarna snow blower repair starts with accurate diagnosis. Always check fuel quality, spark delivery, and camera treatment (air intake) before moving to complex repairs like carburetor cleaning or belt replacement. Preventive maintenance, including fuel stabilization, oil changes, and shear pin inspection, dramatically reduces breakdowns during critical winter use.
Your next step is simple: gather basic tools, review your model-specific manual for torque specs and diagrams, and perform a pre-season inspection. A 30-minute checkup now can save hours of frustration when the next storm arrives.