You’ve bought the best fertilizer or grass seed, but if you don’t apply it correctly, your lawn won’t get the results it deserves. Learning how to use a lawn spreader properly is the key to achieving even coverage, healthy growth, and avoiding costly mistakes like fertilizer burn or patchy germination. Most homeowners assume spreading is as simple as walking and dumping, but uneven application, incorrect settings, and poor patterns lead to striping, waste, and lawn damage.
This guide walks you through every step, from choosing the right spreader to calibrating it, applying product evenly, and maintaining it for long-term performance. You’ll learn how to avoid the most common mistakes, save money on product, and get the lush, green lawn you want.
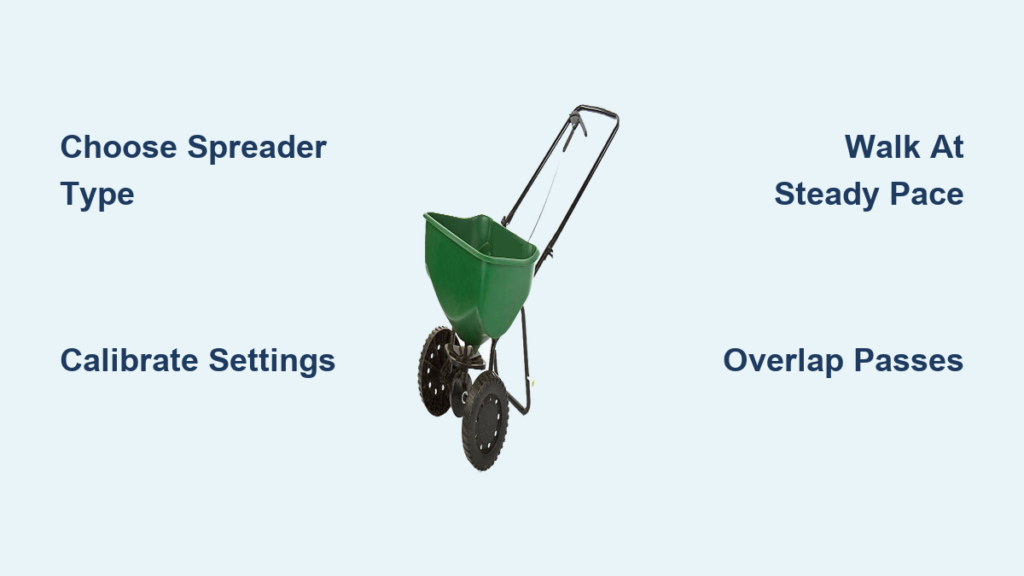
Choose the Right Spreader Type for Your Lawn

Selecting the correct spreader ensures efficiency and accuracy based on your lawn size and layout.
Broadcast vs. Drop vs. Handheld Spreaders
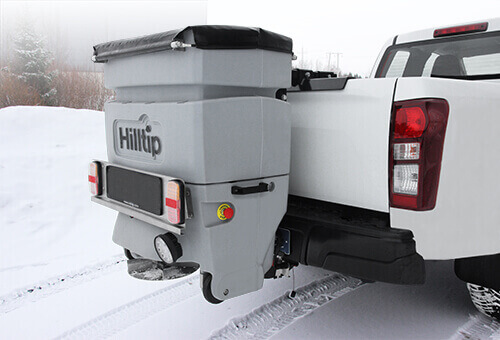
Broadcast (Rotary) Spreader: This type uses a rotating impeller to fling granules in a wide fan pattern, typically 3 to 12 feet wide. It’s best for medium to large lawns and covers ground quickly, though it’s less precise near edges and obstacles.
Drop Spreader: This model drops material directly beneath the hopper through adjustable openings. It’s ideal for small, tight, or irregular spaces where precision matters most. It applies product accurately but moves slower than broadcast models.
Handheld Spreader: Manual crank or trigger-operated units are perfect for tiny yards or spot treatments. They’re lightweight and affordable but can deliver inconsistent results over larger areas.
Pro Tip: For lawns over 10,000 square feet, use a large-capacity broadcast spreader with a dual rotor system for maximum uniformity and efficiency.
Electric Models for Consistent Application
Battery-powered spreaders automatically dispense product at a steady rate as you walk. These are great for hands-free, even application, especially if you tend to vary your walking pace during yard work.
Prepare the Spreader Before Use
A well-maintained spreader performs accurately and lasts longer through multiple seasons.
Inspect Tires and Moving Parts
Check tire pressure for pneumatic models. Aim for around 15 psi unless your manual specifies otherwise. Uneven tire pressure causes the spreader to lean and distribute product unevenly.
Test the hopper door, flow lever, and impeller for smooth operation. Ensure the rotor plate spins freely by cleaning any debris or corrosion that may have accumulated.
Clean Before Loading
Never skip cleaning, even residue from last season can clog the mechanism. Rinse the hopper thoroughly after each use.
For a deep clean, fill the hopper with water plus a capful of degreasing soap. Swish it around for 10 to 15 seconds, then rinse completely and dry fully before storage.
Select the Right Product for Your Goal
Your spreader can apply a variety of granular treatments, so choose wisely based on your lawn’s needs.
Common Products Applied by Spreader
Lawn spreaders handle multiple product types effectively. Fertilizers like Milorganite and PGF Complete provide essential nutrients. Grass seed establishes new growth or repairs bare spots. Herbicides, both pre-emergent and post-emergent, control weeds. Insecticides and fungicides address pest and disease issues. Ice melt works during winter months.
Expert Note: In early fall, use a fertilizer containing humic acid like PGF Complete to boost nutrient uptake without needing separate soil conditioners.
Load the Spreader Correctly
Where and how you load the spreader matters to prevent lawn damage.
Always Load on Concrete
Spilling fertilizer directly on grass can burn the turf. Load your spreader in the driveway or on pavement where spills can be swept up safely.
Fill Without Spilling
Pull the spreader to a truck tailgate or elevated surface to pour directly from the bag. This reduces spillage and makes the task physically easier.
Don’t overfill the hopper. Leave space to avoid spillage while moving. Keep the hopper door closed until you’re ready to apply product.
Set the Spreader Dial Accurately
Wrong settings are the number one cause of poor results when using a lawn spreader.
Check the Product Label First
Every granular product lists an application rate and a recommended spreader setting. The application rate tells you how much product to apply per 1,000 square feet, such as 2.86 pounds per 1,000 square feet. The recommended setting tells you which dial number or letter to use.
For example, a 32-pound bag of Milorganite covers 2,500 square feet, which equates to 12.8 pounds per 1,000 square feet.
Adjust the Flow Rate
Turn the dial to match the label recommendation. Higher numbers mean a wider opening and more product dispensed.
Start with the label setting, but always calibrate for accuracy. Don’t assume the default is correct for your specific walking speed and conditions.
Note: Spreader settings assume a walking speed of 3 to 3.5 miles per hour. Slower walking causes over-application, while faster walking causes under-application.
Calibrate for Perfect Application
Calibration ensures you apply exactly the amount needed, eliminating guesswork and preventing problems.
Why Calibration Matters
Calibration prevents fertilizer burn from over-application and poor seed germination from under-application. It’s essential after storing the spreader for winter or when switching to a different product.
Step-by-Step Calibration Process
Step 1: Mark off a test area of 1,000 square feet. You can use a measuring tape to create a space like 20 feet by 50 feet.
Step 2: Weigh the required product based on the label rate. Use a luggage scale for accuracy.
Step 3: Set the dial to the label-recommended setting.
Step 4: Apply product across the test area at a steady pace of approximately 3 miles per hour. Overlap passes by 50 percent.
Step 5: Evaluate your results. If you have leftover product exceeding half a pound, you applied too little. Slow down or increase the setting slightly. If you ran out before finishing the test area, you applied too much. Speed up or decrease the setting.
Step 6: Retest and adjust. Repeat the process on another 1,000 square foot section until the output matches your target amount.
Pro Tip: Use a luggage scale for calibration. It’s inexpensive, accurate, and reusable. Calibrate at the start of each growing season.
Apply with Even Coverage Techniques
Your walking pattern determines whether you get uniform results or unsightly striping.
Plan Your Route Smartly
Start at a corner or edge of the lawn. Apply a buffer strip around the perimeter first, then fill in the center. This prevents missing strips along boundaries and ensures complete coverage.
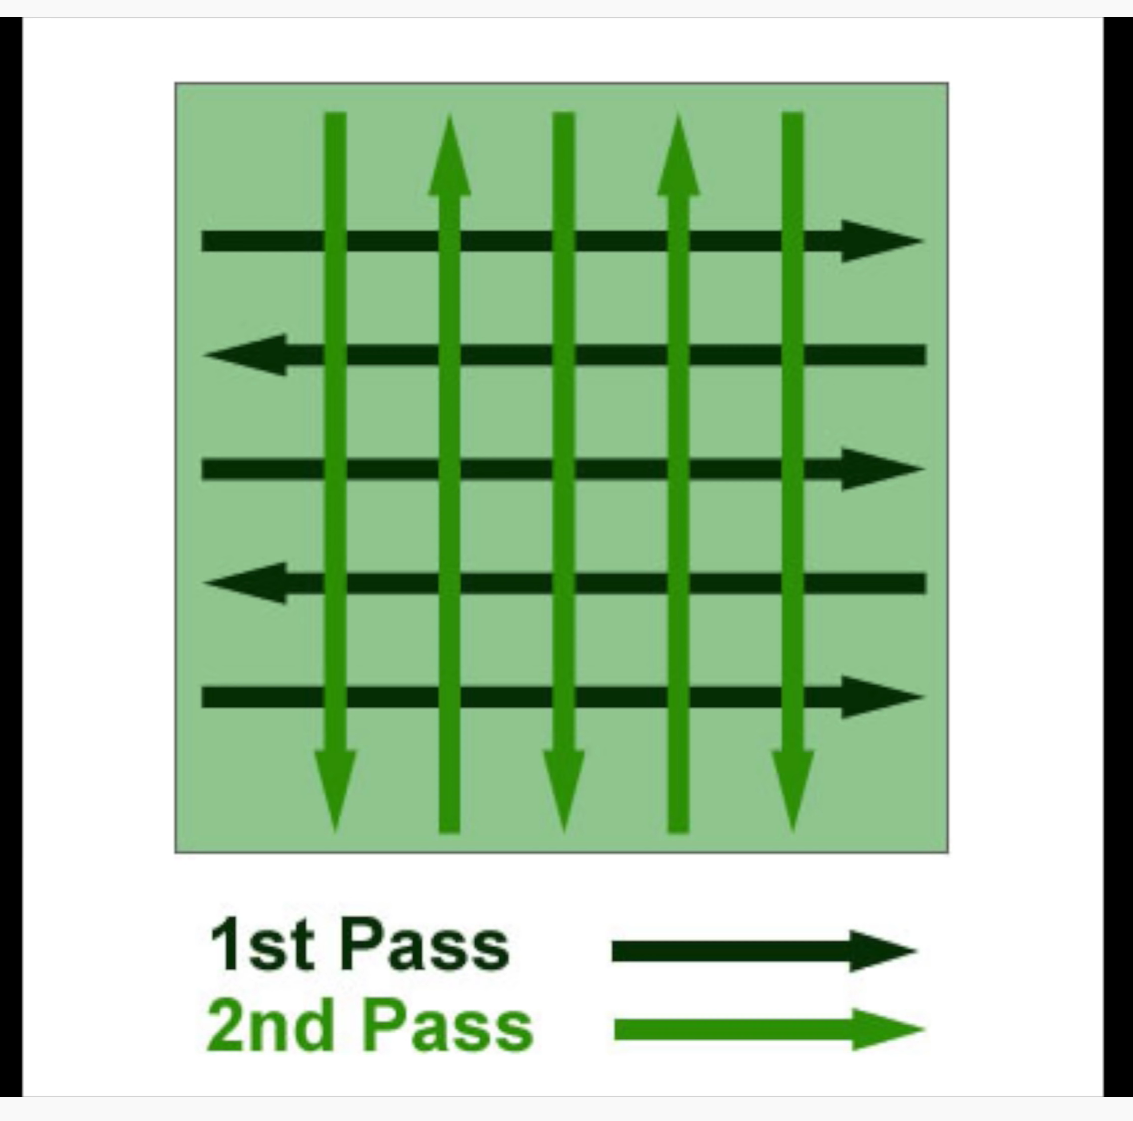
Use a Checkerboard Crosshatch Pattern
Make your first pass going north-south in parallel strips at half the recommended rate. Make your second pass going east-west at half the rate again. The total equals the full recommended rate, but the交叉 pattern ensures even coverage.
If the label says setting 5, use setting 2.5 for each pass. For lettered settings, use the midpoint between letters.
Walk at the Right Speed with Proper Overlap
Maintain a steady pace of 3 to 3.5 miles per hour. Slow walking applies too much product and causes burn. No overlap creates zebra striping with alternating dark and light bands.
For broadcast spreaders, overlap so each new pass covers the previous wheel track. This ensures complete coverage without gaps or heavy bands.
Turn Off When Stopping or Turning
Never let product flow when stopped. This creates hot spots that damage grass. Open the flow only after you start walking forward, and close it before you stop.
Navigate Obstacles Safely
Turn off the spreader before approaching trees, garden beds, or posts. Walk around the obstacle, then restart spreading once you’re clear. Keep fertilizers and insecticides away from flower beds to avoid damaging ornamental plants.
Control Drift and Protect Surfaces
Keep product where it belongs, on the lawn and away from non-target areas.
Use Edge Guards Near Sidewalks
Engage side shields or edge guards to limit spread near hard surfaces. Aim the outer edge of the spread pattern onto the lawn rather than onto pavement or driveways.
Sweep or Blow Off Hard Surfaces
Granules on driveways can harm pets, stain concrete, or wash into storm drains. Use a stiff broom or leaf blower to return any stray granules to the lawn.
Environmental Tip: Preventing runoff protects local waterways from excess nutrients and chemicals.
Maintain and Store Properly
A clean, dry spreader lasts for years and performs reliably each season.
After Every Use
Empty all remaining product back into the original bag. Never store granules in the hopper.
Rinse the hopper and mechanism with water. Dry completely with the door open. Store in a garage or shed, not outside where weather can cause damage.
Annual Maintenance
Lubricate the axle, crank, and moving parts with light oil. Inspect for cracks, rust, or worn components. Replace damaged parts promptly to maintain accurate application.
Avoid Common Mistakes
Even experienced users make these errors. Don’t let them ruin your lawn.
Top Mistakes and Fixes
Skipping calibration leads to over or under-application. Calibrate per product and season.
Walking too slowly causes fertilizer burn. Maintain the 3 to 3.5 miles per hour pace.
No overlap creates zebra striping. Overlap passes by 50 percent.
Spilling on grass during loading burns the turf. Always load on concrete.
Leaving product in the hopper causes clogs and corrosion. Empty and rinse after each use.
Applying in wind drifts product onto sidewalks and non-target areas. Wait for calm conditions.
Warning: Wind can push fertilizer onto neighboring lawns or gardens. Always check weather conditions before spreading.
Frequently Asked Questions About Using a Lawn Spreader
What is the best type of spreader for a small lawn?
A drop spreader or handheld spreader works best for small lawns under 5,000 square feet. These provide precise application in tight spaces where a wide broadcast pattern would waste product on non-target areas.
How do I know if my spreader is applying the right amount?
Calibrate your spreader by measuring a 1,000 square foot test area, weighing the correct amount of product for that space, applying it, and evaluating whether you used more or less than expected. Adjust your speed or setting and retest until output matches the target.
Can I use the same setting for all products?
No. Different products have different application rates and particle sizes. Always check the product label for the recommended spreader setting, then verify it through calibration.
Why does my lawn have striping after spreading?
Striping happens when passes aren’t overlapped enough or when walking speed varies significantly. Overlap each pass by 50 percent and maintain a consistent 3 to 3.5 miles per hour pace.
Should I apply fertilizer in hot weather?
Avoid applying fertilizer during peak summer heat. High temperatures combined with granular fertilizer can burn grass. Apply during cooler periods in early morning or evening, and always water the product in after application if the label recommends it.
How often should I calibrate my spreader?
Calibrate at the start of each season, especially after winter storage. Also calibrate whenever you switch to a different product or notice inconsistent application results.
Key Takeaways for Using Your Lawn Spreader Effectively
Your lawn’s health depends on more than just what you apply. It’s how you apply it that determines results. By mastering how to use a lawn spreader with precision, you’ll avoid waste, prevent damage, and achieve a thick, green, uniform lawn.
Treat your spreader like a precision instrument rather than just a cart. Choose the right type for your lawn size, calibrate before each season, maintain consistent walking speed, and overlap passes properly. Following these steps ensures professional results without professional costs, giving you the lush lawn you want.