Installing synthetic lawn eliminates the hassle of mowing, watering, and battling weeds while giving you a lush, green yard year-round. Whether you want a pet-friendly play area, a drought-proof landscape, or simply curb appeal without the maintenance, synthetic turf delivers lasting results. The key to success lies in proper installation: a solid base, precise seams, and correct infill make the difference between a lawn that lasts over a decade and one that fails within a few years. This guide walks you through every critical step using proven techniques and expert insights.
Plan Your Synthetic Lawn Layout
Before purchasing materials, measure your yard accurately to determine how much turf and base material you need. Most synthetic turf comes in 15-foot-wide rolls, so plan your layout to minimize seams and reduce waste. For an 18-foot-wide yard, cut two 15-foot rolls to 18.5 feet each rather than creating narrow edge strips.
Choose turf based on your specific needs. High-traffic areas require denser pile with a face weight of at least 80 ounces. Pet zones benefit from anti-microbial infill and backing. Putting greens need shorter, firmer turf designed for ball roll. Select products with UV-stabilized backing for maximum durability.
Integrate your synthetic lawn with existing patios, walkways, and garden beds for a cohesive look. Avoid large stadium-style expanses by breaking up the space with gravel paths or mulched zones. Position seams in shaded or low-traffic areas to reduce visibility. Always plan for a slight slope of one-quarter inch per foot away from your home to ensure proper drainage.
Clear and Prepare the Installation Site
Remove all vegetation, including grass, weeds, roots, and debris, using a sod cutter for large areas or a shovel for small yards. Excavate 4 to 6 inches of soil to accommodate the base and turf layers. For a 700 square foot yard, expect to remove up to 3,000 pounds of sod and dirt. Dispose of waste responsibly, as many services offer sod recycling to avoid dumpster fees.
Identify and mark any irrigation lines, electrical conduits, or drainage pipes before excavation. Cap unused sprinkler lines at the pipe level, not just at the riser, to prevent leaks. Relocate or modify systems if they interfere with the new layout. Backfill capped lines with sand or soil to avoid depressions, and mark all utility locations clearly to prevent damage during base compaction.
Build a Stable, Well-Drained Base

Create a slope of one-quarter inch per foot away from your home for proper drainage. For an 18-foot-wide yard, the outer edge should be 4.5 inches lower than the side near the house. Use a laser level or string line with a 4-foot level to verify the grade. Poor drainage leads to pooling, mold, and base erosion, which are common causes of premature turf failure.
Spread 3 to 4 inches of crushed rock (one-quarter-inch minus) or decomposed granite evenly across the area. One cubic yard covers approximately 100 square feet at 3 inches deep. Use a hard-faced rake or screed board to level the surface, then compact the base with a plate compactor. Make three full passes, lightly misting the surface first to reduce dust and improve particle bonding. Check flatness with a 2×4, and re-grade any dips or bumps. If using more than 4 inches of base, compact in 2-inch layers.
A poorly compacted base is the number one reason synthetic lawns fail. Invest time in this step, as your turf’s lifespan depends on it.
Install Edging and Weed Barrier
Secure perimeter edging around the lawn’s border to prevent shifting. Use steel, rubber, or bender board with landscape stakes or rebar pins every 12 to 18 inches. For brick or paver borders, backfill with gravel or cement for stability. Edging should sit level with the final base height and align with adjacent hardscapes.
Roll out permeable geotextile fabric over the entire base. This blocks weeds while allowing water to drain. Avoid plastic, which degrades and traps moisture. Overlap seams by 2 to 4 inches and secure with galvanized spikes or U-nails every 12 to 18 inches. Ensure full coverage, especially around trees and obstacles. Before installation, spray any remaining roots with a one-to-one mix of concentrated weed killer and water using a hand pump sprayer.
Unroll and Position Synthetic Turf
Acclimate the turf before installation by unrolling it in direct sunlight for 1 to 2 hours. Warming the material makes it more pliable, easier to stretch, and less likely to wrinkle during installation.
Unroll the turf with all blades facing toward the house or main viewing area. This creates a darker, more natural appearance. Never lay adjacent pieces with opposing grain directions, as this causes visible light and dark patches. Maintain consistent orientation across all sections.
Use a sharp utility knife and straight edge to cut the turf from the backing side, protecting the fibers. Leave a 1-inch overhang along edges for tucking. For curved borders, make relief cuts every few inches to allow the turf to bend smoothly. Place a wood backer board under cut lines to prevent damage to the base.
Seam Turf Pieces Seamlessly
Whenever possible, join turf along the sides rather than the ends. Side seams are stronger and less visible. Plan seam placement in shaded or low-traffic areas to reduce visibility.
Fold back both edges of the seam and lay 6-inch-wide turf seam tape underneath. Secure the tape with galvanized spikes. Apply outdoor carpet adhesive evenly with a notched trowel. Wait 10 to 15 minutes for the glue to become tacky. Press the turf edges together from the center outward, then roll with a hand roller to ensure full adhesion. Never let adhesive touch the grass blades.
Only the backing should contact the glue. Clean any overspill immediately to avoid stiff, unnatural patches.
Secure Turf to Prevent Shifting
Drive 4 to 6 inch galvanized nails or turf spikes every 4 to 6 inches along the edges. Place them three-quarters of the way in, as over-hammering causes visible dimples. Position nails one-half to 2 inches from the edge to prevent pull-through. In high-traffic areas, reduce spacing to 3 to 5 inches.
For large lawns, add nails in a 24 by 24 inch grid across the field. Use landscape staples or 5-inch Magnum Brad nails every 4 to 6 inches along seams and in high-use zones. Separate grass blades when nailing to avoid pulling them down, as nails should be hidden beneath the fibers.
Tuck the 1-inch overhang into the border or against hardscapes using a wonder bar or metal edging tool. This creates a tight, professional edge and prevents lifting.
Apply and Brush In Infill
Choose the right infill type based on your needs. Silica sand works well for general use and provides natural look with good drainage. Envirofill or Durafill offers anti-microbial properties and stays cooler, making it ideal for pets and children. Smart Fill provides green beads that resist odors in pet areas. Rubber pellets offer shock absorption for play zones. Green antimicrobial sand blends color and resists odor in residential settings.
Use a broadcast or drop spreader to apply 1 to 2 pounds of infill per square foot. For 700 square feet, that is approximately 40 bags at 50 pounds each. Apply extra along edges for stability. Then use a stiff-bristle broom or power brush to work the infill down into the fibers. Brush against the grain in one consistent direction to lift the blades and create a natural look. Repeat 3 to 4 times until fully embedded. Use a paintbrush or your hands for tight spots around obstacles.
Infill settles over time, so re-sweep after a few weeks to maintain optimal performance.
Final Touches and Lawn Grooming
Inspect the surface and trim any loose fibers with scissors. Lightly water the surface to help settle the infill. Use a leaf blower to remove dust or debris. Adjust rocks, pavers, or garden edges to blend with the turf.
Walk the lawn and check for loose seams or edges, visible nails or divots, uneven infill, and misaligned grain. Re-stake, re-glue, or re-brush as needed. A final roller pass can help flatten any minor wrinkles.
Maintain Your Synthetic Lawn Long-Term
Brush the lawn monthly with a stiff broom or power brush to prevent matting. Brushing against the grain keeps the fibers upright and maintains a realistic appearance.
Pick up solid waste immediately and rinse urine areas with water. Anti-microbial infill reduces odor naturally. For stains, use mild soap and water and avoid harsh chemicals that can degrade the backing.
Synthetic turf gets hotter than natural grass in direct sunlight. In hot climates, spray the surface with water before use, similar to cooling a trampoline. Shaded areas remain comfortable even during peak summer heat.
A properly installed synthetic lawn drains rapidly during rain. If water pools, check for base compaction issues or clogged seams. Clear debris from the surface regularly to maintain permeability.
Frequently Asked Questions About Installing Synthetic Lawn
How long does it take to install synthetic lawn yourself?
For a medium-sized yard around 700 square feet, plan for 2 to 3 full days of work. The first day covers site preparation and base installation. The second day handles turf layout, seaming, and securing. The final day involves infill application and finishing touches. Having at least two people makes the process significantly easier.
Can I install synthetic turf directly over existing grass?
No. Installing directly over grass leads to uneven settling, mold growth, and weed penetration. You must remove all vegetation and create a proper compacted base. Skipping this step is the most common reason synthetic lawns fail prematurely.
What happens if my synthetic lawn gets too hot?
Synthetic turf can become hot in direct sunlight, especially in summer. Spray the surface with water before walking on it to cool it down. Choosing light-colored infill and ensuring good ventilation helps reduce heat absorption. Shaded areas remain significantly cooler.
How often does synthetic turf need to be replaced?
Quality synthetic turf with proper installation lasts 15 to 25 years. Factors affecting lifespan include base preparation quality, foot traffic frequency, climate conditions, and maintenance consistency. A well-compacted base and regular brushing significantly extend the life of your investment.
Is synthetic lawn safe for pets and children?
Yes, quality synthetic turf is safe for both pets and children. Choose products specifically labeled as pet-friendly with anti-microbial infill. The surface drains quickly, preventing muddy paws and standing water. Most synthetic turf is non-toxic and lead-free.
Key Takeaways for Installing Synthetic Lawn
Proper base preparation determines your synthetic lawn’s success more than any other factor. Take time to excavate, grade, and compact the base correctly, as this prevents settling, bumps, and seam failure down the line.
Accurate measurement and layout planning minimize waste and visible seams. Choose turf with appropriate face weight and features for your specific use case, whether that is pet areas, play zones, or general landscaping.
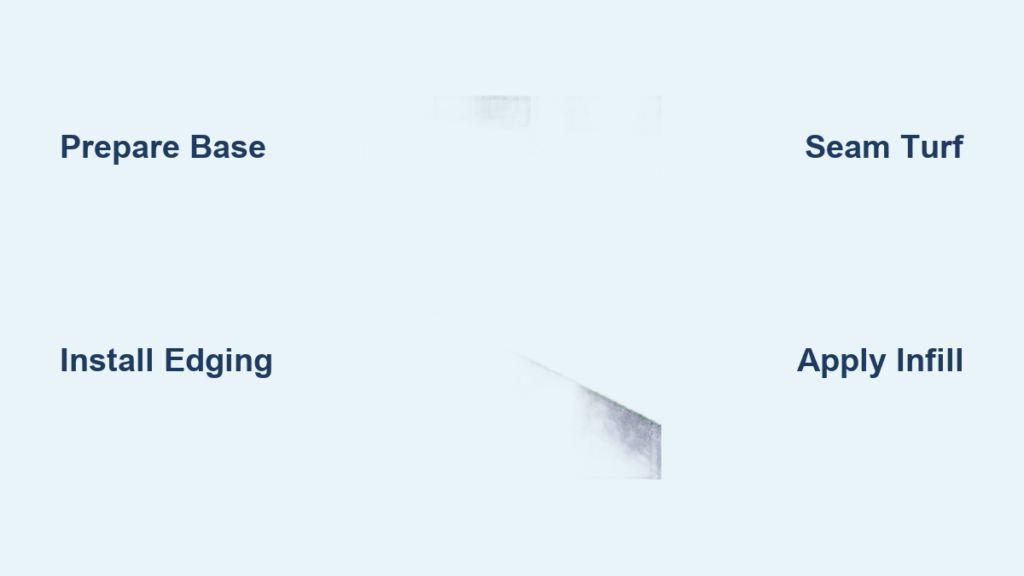
Follow the installation sequence carefully: prepare the site, build a stable base, install edging and weed barrier, lay and seam the turf, secure it properly, and apply the correct amount of infill. Each step builds on the previous one, creating a durable, attractive lawn that requires minimal maintenance.
With careful planning and attention to detail, you will create a beautiful, durable outdoor space that enhances your lifestyle and simplifies yard care for years to come.