Winter storms test every piece of equipment in your garage, and none more so than your snow blower. A neglected machine sputters, refuses to start, or breaks down mid-driveway when you need it most. The difference between a reliable snow blower and a frustrating one almost always comes down to consistent maintenance.
This guide covers every essential step to maintain a snow blower, from pre-season prep to end-of-season storage. You’ll learn practical routines that prevent clogs, corrosion, and hard starts, so your machine is ready the moment the first flake falls.
Pre-Season Maintenance Checklist
A 30-minute inspection before winter saves hours of repair headaches later. These foundational tasks set the tone for the months ahead.
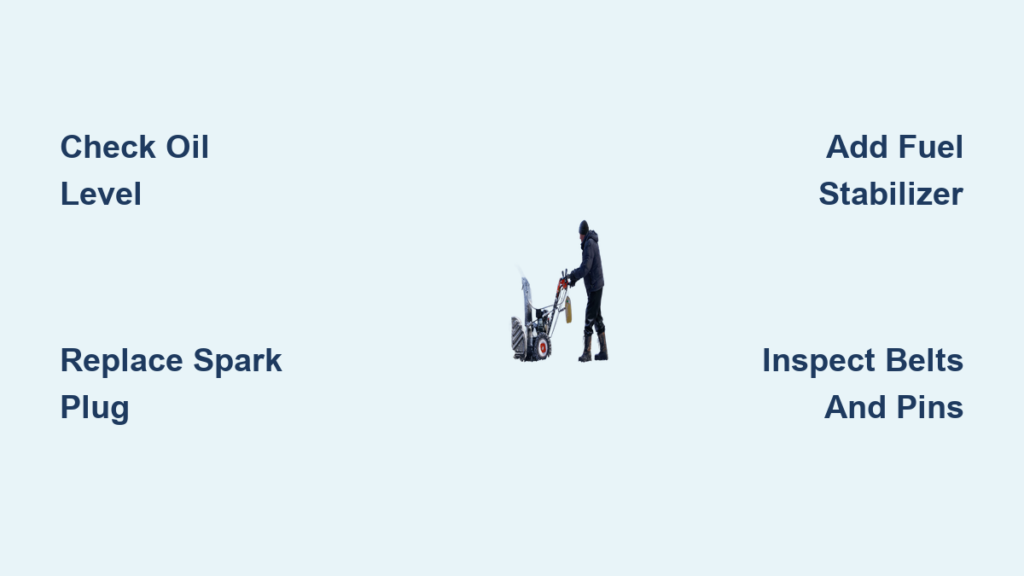
Check the Engine Oil Level
Oil is the lifeblood of a 4-cycle engine, and most snow blowers use one. Before the season starts, pull the dipstick and confirm the oil is clean and at the proper level. Dark, gritty, or low oil leads to poor lubrication and accelerated engine wear.
- Drain and replace oil if it appears dark or contaminated
- Use winter-grade oil (typically 5W-30) for reliable cold-weather performance
- Avoid overfilling, since it leads to seal damage and smoking
Repeat this check annually or after every 50 hours of use.
Inspect and Replace the Spark Plug
A fouled spark plug is among the top causes of hard starting. Remove the plug with a socket wrench and look closely at the electrode.
- Watch for carbon buildup, corrosion, or cracked porcelain
- Check the gap with a wire gauge (commonly 0.030 inches)
- Replace the plug each season or any time it shows damage
Apply a light coat of anti-seize to the threads during installation, then reconnect the wire firmly.
Add Fuel Stabilizer or Drain the Tank
Gasoline begins degrading in as little as 30 days, forming gum and varnish that clog carburetors and fuel lines. Treating fresh fuel with stabilizer keeps it viable for up to 24 months and prevents the buildup that ruins small engines.
- Add stabilizer to fresh gas before filling the tank
- Run the engine for 5 minutes to circulate treated fuel through the system
- Alternatively, drain the tank and run the carburetor dry if your manual allows
Never store untreated fuel inside the tank. If your machine has a fuel shut-off valve, close it during transport to protect the carburetor from flooding.
Examine Belts and Auger Components

Cold makes rubber stiff and brittle. Inspect every drive and auger belt for cracks, fraying, or stretching before the season begins.
- Rotate the auger by hand to confirm it turns freely
- Look for worn or broken shear pins, which absorb impact when the auger hits an obstacle
- Replace any damaged belts or pins before the first use
Check that the auger housing is free of dents and obstructions.
Mid-Season Habits for Reliable Performance
Even a well-prepped snow blower needs attention during the months it runs. These quick habits prevent downtime and extend service life.
Clear Clogs Safely
Wet snow and ice commonly pack into the discharge chute. When output suddenly stops, take action carefully.
- Turn off the engine and wait for every moving part to stop completely
- Never use your hands to clear the chute, even with the engine off
- Always use a clean wooden or plastic tool to dislodge the clog
Clear both the discharge chute and the impeller area. To prevent future clogs, run the engine at full throttle in heavy snow and apply silicone spray or a non-stick coating to the auger and chute surfaces.
Wipe Down After Every Use
Salt, slush, and moisture fuel rust on metal surfaces. After each session, take a few minutes to clean the machine.
- Wipe down the exterior with a dry cloth
- Focus on the auger housing, chute, and undercarriage
- Store the blower in a dry, covered area, never outside
If the blower lives in a garage, elevate it slightly to avoid concrete moisture.
Monitor Starting Performance
If your snow blower takes more pulls than usual to start, treat it as an early warning. Common signs include sputtering after start, a rich fuel smell from the exhaust, or weak ignition.
Address small issues immediately. A minor starting problem today often becomes a major repair after one more storm.
End-of-Season Shutdown Steps

Once the last flake melts, resist the urge to simply park the snow blower in the corner. Proper storage prevents corrosion and keeps the machine reliable for next winter.
Clean Thoroughly Before Storage
Built-up salt and grime attack metal surfaces aggressively. Before putting the machine away, give it a careful wash.
- Hose off the exterior while avoiding direct spray on the engine or electrical parts
- Use a brush to remove packed snow and debris from the auger and chute
- Dry every surface with a towel and let the machine air-dry for several hours in a warm area
Road salts damage a snow blower the same way they corrode a car, so this step protects your investment long term.
Protect Metal Surfaces from Rust
Apply a thin coat of rust inhibitor or silicone spray to exposed metal parts, such as the auger blades, chute deflector, and discharge opening. Avoid greasing belts or pulleys, since grease attracts dirt and debris.
Store with Treated Fuel
Do not drain the fuel tank unless your operator’s manual specifically directs you to. Instead, fill the tank with fresh gasoline blended with fuel stabilizer, run the engine for 5 minutes to circulate the treated fuel through the carburetor, then shut off the fuel valve (if your model has one) and let the engine run until it stops.
This keeps internal components coated and prevents varnish buildup during storage.
Remove and Store the Battery
For models with electric start, take a few extra steps before storage.
- Disconnect and remove the battery
- Clean the terminals with a baking soda solution
- Charge fully and store in a cool, dry place
- Reconnect only before the next season
Troubleshoot Common Starting Issues

Even well-maintained snow blowers sometimes refuse to start. Use this quick diagnostic approach when the engine won’t turn over.
No Start? Check Fuel and Spark
Run through these questions in order:
- Is the fuel fresh and treated?
- Is the spark plug firing?
- Is the fuel valve open?
- Is the choke set correctly for the engine temperature?
If every check passes and the engine still won’t start, the carburetor is likely clogged and may need cleaning or rebuilding.
Engine Flooded? Reset and Restart
Over-priming or repeated pull attempts can flood the engine. Set the choke to “off,” pull the starter cord gently 5 to 6 times without throttle, wait 15 to 20 minutes for fuel to evaporate, then try again with no choke.
Mid-Use Stalling? Inspect the Carburetor
If the engine starts but stalls under load, suspect a dirty or misadjusted carburetor or restricted fuel flow. Cleaning or rebuilding the carburetor kit often resolves the issue, especially when fuel was left untreated in the past.
Replace Worn Parts Before They Fail

Proactive part replacement prevents the kind of breakdowns that happen at the worst possible moment.
Change Shear Pins Regularly
Shear pins protect the auger gearbox by breaking when the auger hits something hard. Once a pin breaks, it must be replaced, and never substituted with a standard bolt.
- Keep spare shear pins on hand
- Match the exact size and strength rated for your machine
- Install with the correct orientation, flat side against the washer
Upgrade to Winter-Grade Lubricants
Standard grease thickens in cold temperatures and restricts movement. Use low-temperature lubricants on auger bearings, drive gears, and the chute rotation mechanism. Apply every 10 hours of use or monthly during heavy snowfall.
Inspect Tires and Tracks
For two-stage models, check tire pressure on pneumatic tires and look for cracks or dry rot. On tracked models, clean debris from the treads. Replace damaged tires or tracks before deep snow arrives.
Find the Right Parts Fast
Getting the correct replacement part matters as much as the repair itself. Here’s how to source parts without guesswork.
- Locate the engine model number on the engine shroud or recoil housing label
- Note the full model, type, and code number (such as 12H902-1234-A1)
- Use the manufacturer’s online lookup tool or consult your operator’s manual
Stick with OEM parts or authorized dealers to ensure proper fit and performance. Many authorized dealers also offer tune-up services, which are ideal if you’re short on time or tools.
Frequently Asked Questions About Snow Blower Maintenance
How often should I change the oil in my snow blower?
Check the oil level before each season and replace it annually or after every 50 hours of use. Use winter-grade oil (typically 5W-30) for best cold-weather performance.
Is it better to drain the fuel or use a stabilizer?
Using a fuel stabilizer is generally the easier and more effective option. Stabilized fuel stays fresh for up to 24 months and prevents gum buildup in the carburetor. Drain the tank only if your operator’s manual specifically recommends it.
Can I use my hands to clear a clogged snow chute?
Yes. Always turn off the unit and wait for moving parts to stop, but never insert your hands into the chute, even when the engine is off. Use a clean wooden or plastic tool to dislodge the clog safely.
What causes a snow blower to stall under load?
A snow blower that starts but stalls under load typically has a dirty or misadjusted carburetor or restricted fuel flow. Cleaning or rebuilding the carburetor usually resolves the issue.
Where can I find replacement parts for my snow blower?
Find parts through the manufacturer’s online parts store or any authorized dealer. Locate your engine model number on the engine label to ensure compatibility before ordering.
Key Takeaways for Maintaining Your Snow Blower
A reliable snow blower is the result of small, consistent habits, not complicated procedures. Focus on three priorities: treat the fuel, protect the metal, and address small issues before they grow. Run the pre-season checklist before the first storm, wipe down the machine after every use, and store it properly at season’s end.
Next step: Set aside 30 minutes this weekend to run through the pre-season checklist. A small investment of time now means effortless starts, dependable performance, and a machine that lasts for many winters to come.