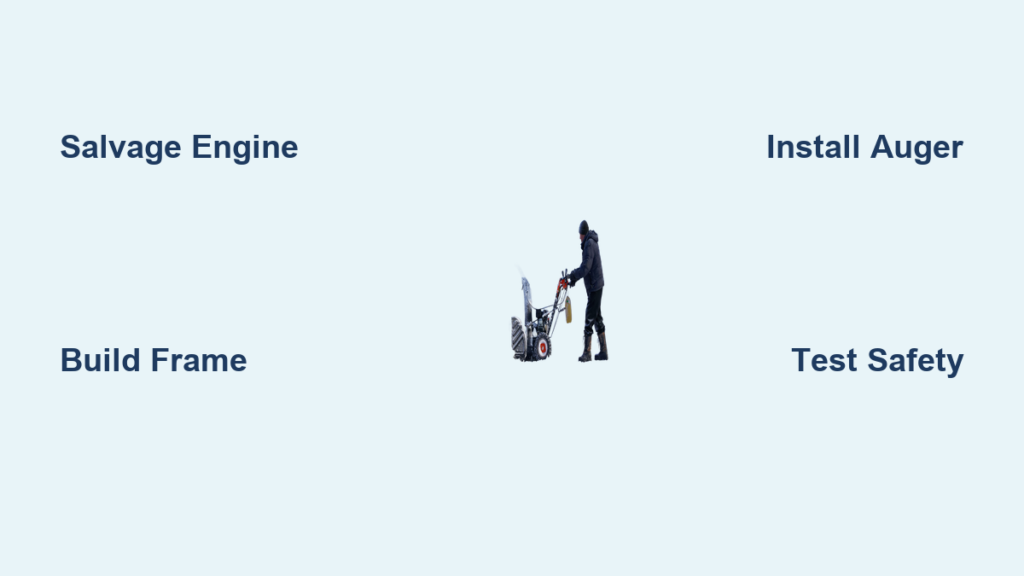
Winter storms can bury your driveway under inches (or feet) of heavy, wet snow. Shoveling by hand takes hours and leaves you sore for days. A snow blower clears your path in minutes, but buying a new one can be expensive. That’s why some handy people wonder if they can build their own. The good news is, with mechanical skills and the right parts, a homemade snow blower is possible. This guide covers what you need, how to put it together, and what to expect from the final result.
Below, you’ll learn about the core components, a step-by-step assembly process, safety testing, and honest comparisons to commercial models. We’ll also cover maintenance tips to keep your build running for seasons to come. Whether you decide to build, modify, or buy, you’ll finish this article with a clear understanding of how snow blowers actually work.
Essential Parts Every Snow Blower Needs

Before you start welding or bolting, you need to know which parts make a snow blower function. Skipping any of these will leave you with a machine that won’t start, won’t throw snow, or won’t last a full winter.
Choosing the Right Power Source
Your engine is the heart of the build. Most DIY snow blowers use small gasoline engines between 5 and 10 horsepower, often salvaged from old lawnmowers, go-karts, or generators. Electric motors can work, but they need high torque output and weatherproofing to handle cold, wet conditions. Make sure the engine has a horizontal output shaft so it can drive the auger directly without complex gear changes.
The Auger and Impeller System
The auger is the spiral blade that pulls snow into the machine. It needs to be tough, usually made from steel or heavy-duty polymer. Directly behind it, the impeller spins fast to launch snow out the chute. Single-stage designs use only the auger to throw snow, while two-stage designs use both parts for heavier, wetter snow. You can fabricate these from metal stock or salvage them from a scrapped unit.
Frame, Housing, and Chassis Design
The frame holds the engine, auger, and controls in place. Steel tubing or angle iron works best because it handles vibration and weight without bending. The auger housing should curve smoothly around the blades, leaving just enough clearance to spin without scraping. Add skids or wheels based on your terrain. Flat concrete needs skids; uneven gravel needs wheels with tread.
Step-by-Step Assembly Process
Once you have your parts, it’s time to build. Work in a clean, dry space like a garage or workshop. Allow at least a full weekend for a basic build, longer if you’re fabricating parts from scratch.
Build and Prepare the Base Frame
Cut steel tubing to size and weld (or bolt) a rectangular frame. Make it wide enough to house the auger and deep enough to balance the engine’s weight. Leave room on top for the motor and on the side for the discharge chute. Attach front skids or wheels before adding heavier components.
Mount the Engine and Connect the Drive
Place the engine near the center of the frame for balanced weight distribution. Use rubber vibration mounts to reduce stress on the welds. Connect the engine shaft to the auger using a V-belt and pulley system or a roller chain. Include a clutch or idler pulley so you can disengage the auger without shutting off the engine.
Install the Auger and Housing
Fit the auger inside a curved housing that sits low to the ground. Drill holes for bearings or bushings on both sides of the shaft. Make sure the blades clear the housing by a small, even gap. Seal any openings where snow could pack in and freeze, causing jams.
Add the Discharge Chute and Controls
Mount a curved chute at the top of the auger housing. You can buy a plastic chute from an old unit or fabricate one from sheet metal. Attach a handle or lever so you can aim the chute while operating. Wire the throttle and kill switch to a position within easy reach of the operator handle.
Safety Checks Before First Use
Never run a homemade machine without testing it first. Snow blowers spin at high speeds and can throw debris, snap belts, or tip over if poorly balanced.
Run a Dry Test in a Safe Area
Start the engine in an open space, away from people, pets, and vehicles. Let the auger spin without snow. Listen for unusual noises, watch for wobble, and check for loose bolts or vibrating belts. Test the kill switch and throttle to confirm they respond instantly.
Inspect and Adjust Before Each Use
Before every session, check fuel levels, belt tension, and bolt tightness. Look for hairline cracks in welds or bent blades. If anything looks off, shut down the engine and fix it before adding snow.
Wear Proper Protective Gear
Always wear gloves, safety glasses, and sturdy boots. Avoid loose clothing that could get caught in the auger. Keep hands and feet away from moving parts at all times, even when the machine is off.
Honest Expectations for a DIY Build

Building a snow blower is a rewarding project, but it’s not for everyone. Here’s what you should know before committing your time and money.
Cost vs. Buying a Commercial Model
A DIY build can cost anywhere from $200 to $500 in parts, depending on what you already own. Commercial single-stage snow blowers start around $300 and come with warranties, safety testing, and customer support. Unless you have most parts on hand, building often costs more than buying.
Performance and Durability Limits
Homemade machines usually can’t match the power or polish of factory models. They may struggle with deep, wet snow or icy drifts. Without precision engineering, parts wear out faster, and jams happen more often. Plan on spending extra time troubleshooting and repairing.
Legal and Insurance Issues
Homemade equipment is not certified by safety organizations. If someone is injured while using it, you could be liable. Some homeowner insurance policies may not cover custom-built machinery. Check your policy and local regulations before using a DIY snow blower on shared or public property.
Maintenance Tips to Extend the Life of Your Build

A homemade snow blower needs regular care, just like a store-bought one. Skipping maintenance leads to rust, breakdowns, and shorter lifespan.
Clean the Machine After Every Use
Wipe down the auger, housing, and chute to remove packed snow and ice. Moisture trapped in welds or bearings causes rust and corrosion. A quick brush-off takes minutes and prevents costly repairs later.
Inspect Belts, Bolts, and Bearings
Check drive belts for cracks, fraying, or stretching. Tighten any loose bolts on the engine mount, wheels, and auger supports. Worn bearings should be replaced immediately to avoid seizing the shaft.
Store the Unit Properly in the Off-Season
Drain the fuel tank or add fuel stabilizer before long-term storage. Keep the snow blower in a dry, covered shed or garage. Elevate the wheels to prevent flat spots on rubber tires. Cover the engine to keep out dust, moisture, and pests.
Frequently Asked Questions About Building a Snow Blower
Is it really possible to build a snow blower at home?
Yes, it is possible if you have mechanical skills, welding or fabrication ability, and access to the right parts. Most successful builds use a salvaged engine and either fabricated or repurposed auger components. However, it is not a beginner-level project and requires careful planning.
What is the cheapest way to build a snow blower?
The cheapest builds use a salvaged lawnmower engine, scrap steel for the frame, and a used auger from a scrapped snow blower. Cost can drop to $150 or less if you already own most of the tools and parts. Buying everything new typically pushes costs above $400.
Can a homemade snow blower handle wet, heavy snow?
Most homemade units struggle with wet, heavy snow because they lack the power and precision of commercial two-stage designs. You can improve performance by using a higher-horsepower engine and a sharper, well-balanced auger. Still, expect slower clearing and more frequent jams.
Is building a snow blower safer than buying one?
A homemade snow blower is not necessarily safer. Without factory testing and safety certifications, there is a higher risk of mechanical failure or injury. You can reduce risk by adding guards, testing thoroughly, and following strict maintenance routines.
How long does it take to build a snow blower from scratch?
For someone with experience, a basic build takes 20 to 40 hours, spread over one to two weekends. Beginners may need 60+ hours, including research, fabrication, and troubleshooting. Add more time if you are machining parts from raw metal.
Key Takeaways for Building Your Own Snow Blower
Building a snow blower is a challenging but doable project for experienced DIYers. You’ll need a reliable engine, a sturdy frame, a working auger system, and careful attention to safety. Costs can stay under $300 if you repurpose parts, but performance will likely fall short of commercial machines, especially in deep or wet snow.
If you decide to build, focus on safety testing, regular maintenance, and realistic goals. If you decide to buy, you’ll save time and gain access to warranties and certified engineering. Either way, understanding how snow blowers work helps you make smarter choices for your home and your budget this winter.