You just finished clearing your driveway after a heavy snowstorm. The job is done, the path is clear, but your work is not over. If you skip cleaning your snow blower after use, you are setting the stage for rust, clogs, and poor performance next time. Knowing how to clean a snow blower after use properly can extend its lifespan, prevent costly repairs, and ensure it starts reliably when the next storm hits.
Many homeowners make the mistake of storing their snow blowers right after use without removing built-up slush, ice, or debris. Over time, moisture leads to corrosion, leftover snow melts and refreezes in critical areas, and fuel can gum up the engine. A few minutes of cleaning now saves hours of troubleshooting later. In this guide, you will learn a step-by-step process to clean your snow blower thoroughly, including how to clear the chute, inspect the auger, protect metal surfaces, and prepare for storage.
Essential Safety Steps Before Cleaning Your Snow Blower
Before touching any part of your machine, safety comes first. Working on equipment with moving parts and residual fuel requires caution.
Shut Off the Engine and Disconnect the Spark Plug
Turn off the engine and remove the spark plug wire to prevent accidental starts. Let the engine and exhaust system cool completely. This cooling period can take 20 to 30 minutes depending on conditions. Never attempt cleaning while the machine is still hot.
Work in a Well-Ventilated Area
Perform cleaning outdoors or in a garage with open doors. This avoids exposure to fumes and ensures better visibility while you work.
Clear Snow and Ice Buildup from Critical Components
The first step in cleaning your snow blower is removing all wet snow, slush, and ice from key components.
Remove Packed Snow from the Discharge Chute
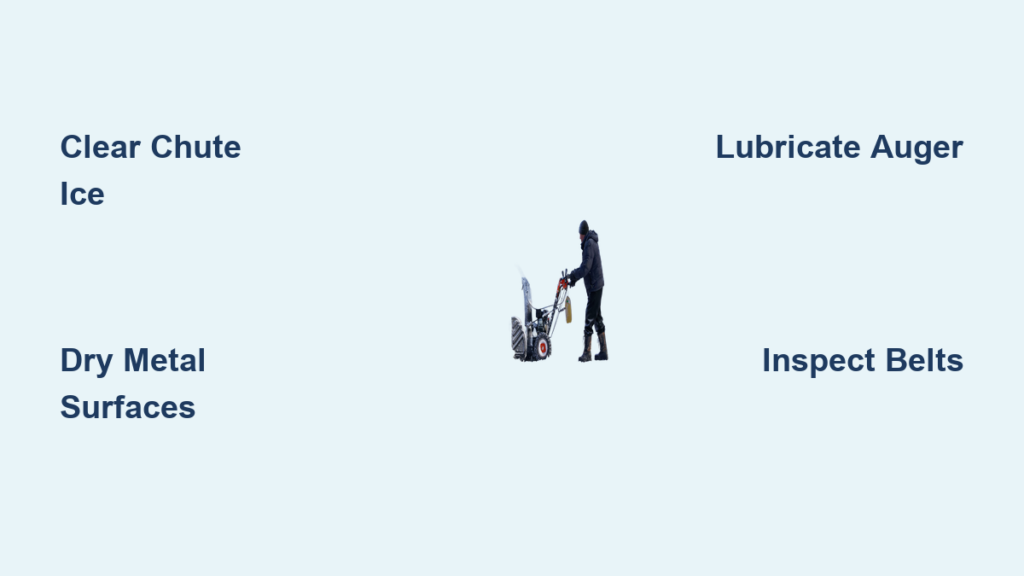
Use a plastic scraper or gloved hand to remove packed snow from the discharge chute. Never use metal tools because they can damage the impeller or housing. Look inside the chute to ensure no ice blockage remains before moving on.
Break Up Ice in the Auger Housing
Check the front auger housing for trapped ice or debris. Gently break up ice with a rubber mallet if needed. Avoid prying with sharp objects that could scratch or dent the housing.
Spin the Auger by Hand to Check for Resistance
With the machine off and spark plug disconnected, spin the auger by hand. If it does not turn freely, ice may be jammed behind it. Clear any buildup carefully to avoid damaging belts or bearings.
Wipe Down Exterior Surfaces to Prevent Rust
Moisture left on the snow blower body leads to rust, especially on steel parts that face constant exposure to wet conditions.
Dry All Metal Surfaces Thoroughly
Use a clean, dry cloth to wipe down the housing, chute, and undercarriage. Pay special attention to joints and crevices where water collects and pools.
Remove Road Salt and Grime
Wipe off road salt, dirt, and grime with a damp cloth. These substances accelerate corrosion on metal surfaces. Avoid hosing down the machine because water can enter the engine, electrical components, or fuel system.
Pro Tip: A microfiber towel works better than old rags because it absorbs more moisture and leaves fewer fibers behind.
Lubricate Moving Parts for Smooth Operation

Proper lubrication prevents rust and ensures smooth operation the next time you start up.
Grease the Auger Shaft Bearings
Use a grease gun to lubricate auger shaft bearings if your model has grease fittings. This keeps the auger spinning freely and reduces wear on moving parts.
Apply Silicone Spray to Chute and Auger Blades
Lightly spray silicone lubricant on the auger blades and inside the discharge chute. This prevents snow from sticking during future use and makes cleanup much easier.
Avoid using WD-40 as a long-term lubricant. It works as a degreaser and displaces moisture but does not provide lasting protection for moving parts.
Inspect Key Components for Wear and Damage

A quick inspection after each use helps catch small issues before they become expensive problems.
Check Belts for Cracks and Fraying
Look at the drive and auger belts for cracks, fraying, or looseness. Replace worn belts promptly to avoid breakdowns in the middle of a storm.
Examine Skid Shoes and Scraper Bar Condition
Check the skid shoes (plastic or metal pads on the bottom) for uneven wear. Adjust or replace them to keep the auger housing from scraping the ground. Inspect the rubber scraper bar and replace it if it is worn down to the metal underneath.
Look for Fuel Leaks or Oil Stains Under the Machine
Check under the machine for signs of fuel or oil leaks. Address any leaks before storage to prevent fire hazards or engine damage during the off-season.
Prevent Rust and Corrosion Before Storage
Winter conditions are harsh on outdoor power equipment. Taking preventive steps keeps your snow blower in top shape for years.
Apply Rust Inhibitor Spray to Exposed Metal
Spray a rust inhibitor on exposed metal parts, especially the auger housing, chute pivot, and undercarriage. Focus on areas prone to moisture buildup after use.
Add Fuel Stabilizer for Long Storage Periods
If the snow blower will sit for more than 30 days, add fuel stabilizer to the tank and run the engine for a few minutes to circulate it through the system. This prevents varnish buildup in the carburetor that can cause starting problems.
Never drain the fuel tank completely unless your owner manual specifically recommends it. Modern fuel systems can draw air and cause hard starting issues.
Store Your Snow Blower the Right Way

Even if more snow is forecast soon, a clean machine stored properly will perform better when needed.
Keep It in a Dry, Covered Location
Store the snow blower in a garage, shed, or under a breathable cover. Avoid damp basements or uncovered outdoor storage where moisture can accumulate.
Elevate the Machine Off the Ground
Place the machine on wooden blocks or a mat to prevent moisture from wicking up through tires or plastic parts. This small step significantly reduces rust formation on the undercarriage.
Use a Breathable Cover for Airflow
Use a breathable cover that allows airflow to prevent condensation. Plastic tarps trap moisture and actually promote rust rather than prevent it.
Troubleshoot Common Post-Use Problems
Sometimes issues appear right after use. Catching them early helps avoid bigger repairs down the road.
Auger Will Not Spin Freely After Cleaning
If the auger is stiff or stuck, recheck for ice jams you may have missed. If the housing is clear, the belt may be loose or damaged. Adjust tension or replace the belt as needed.
Discharge Chute Will Not Rotate Smoothly
If the chute control is hard to turn, clean the pivot point and lubricate it with silicone spray. Ice or salt buildup often causes this stiffness.
Engine Hesitates or Fails to Restart
Moisture in the fuel or a fouled spark plug commonly causes starting issues. Replace the spark plug if it looks damp or dirty, and use fresh fuel mixed with stabilizer.
Season-End Deep Cleaning for Long-Term Storage
At the end of winter, go beyond basic cleaning to prepare for several months of storage.
Drain or Stabilize the Fuel System Completely
Follow manufacturer instructions for your specific model. Either drain the fuel tank and run the engine dry, or fill the tank with stabilized fuel and run it for 5 minutes to coat internal components.
Remove and Clean or Replace the Spark Plug
Take out the spark plug, clean it with a wire brush, and check the electrode gap with a feeler gauge. Replace the plug if it is worn or fouled beyond cleaning.
Inspect and Tighten All Fasteners
Vibration during use can loosen bolts over time. Check all nuts and screws on the auger housing, chute assembly, and engine mounts. Tighten anything that has worked loose.
Frequently Asked Questions About Cleaning a Snow Blower After Use
How soon after use should I clean my snow blower?
Clean your snow blower immediately after each use, once the engine has cooled for 20 to 30 minutes. Waiting allows moisture to settle into crevices and ice to refreeze on critical components.
Can I use a pressure washer to clean my snow blower?
No, avoid pressure washers and regular garden hoses. Pressurized water can force moisture into the engine, electrical connections, and fuel system, leading to corrosion and starting problems.
What is the best lubricant to use on a snow blower?
Use silicone spray for the discharge chute and auger blades to prevent snow buildup. Use a grease gun with manufacturer-recommended grease for auger shaft bearings if your model has grease fittings.
Should I remove snow from the chute every time I use the machine?
Yes, always clear packed snow and ice from the discharge chute after each use. This prevents freeze-ups that can block the chute or damage the impeller housing.
How do I prevent rust on my snow blower during storage?
Dry all metal surfaces thoroughly, apply rust inhibitor spray to exposed parts, store in a dry covered area, and elevate the machine off the ground. These steps together provide the best protection.
Is it necessary to use fuel stabilizer if I empty the tank?
If you completely drain the tank and run the engine until it stops, stabilizer is not needed. However, many manufacturers recommend keeping stabilized fuel in the tank to prevent moisture from entering the fuel system through an empty tank.
Key Takeaways for Cleaning Your Snow Blower After Use
Cleaning your snow blower after every use takes just 10 to 15 minutes but pays off in reliability and longevity. By removing snow and ice, drying all surfaces, lubricating moving parts, and inspecting key components, you prevent the most common failures and ensure your machine is ready for the next storm. The routine is simple: shut off and cool the engine, clear the chute and auger housing, wipe down metal surfaces, lubricate moving parts, and store in a dry location.
Start your post-use cleaning routine this week after your next snowstorm. Your snow blower will start faster, run smoother, and last for many winters to come.