A snow blower that refuses to start on a freezing morning can turn a simple chore into a frustrating ordeal. You pull the cord, hear a sputter, then nothing. Most startup failures trace back to skipped prep steps, not a broken machine. With the right sequence, you can get your snow blower running smoothly every time.
This guide breaks down everything you need to know about how to start a snow blower, from pre-start checks to troubleshooting common problems. Whether you own a single-stage electric model or a heavy-duty two-stage gas unit, these steps apply across the board. By the end, you’ll have a reliable startup routine that works in any weather.
Pre-Start Checklist: Prepare Your Snow Blower for Ignition

Before pulling a cord or turning a key, confirm your machine is ready to run. Skipping these checks is the leading cause of failed starts.
Check Fuel Level and Quality
Fresh fuel is non-negotiable. Gasoline older than 30 days breaks down and clogs carburetors. If your snow blower sat unused since last season:
- Drain old fuel into an approved container
- Refill with fresh, ethanol-free gas when possible
- Use 87 octane unless your manual states otherwise
Pro Tip: Add fuel stabilizer before storing to prevent varnish buildup in the carburetor.
Confirm Oil Level
Low or dirty oil can damage the engine even if it starts. For most 4-cycle snow blowers:
- Remove the dipstick and wipe it clean
- Reinsert without screwing it in
- Pull it out and check the level between “Min” and “Max”
- Top off with SAE 5W-30 or the manufacturer-recommended oil
Warning: Never overfill. Excess oil can hydro-lock the engine or foul the spark plug.
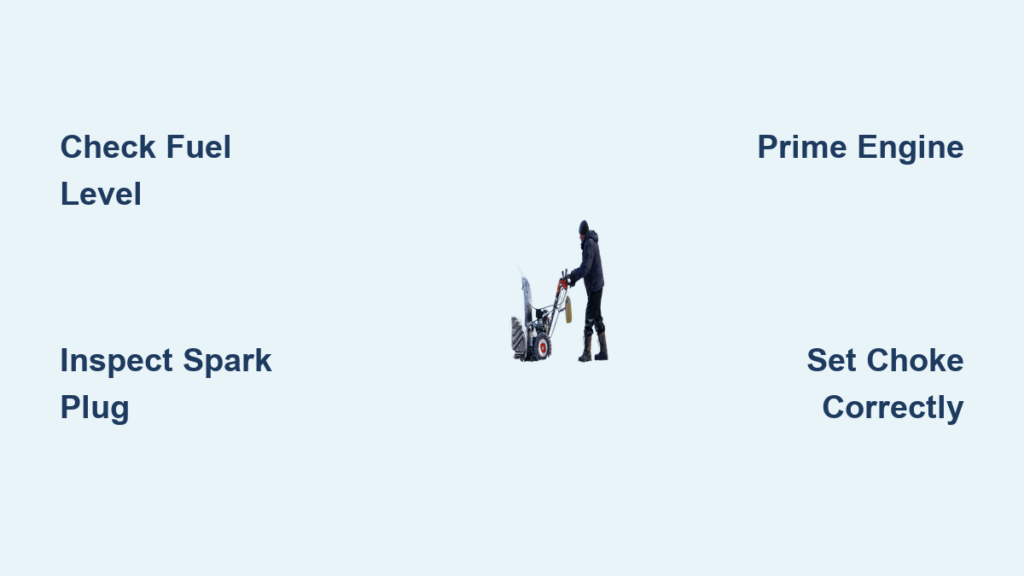
Inspect the Spark Plug
A fouled or cracked spark plug prevents ignition. Locate the plug by following the thick wire from the engine. Remove it with a socket wrench and look for:
- Cracks in the porcelain
- Heavy carbon buildup
- Oil coating on the electrode
Clean it with a wire brush or replace it if damaged. Reinstall and tighten securely. Annual replacement keeps starts reliable.
Prime the Engine for Fuel Delivery
Some gas models require priming to push fuel into the carburetor before ignition.
Locate the Primer Bulb
Look for a small, translucent rubber bulb near the air filter or on the side of the engine.
Press the Bulb 3 to 5 Times
Depress the bulb firmly with your finger. You may see fuel move inside the tubing. Avoid exceeding five presses, as over-priming floods the engine.
Note: Not every snow blower has a primer. Check your manual if you cannot locate one.
Set the Choke and Throttle Correctly

Wrong choke settings are a top reason engines fail to catch.
Engage Full Choke for a Cold Engine
If temperatures are below 50°F (10°C), move the choke lever to “Full” or “Closed.” This restricts airflow and enriches the fuel mixture for easier starting.
Adjust Throttle to the Start Position
Set the throttle to “Fast” or “Start,” usually marked with a rabbit icon. This opens the throttle slightly to help the engine fire.
Note: Some models combine choke and throttle into one lever. Always follow the labels on your machine.
Start the Snow Blower Safely
With prep complete, you’re ready to fire up the engine.
Pull the Starter Cord Smoothly
- Engage the handlebar lock if your model has one, which activates safety switches
- Pull the recoil cord with a quick, steady motion
- Return the cord slowly to prevent damage
- Repeat up to five times if needed
If the engine sputters but won’t catch, wait 10 seconds before trying again.
Adjust the Choke After First Ignition
Once the engine runs for 2 to 3 seconds:
- Move the choke to “Half” or “Mid” position
- Let the engine warm for 15 to 30 seconds
- Shift to “Off” or “Run” as it stabilizes
Leaving the choke on full after warm-up wastes fuel and fouls the plug.
Use Electric Start When Available
For models with electric start:
- Plug into a grounded outdoor outlet
- Confirm the battery is charged on cordless models
- Hold the throttle in the start position
- Turn the key or press the button for no more than 5 seconds
- Wait 10 seconds between attempts
If the engine cranks slowly, check the battery or outlet power.
Troubleshoot Common Starting Problems
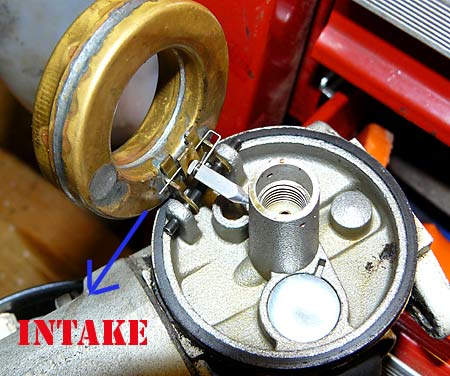
Even with proper steps, issues can arise. Here’s how to handle them.
Engine Won’t Turn Over
Possible causes include:
- Dead battery on electric-start models
- Faulty safety switch from an unseated handle
- Frozen components in the auger or drive system
Quick Fix: Tap the starter motor gently with a wrench to free a stuck gear.
Engine Floods After Repeated Pulls
Strong gas smell and no ignition signal a flooded engine. To clear it:
- Set the choke to “Off”
- Open the throttle fully to “Fast”
- Pull the starter cord 5 to 6 times gently
- Reset the throttle and choke, wait 5 minutes, then retry
Flooding occurs when excess fuel floods the combustion chamber. Clearing it restores the air-fuel balance.
Engine Sputters and Dies
Common culprits include:
- Choke left on too long during warm-up
- Dirty carburetor from old fuel residue
- Clogged fuel filter blocking flow
Pro Tip: Run the engine for 5 minutes monthly during storage to keep the fuel system clean.
Maintain Your Snow Blower for Long-Term Reliability
Consistent care prevents most startup issues.
Clean After Every Use
- Scrape snow and ice from the auger housing
- Wipe down the chute and impeller
- Dry metal parts to prevent rust
Avoid hosing down the machine, since water damages electrical and engine components.
Store with Empty or Stabilized Fuel
Choose one method:
- Drain fuel completely and run the engine until it dies to burn residual gas
- Add stabilizer and run for 2 minutes to circulate it through the system
Both prevent gum and varnish from clogging the carburetor.
Inspect Belts and the Auger Monthly
Check drive and auger belts for cracks or fraying. Rotate the auger by hand to confirm free movement. Replace worn belts before they snap mid-storm.
Match Your Technique to Your Snow Blower Type

Small differences exist between models, and knowing yours improves results.
Single-Stage Snow Blowers
These compact units work well for sidewalks and light snow. They often have smaller engines and may rely on a primer instead of a choke. Pull the cord with less force, as smaller engines offer less resistance.
Two-Stage Snow Blowers
Built for heavy snow and long driveways, these feature larger engines and often include electric start. Allow 3 to 6 pulls in cold weather, and let the engine warm briefly before engaging the drive or auger.
Three-Stage Snow Blowers
High-performance machines like the Toro Power Max HD use a dual-stage auger for faster clearing. Check shear pins monthly, since they break under strain and stop auger rotation.
Prioritize Safety During Startup
Simple habits prevent injuries.
Keep Hands and Feet Clear
- Never clear clogs while the engine runs
- Shut off the engine and wait 10 seconds before removing blockages
- Use a broom handle instead of your hands
Use the Right Extension Cords
For electric-start or corded models:
- Choose outdoor-rated, 14-gauge or thicker cords
- Keep lengths under 50 feet for 14-gauge or 100 feet for 12-gauge
- Avoid indoor cords, which can overheat
Wear Sturdy Boots and Gloves
Slippery surfaces increase fall risk. Non-slip footwear and grip-enhancing gloves improve control during startup and operation.
Final Steps After a Successful Start
Don’t rush into clearing snow the moment the engine fires.
Let the Engine Warm Up
Run for 1 to 2 minutes at half throttle before engaging the auger or drive. Cold engines perform poorly under load.
Test Controls Gradually
- Engage the auger slowly and listen for grinding
- Shift into drive gently to confirm smooth traction
- Adjust the chute direction while moving
Monitor Smoke and Noises
- Blue smoke signals burning oil. Check the level and seals.
- White smoke indicates moisture in the exhaust and is normal when cold.
- Black smoke points to a rich fuel mix. Clean the air filter or carburetor.
Shut down immediately if you hear loud knocking or grinding.
Frequently Asked Questions About How to Start a Snow Blower
Why won’t my snow blower start even after multiple pulls?
The most common causes are old fuel, a fouled spark plug, or a flooded engine. Drain stale gas, inspect the plug for carbon buildup, and try the flooded-engine clearing procedure if you smell gasoline.
How many times should I prime my snow blower before starting?
Press the primer bulb 3 to 5 times. More than five presses can flood the engine with excess fuel and make starting harder.
Should I leave the choke on while running the snow blower?
No. Move the choke to “Half” or “Off” once the engine fires, then to “Run” after 15 to 30 seconds. Leaving the choke on full wastes fuel and fouls the spark plug.
Can I use regular gasoline in my snow blower?
Yes, most snow blowers run on 87 octane unleaded gasoline. Ethanol-free fuel is preferred, but if you use standard gas, add a stabilizer to prevent carburetor damage.
How do I start a snow blower in extreme cold?
Use full choke, prime the engine 3 to 5 times, and allow up to 6 pulls. Let the engine warm for at least 30 seconds before engaging the auger or drive. Fresh fuel and a clean spark plug are especially important in sub-zero conditions.
Final Thoughts on Starting Your Snow Blower with Confidence
Learning how to start a snow blower properly saves time, prevents costly repairs, and keeps you safe during harsh winter months. Focus on the pre-start checklist, especially fresh fuel, correct oil levels, and a clean spark plug. Set the choke and throttle correctly for cold conditions, and adjust them promptly once the engine fires.
Regular maintenance is your best defense against startup failures. Clean the machine after each use, store fuel properly, and inspect belts and the auger monthly. When problems arise, troubleshoot systematically, starting with the simplest fixes like fuel quality and choke position.
Bookmark this guide before the first snowfall, and run through the steps before each storm. A few minutes of preparation now means a snow blower that starts on the first pull when you need it most.