Is your lawn feeling springy underfoot? Does water sit on the surface instead of soaking in? You might have a thatch problem. Thatch—a layer of dead roots, stems, and debris—builds up over time between the grass blades and soil. While a thin layer helps retain moisture, excess thatch blocks water, air, and nutrients, suffocating your lawn.
When thatch takes over, your grass struggles to thrive. Fertilizers wash away, roots grow shallow, and pests move in. The solution is dethatching—a restorative process that removes this barrier and revives your turf. Whether you’re dealing with patchy Kentucky bluegrass or a spongy Bermuda lawn, dethatching can bring it back to life.
In this guide, you’ll learn how to diagnose thatch, pick the right tool, and dethatch safely without damaging your grass. We’ll cover timing by grass type, step-by-step techniques, and how to care for your lawn afterward. Plus, discover smart ways to prevent future buildup and keep your yard dense, green, and healthy.
Spot the Signs of Thick Thatch
Spongy Lawn? Check for These Clues
If your yard feels like a trampoline, it’s likely hiding a thick thatch layer. Walk across your grass. Does it bounce under your feet? That springiness means roots aren’t anchoring into soil. Instead, they’re growing in the thatch, making your lawn vulnerable to drought and stress.
Other red flags include:
- Water pooling after rain or watering
- Grass turning brown despite regular care
- Fertilizer applications with no visible improvement
- A visible brown mat when you lift a turf edge
These symptoms mean your lawn isn’t absorbing what it needs. The thatch is acting like a shield, keeping out essentials while holding in moisture that breeds disease.
Confirm With a Core Test
Don’t guess. Test. Use a shovel to cut a small wedge of turf 2–3 inches deep. Look at the cross-section between grass and soil. A dark, fibrous layer just above the soil is thatch.
- Less than ½ inch: Healthy, no action needed
- ½ to ¾ inch: Time to consider dethatching
- Over 1 inch: Urgent dethatching recommended
- Over 2 inches: Plan multiple sessions or call a pro
This simple check tells you whether dethatching will help, or if your issue lies elsewhere like compaction or poor soil.
When to Dethatch by Grass Type
Cool-Season Lawns: Fall or Early Spring
If you have Kentucky bluegrass, fescue, or ryegrass, dethatch in early fall—the top choice—or early spring. These grasses grow strongest in cooler weather. Fall dethatching gives them time to recover before winter dormancy. Spring works too, but avoid late spring when summer heat hits.
Never dethatch during dormancy or extreme heat. Grass needs active growth to heal. Confirm it’s ready by checking if you’ve mowed at least twice this season.
Pro Tip: Fall also pairs perfectly with overseeding and aeration. Plan all three together.
Warm-Season Grasses: Late Spring to Early Summer
For Bermuda, zoysia, St. Augustine, or centipede grass, wait until late spring to early summer. Dethatch after the lawn fully greens up and you’ve mowed 2–3 times. This ensures the grass is in peak growing mode and can bounce back fast.
In warm climates like Florida or Southern California, aim for early summer (May–June). Avoid dethatching when temperatures exceed 85°F or during drought.
Warning: Never dethatch warm-season grasses in winter. They’re dormant and won’t recover.
Choose the Right Dethatching Tool

Manual Rake for Small Lawns
Got a small yard under 500 sq ft? A dethatching rake is your best bet. It looks like a sturdy garden rake but has sharp, curved metal tines designed to slice through thatch.
How to use it:
- Rake aggressively in one direction
- Dig tines into the layer and pull upward
- Overlap strokes for full coverage
- Gather debris with a leaf rake afterward
It’s affordable and safe around sprinkler heads, but it’s hard work. Save this method for light thatch or spot treatments.
Avoid standard leaf rakes. They don’t have the power to lift thatch.
Power Rake for Medium to Large Lawns
For lawns over 500 sq ft or moderate thatch, rent a power rake (also called a dethatcher). These machines use rotating tines to pull up thatch quickly.
Types include:
- Electric (corded or cordless): Lightweight, great for small to mid-sized yards
- Gas-powered: More power for thick thatch and large areas
- Tow-behind: Attach to a riding mower, ideal for acre-plus lawns
Before starting, mow lawn to half its normal height. Adjust tine depth to no more than ½ inch into soil. Mark sprinkler heads to avoid damage. Make two passes, one in each direction, for full coverage.
Caution: Power rakes can tear roots if set too deep. Use steady, slow passes.
Verticutter for Thick Thatch or Renovation
When thatch exceeds 1 inch, a vertical mower (verticutter) is the most effective tool. Unlike power rakes, verticutters use sharp vertical blades that slice deep into the thatch and lightly into the soil.
Best for:
- Bermudagrass and zoysia (vigorous growers)
- Lawns needing full renovation
- Professional-level results
Set blade depth based on grass type. Creeping grasses need about 1 inch into soil, spaced 1 inch apart. Bunch grasses like tall fescue need shallower and wider spacing.
Note: Verticutters cut cleaner than power rakes and are better for thick thatch.
Step-by-Step Dethatching Process
Prepare Your Lawn First
Dethatching starts before the tool hits the ground. Proper prep reduces stress and speeds recovery.
- Mow short: Cut grass to half its normal height
- Water lightly: Moisten soil 1–2 days prior, just enough to soften it
- Avoid soggy soil: Wet ground increases compaction risk
- Mark hazards: Flag sprinkler heads, irrigation lines, and utility markers
Skip fertilizing before dethatching. It can increase stress on already weakened grass.
Dethatch With Care
Start at one edge and work in straight lines. For machines, make first pass in one direction. Then go perpendicular for second pass. Move slowly. Don’t linger in one spot. Adjust depth if you see large chunks of soil coming up.
For manual raking, use strong, overlapping strokes. Focus on spongy areas first. Flip the rake occasionally to clear tines.
You’ll see dark debris pulled to the surface. That’s the thatch. Mission accomplished.
Clean Up All Debris
Leftover thatch recompacts and harbors disease. Remove it completely.
Use a leaf rake or lawn vacuum to gather material. Bag it or compost it if it’s weed-free and disease-free. Never leave it on the lawn unless topdressing with compost.
Clearing debris opens the soil for the next steps: aeration, overseeding, and feeding.
Post-Dethatching Lawn Care
Aerate to Boost Recovery
After dethatching, core aeration is a smart next step, especially if your soil is compacted. Aeration pulls small plugs from the ground, improving airflow and water movement.
Benefits include:
- Reduces soil compaction
- Helps roots grow deeper
- Speeds thatch decomposition by exposing it to microbes
- Works hand-in-hand with overseeding
Run the aerator in two directions for full coverage. Leave plugs on the lawn. They’ll break down in 1–2 weeks.
Note: Aeration alone isn’t enough for thick thatch, but it’s perfect after dethatching.
Overseed Bare Spots
Dethatching exposes soil, creating the ideal seedbed. Overseed immediately to fill in thin or bare areas.
Best practices:
- Use high-quality seed suited to your climate
- Match seed to your existing grass type
- Spread evenly with a broadcast or drop spreader
- Lightly rake to ensure seed-to-soil contact
Overseeding thickens your lawn and prevents weeds from moving into open spaces.
Fertilize and Water Deeply
Your lawn is in recovery mode. Feed it with a balanced or organic fertilizer to support regrowth.
Apply fertilizer within 1–2 days after dethatching. Avoid high-nitrogen blends. They can burn stressed grass. Consider slow-release formulas for steady nutrition.
Watering is critical. First 2–3 weeks, water daily or every other day. Aim for 1 inch per week total including rainfall. Water in the morning to reduce evaporation and disease risk.
Recovery timeline: New growth appears in 3–5 days, full thickening in 3–4 weeks.
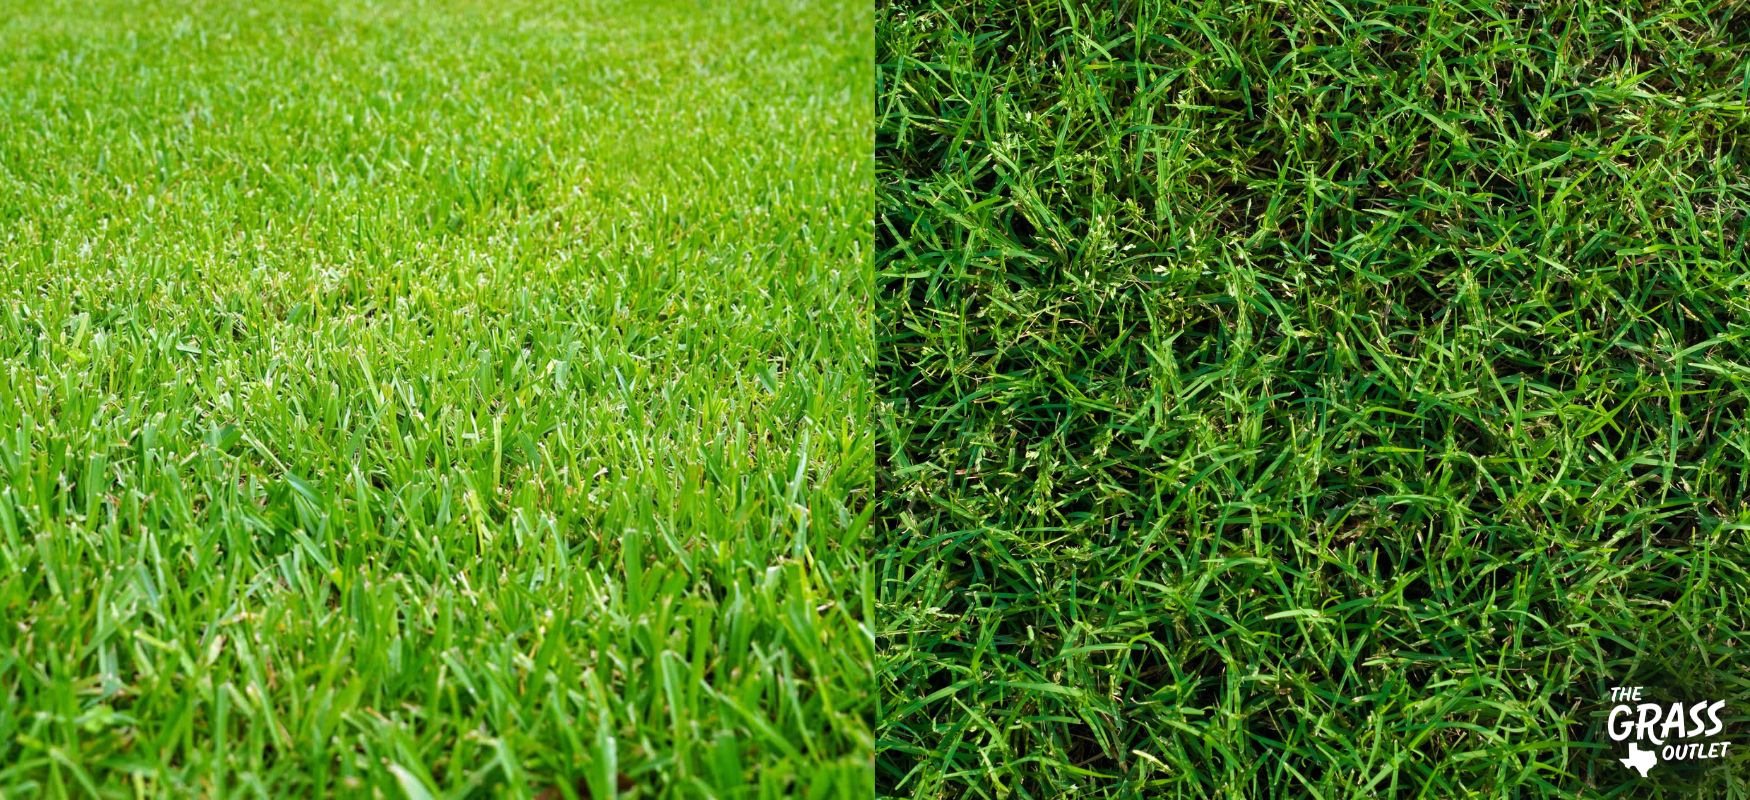
Special Grass Type Tips
St. Augustine: Handle With Care
St. Augustine spreads by stolons (above-ground runners) and is easily damaged by aggressive dethatching.
Avoid standard power rakes and dethatching rakes. They can rip out stolons and thin the lawn.
Instead, use a verticutter set to shallow depth. Or choose core aeration as a safer alternative. Only dethatch in late spring to early summer during active growth.
For minor thatch, aeration may be all you need.
Bermudagrass and Zoysia: Tolerate Aggressive Treatment
These warm-season grasses grow fast and recover quickly. They often benefit from annual dethatching due to rapid thatch buildup.
Best tools are power rake or verticutter. Set blades to cut ½–1 inch deep. Use during late spring to early summer.
Pair dethatching with aggressive overseeding and fertilizing to maximize density.
Kentucky Bluegrass and Creeping Fescue
These cool-season grasses spread by rhizomes and are prone to thatch. Dethatch every 1–3 years in early fall or early spring.
They respond well to power raking, overseeding after dethatching, and fall fertilization.
Avoid summer dethatching. Heat stress slows recovery.
What to Do With Removed Thatch
Compost or Mulch, Don’t Reuse on Lawn
Thatch is organic, but it decomposes slowly and shouldn’t go back on your lawn.
Options include:
- Compost it: Mix with green (grass clippings) and brown (leaves) materials. Turn pile regularly.
- Use as mulch: Spread in garden beds or around shrubs. Never on turf.
- Bag and dispose: If it contains weeds or disease, bag it.
Never leave thatch on the lawn. It can recompact and block growth.
Can Dethatching Damage Your Lawn?
Risks and How to Avoid Them
Yes, dethatching can stress or damage your lawn if done wrong.
Common risks include:
- Root damage from blades cutting too deep
- Sprinkler head destruction from rigid tines
- Bare patches leading to weed invasion
- Slow recovery in wrong conditions
How to stay safe:
- Set tools to no more than ½ inch into soil
- Use spring-loaded tines when possible
- Avoid dethatching during drought or heat
- Don’t do it every year. Only when needed.
Pro Tip: For lawns with irrigation, choose equipment designed to protect sprinkler heads.
Will Dethatching Cause Weeds?
Temporary Risk, But You Can Prevent It
Yes, dethatching exposes bare soil, which invites weed seeds to germinate. But this is short-term if you act fast.
To stop weeds, overseed immediately to crowd out weeds. Avoid pre-emergent herbicides right after overseeding. They block grass seed too. Wait 4–6 weeks after seeding to apply pre-emergent. Keep mowing and watering to encourage thick grass.
Long-term win: A dense lawn is nature’s best weed defense.
How Often Should You Dethatch?
Only When Needed, Not on a Schedule
Most lawns need dethatching once every 1–3 years. Some never need it.
Frequency by grass:
- High-thatch types (bluegrass, Bermuda): May need annual dethatching
- Low-thatch types (tall fescue, ryegrass): Rarely need it
- St. Augustine: Often better off with aeration instead
Check annually with a trowel or screwdriver. If you can’t push it easily into the soil, test for thatch.
Exception: Lawns with over 2 inches of thatch may need two dethatching sessions 6–8 weeks apart.
Prevent Thatch Buildup Long-Term
Smart Lawn Habits That Work
Dethatching fixes existing problems. Prevention keeps them away.
Key strategies:
- Mow with a mulching mower: Cuts clippings finely so they decompose fast
- Mow frequently: Never remove more than ⅓ of blade height at once
- Fertilize wisely: Avoid high-nitrogen fertilizers. Follow soil tests.
- Water deeply, not daily: Encourages deep roots and microbial activity
- Aerate annually: Especially on clay or high-traffic lawns
- Maintain soil pH: Keep it between 6.5–7.0 for healthy microbes
- Limit pesticides: They kill earthworms and beneficial organisms
- Add gypsum to clay soils to reduce compaction
Myth: Grass clippings cause thatch. False. They break down quickly unless you leave huge clumps.
DIY vs. Hire a Pro
Weigh the Pros and Cons
| Factor | DIY Dethatching | Hire a Pro |
|---|---|---|
| Cost | $50–$100 (rental) | $150–$300 |
| Effort | High (especially large lawns) | Low |
| Control | Full control over timing | Less input |
| Risk of damage | Higher if inexperienced | Lower (expert settings) |
| Best for | Small yards, light thatch | Large lawns, thick thatch, sensitive grass |
Best hybrid option: Hire a pro for dethatching, then do cleanup and overseeding yourself to save money and stay involved.
Key Takeaways for Dethatching Your Lawn
Dethatching isn’t just about cleaning up debris. It’s a revival treatment for struggling turf. Done right, it unlocks water, air, and nutrients. It encourages deeper roots. It reduces disease and pest issues. It prepares the perfect seedbed.
Remember these core points:
- Dethatch only when thatch exceeds ½ to ¾ inch
- Time it with peak growth (fall for cool grass, summer for warm)
- Use the right tool—rake for small lawns, power rake or verticutter for large areas
- Follow up with aeration, overseeding, and fertilizer
- Prevent future buildup with proper mowing, watering, and annual aeration
When your lawn feels spongy, turns patchy, or resists care, dethatching could be the reset it needs. Combine it with smart lawn care, and you’ll grow a turf that’s dense, drought-resistant, and weed-smart for years to come.
Frequently Asked Questions About Dethatching a Lawn
What is thatch and why is it a problem?
Thatch is a layer of dead organic material including grass stems, roots, and debris that accumulates between grass blades and soil. While a thin layer (½ inch or less) helps retain moisture, thicker thatch blocks water, air, and nutrients from reaching roots. This causes shallow root growth, poor fertilizer absorption, and increased disease risk.
How do I know if my lawn needs dethatching?
Walk across your lawn. If it feels spongy or bouncy underfoot, you likely have thick thatch. Other signs include water pooling on the surface, grass turning brown despite good care, and poor response to watering and fertilizing. For confirmation, cut a small wedge of turf 2–3 inches deep. If the fibrous layer above soil exceeds ½ inch, consider dethatching.
Can I use a regular rake for dethatching?
Standard leaf rakes or hard rakes aren’t effective for dethatching. You need a dethatching rake, which has stiff, curved metal tines designed to slice through and lift thatch. These specialized rakes are affordable and work well for small lawns under 500 sq ft or spot treatments.
When is the best time to dethatch cool-season grasses?
For cool-season grasses like Kentucky bluegrass, fescue, and ryegrass, early fall is the best time. Early spring works too. Avoid late spring and summer heat. The grass needs active growth to recover quickly from dethatching.
Will dethatching damage my sprinkler system?
Yes, there’s risk if you’re not careful. Power rakes and verticutters can destroy sprinkler heads with their rotating tines or blades. Mark all sprinkler heads, irrigation lines, and utility markers before starting. Use equipment with spring-loaded tines when possible, or work around marked areas carefully.
How soon after dethatching should I seed my lawn?
Overseed immediately after dethatching. The exposed soil creates an ideal seedbed. Apply seed within 1–2 days, then water daily and avoid pre-emergent herbicides for 4–6 weeks. This allows new grass to establish before weed seeds germinate.